LT Security LTD2516HE User Manual
Page 26
Digital Video Recorder User Manual version 1.0
26
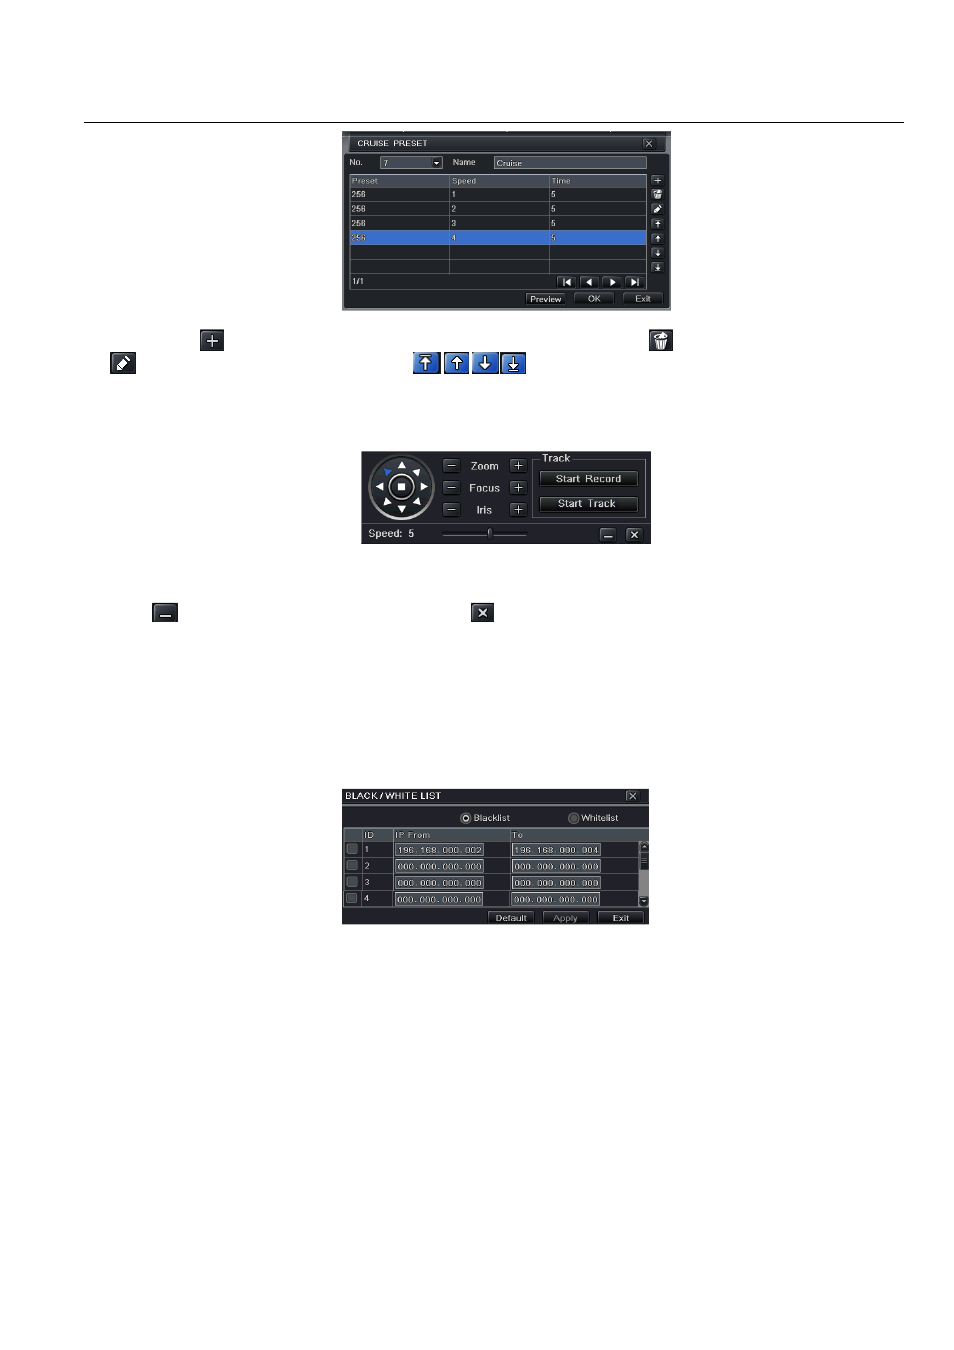
Fig 4-39 cruise set-modify cruise line
b. click Add icon
to set the speed and time of preset point; select a preset point, click Delete icon
to delete that preset point; click Modify icon
to modify the setting of a preset point. User can click
those icons to adjust the position of preset point. Click Preview button to
preview the cruise line, click OK button to save the setting, click Exit button to exit current interface.
c. select a preset point in the cruise line list box, click Delete button to delete that cruise line; click Clear all button to clear all cruise line from the list box;
click OK button to save the setting; click Exit button to exit current interface.
Step4: in the Advance interface, click track “Set” button, a dialog box will pop-up as Fig 4-40:
Fig 4-40 track set
a. user can control the dome rotates up, up left, down, right down, left, left down, right and up right and stop rotating; adjust the rotate speed and the value
of zoom, focus and iris of the dome; click Start Record button to record the move track of PTZ, click this button again can stop record; click Start track
button to play recorded track, click this button again can stop play.
b. click
icon to hide the tool bar, right-key can remerge it; click
icon to exit the current interface.
Step5: in the Advance interface, click “default” button to resort default setting; click “apply” button to save the setting; click “exit” button to exit current
interface.
4.9 Advanced
Advanced configuration includes three submenus: reset, import/export and Black/White list.
4.9.1 Reset
Reset all settings the device will reboot.
4.9.2 Import/Export
User can export the data files into mobile storage devices as backup function, and then import specified data files from mobile storage device to DVR.
4.9.3 Black/White list
Fig 4-41 Black/White list
Here authorized user can prohibit computer users within a certain IP address segment from accessing to DVR or admit computer users within a certain IP
address segment into DVR. For example, if authorized user don’t want computer users within IP address segment from 196.168.000.002 to
196.168.000.004 to access to DVR, authorized user can tick off Blacklist, and then input such IP address segment. After that, click Apply to save settings.
If authorized users want computer users within a certain IP address segment, they can tick off white-list, and then do the same operation.