Step 6, Step 5, Step 7 – Anthro eNook Standard II Assembly Instructions User Manual
Page 4
4
Questions? Call us at
800.325.3841 or visit anthro.com. We’re happy to walk you through the assembly!
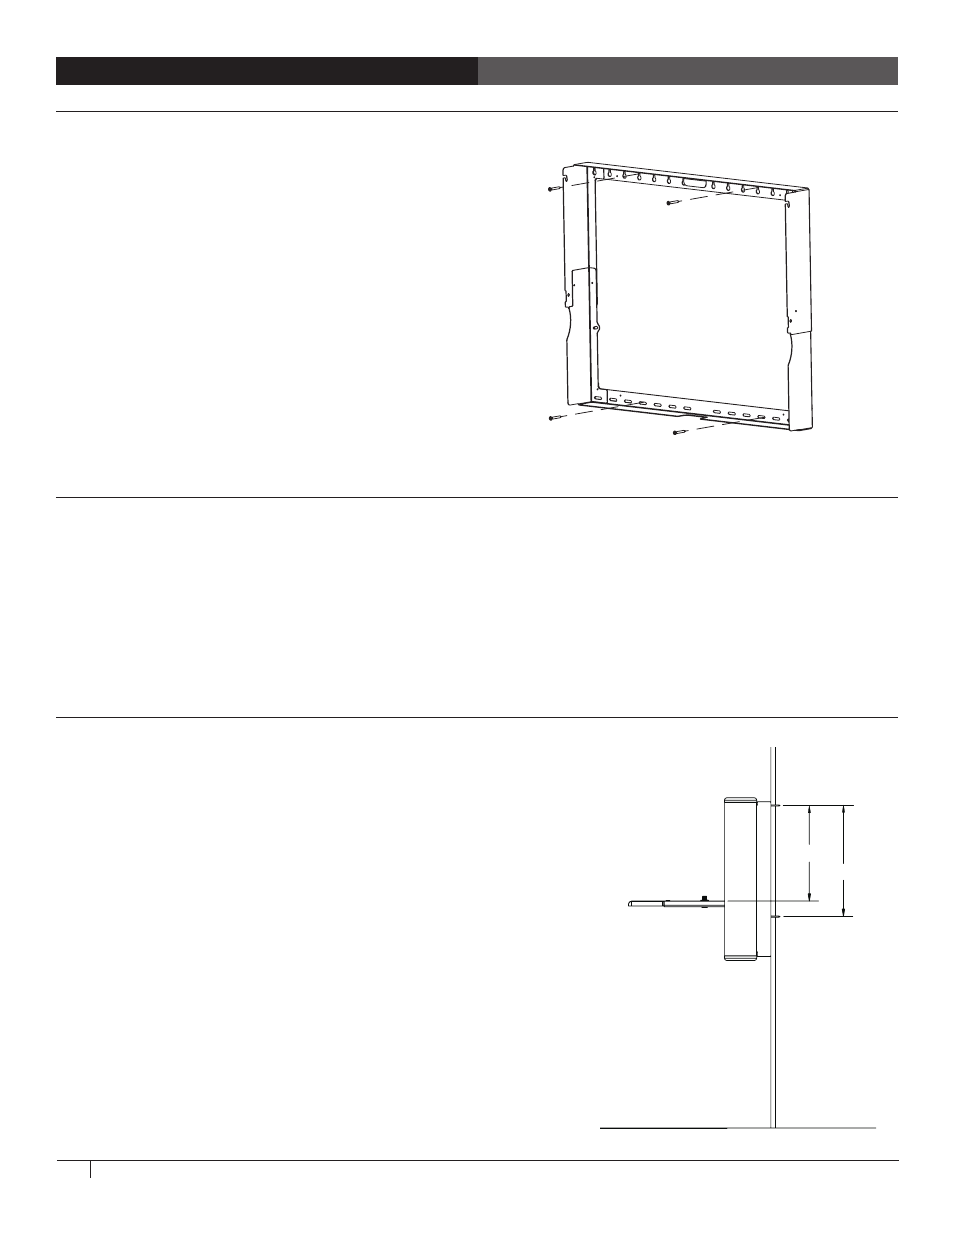
steP 6
Attach lower screws to studs
¡
Once the frame is on the wall, mark the mounting points for lower screws into the same studs.
¡
Using the 1/8" drill bit, drill one hole in each stud about 1-1/2" deep.
¡
Attach the 1-1/2" long screws and tighten all four screws fully so that the Frame is snug against the wall.
Proceed to Step 11
steP 5
lift enook Frame onto screws
¡
Lift the eNook frame onto the first mounting screw.
Keyhole slots on the frame are spaced every 2", so you
can position the eNook where you want it.
¡
While one person holds the eNook frame level, the
second person marks the installation point of the
second 1-1/2" long screw. Make sure that the second
screw goes into a stud, too!
¡
Remove the frame from the wall and drill the second
hole with the 1/8" drill bit.
¡
Using a Phillips driver, attach the second 1-1/2" long
screw. Stop tightening when the screw head is abut
1/4" away from the wall.
¡
Lift the frame onto the two mounting screws.
steP 7
Determine the mounting Point on Drywall
¡
Determine the optimal desk height for the eNook
work surface, refer to image for typical shelf heights.
¡
Measure up 14-3/4" from the shelf height and mark
that point on one stud. That's the upper mounting
height.
¡
Once you determine the right height for your eNook
mark one mounting point hole location. When
choosing the first mounting point, remember that the
two upper mounting points should be at least 16"
apart to keep the eNook stable. To help you visualize
where eNook will be on your wall, use the eNook
Frame as a template.
14.75"
23"