3 autopulse nimh battery status check, Table 5-2 battery status leds, Status leds – ZOLL AutoPulse Rev A User Manual
Page 25: Definition, Action, 3 autopulse nimh battery status check -3, Table 5-2 battery status leds -3
P/N. 12457-001 Rev. 2
Page 5-3
Power System User Guide
To remove the Battery, first rotate the Battery Latch into the open position as shown in Figure 5-2. Then
hold the AutoPulse Platform firmly and grip the Battery while pulling the finger latch outwards to
disengage the locking bar (see Figure 5-2), then pull the Battery straight out until it fully clears the
battery compartment.
Caution: Only use ZOLL Batteries specifically designed for use with the AutoPulse. The use of other
batteries may cause permanent damage to the AutoPulse and will void the warranty.
5.3
AutoPulse NiMH Battery Status Check
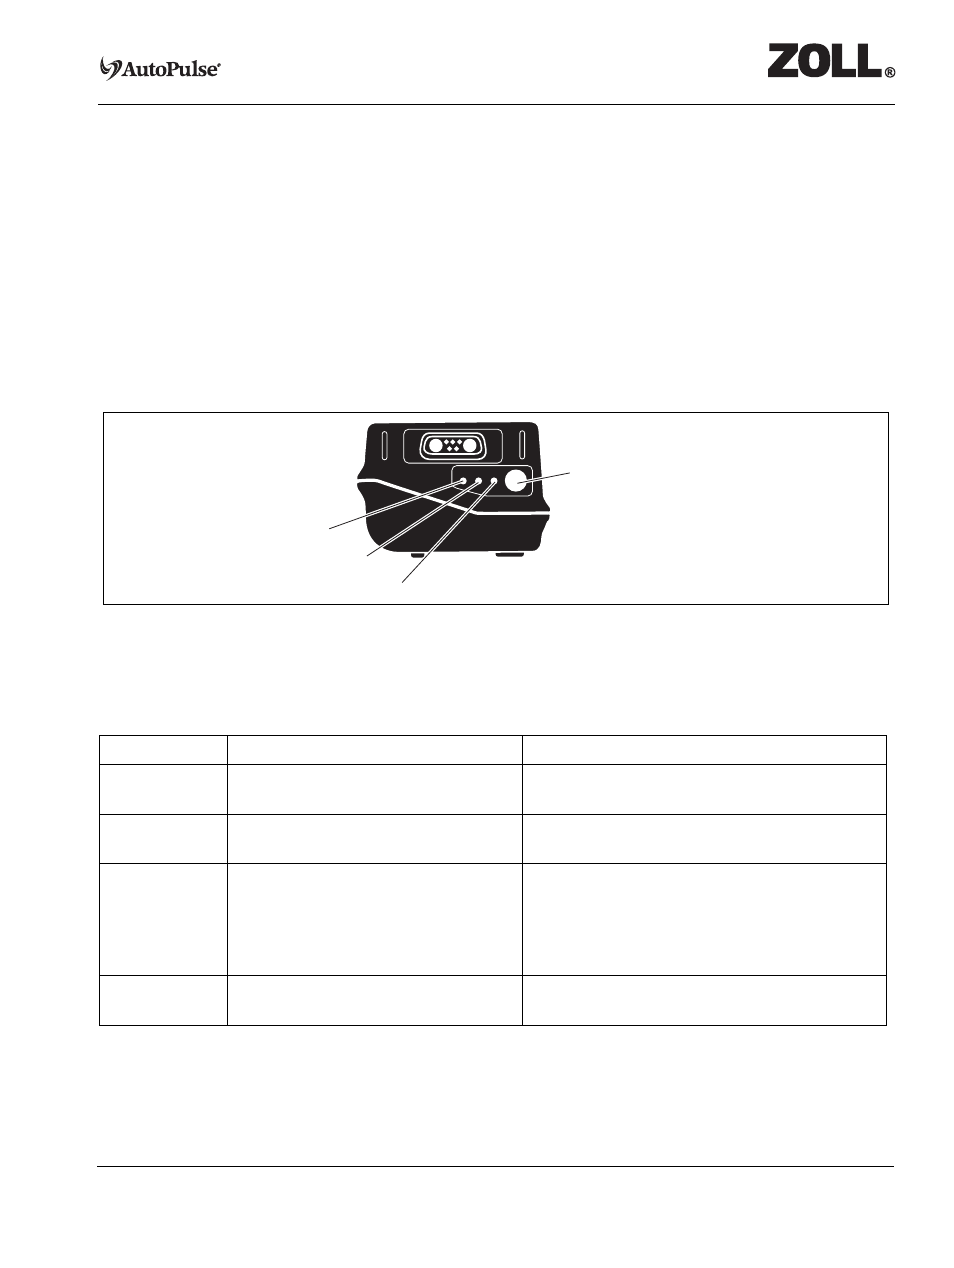
To determine if an AutoPulse Battery needs to be charged, press the Status Check button on the Battery
(see Figure 8-1).
Figure 5-3 Battery Status Check Button and Status LEDs
One of the following Battery status light-emitting diodes (LEDs) will illuminate (refer to Table 5-2).
Table 5-2 Battery Status LEDs
Status LEDs
Definition
Action
Green
The Battery is fully charged. The Battery
is ready for use.
No action is necessary.
Amber
The Battery is not fully charged.
Charge the Battery in the Multi-Chemistry Battery
Charger.
Red-flashing
The Battery has
•
Failed the Performance Test or
•
Failed a Test-Cycle or
•
Has exceeded 100 charge/discharge
cycles
The Battery has failed and should not be used.
Dispose of Battery properly.
None
The Battery voltage is too low to
illuminate the LEDs.
Place the Battery into the Multi-Chemistry Battery
Charger.
Status Check Button
Red LED
Amber LED
Green LED