Operating procedures dmom-200 – Vanguard DMOM-200 User Manual
Page 15
Operating Procedures
DMOM-200™
10
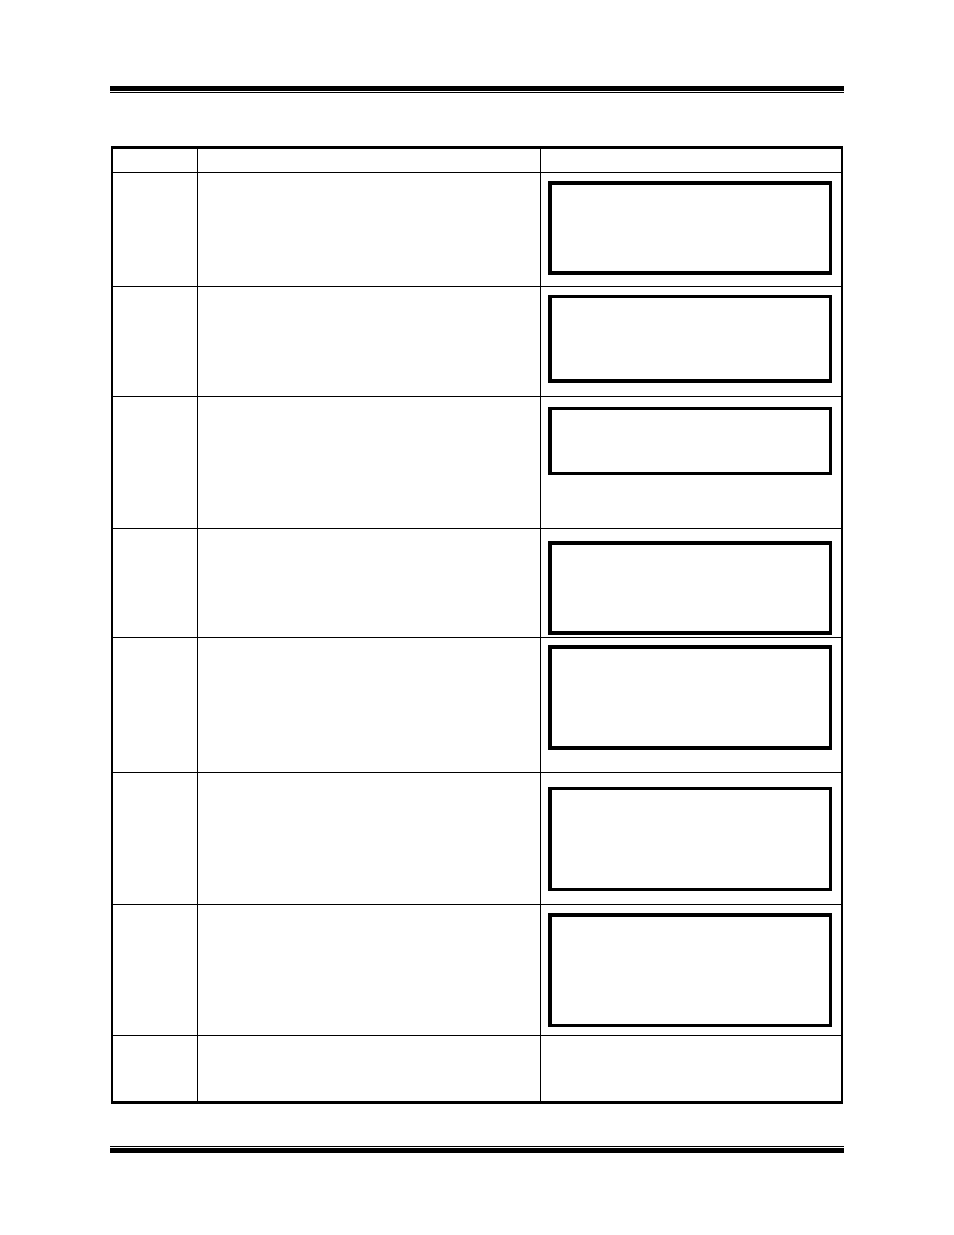
Table 4.0 Run Test Procedure (Measure an Unknown Resistance)
(Continued)
STEP
ACTION
DMOM-200
DISPLAY
4-6
Automatic; no operator action required.
At the end of burn-in time final resistance
displays. Press the “ENTER” key to go to
next display.
4-7
Automatic: Print test result option display.
4-8
Printing option: When the “PRINT TEST
RESULTS?” displays, press #1 key to
print.
Typical print out is shown in Figure 6.0.
If no printout is needed, then go to next
step.
4-9
Automatic; No operator action is required.
When test report completes printing,
KEEP THIS READING?” displays.
4-10
“KEEP THIS READING?” If the tested
resistance measurement is to be stored in
test record buffer, press # 1 key (YES). If
no record of the test is to be stored in
memory, then press # 2 key (NO).
4-11
Automatic; No operator action is required.
“RUN ANOTHER TEST?” displays.
4-12
If another test needs to be run, then press
#1 key (YES). Beginning test options
(SELECT TEST CURRENT:) menu
displays (return to step # 4-1). If another
test is not needed, then press #2 key (NO)
and go to step 4-14.
4-13
Return to step #1 to setup for another test
(repeat sequence from step 4-1 to step 4-
11.
Step 4-1 thru 4-11 displays repeat.
FINAL RESISTANCE
I= 100 AMPS
500.5 MICRO-OHMS
PRINT RESULTS?
1. YES
2. NO
PRINTING
PLEASE WAIT
KEEP THIS READING?
1. YES
2. NO
TEST SAVED
RUN ANOTHER TEST?
1. YES
2. NO
SELECT TEST CURRENT:
1. 10A 2. 25A
3. 50A 4. 100A
5. CUSTOM