Installation instructions – Superwinch Certus Wireless for Superwinch S Series winches User Manual
Page 7
7
30
Do not attempt to install wiring when the battery is connected.
Do not lean over battery while making connections.
Ensure that the wiring harness does not interfere or come in
contact with any hot or moving engine, suspension, steering,
braking or exhaust parts.
CAUTION
!
INSTALLATION INSTRUCTIONS
Step 1
Disconnect the battery before beginning installation.
Step 2
Locate a place to mount the reless
Step 3
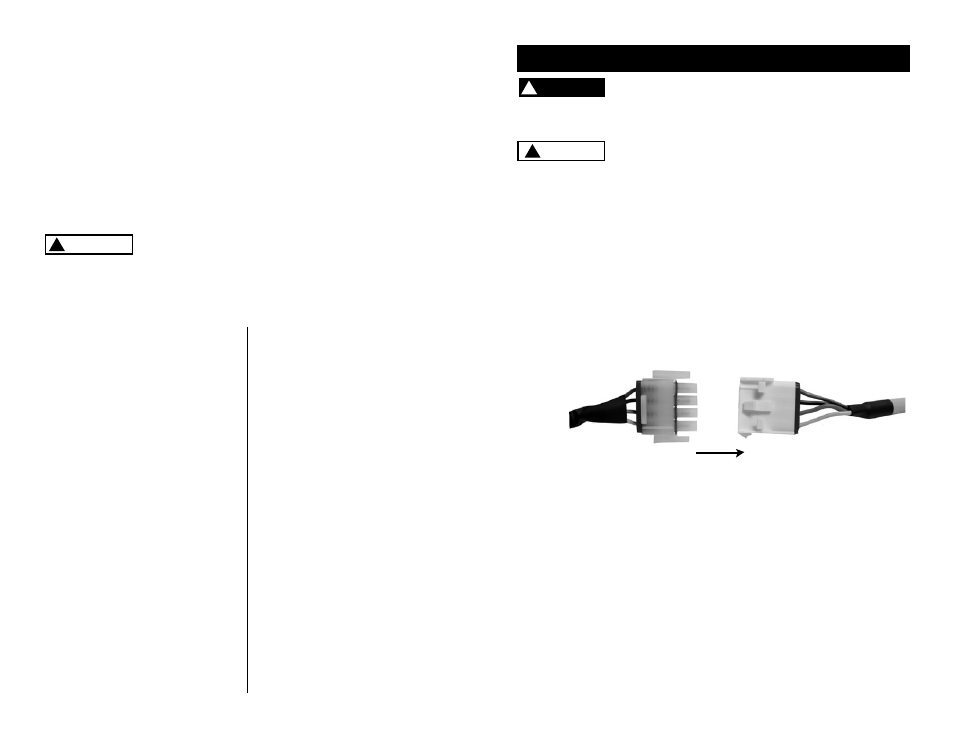
Connect the white weather pack connector end of the harness to the mating
white weather pack connector on the wireless receiver module. see ( Fig. 4)
from the Winch to the Receiver
DANGER
!
wi receiver such as under dash console,
or inside wall of box trailer would be typical locations. The unit can be
mounted in any orientation, inside the vehicle or trailer. The unit can be
mounted by either cable ties or with two (2) self-tapping scews.
.
see (Fig. 3)
Step 4
Fo
Fo
. Connect
r P/N 06714 and 06715
r P/N 06718 and 06719
. Connect the winch plug end to your Talon winch socket.
Fo
. Connect the black wire ring terminal from the harness assembly to
the black (-) stud of the solenoid.
. Connect the red wire ring terminal from the harness assembly to the
red (+) stud of the solenoid.
. Use one of the two supplied quick splice connectors to splice the
blue wire from the harness assembly into the black wire of the
handlebar rocker switch.
. Use the second quick splice connector to splice the yellow wire from
the harness assembly into the green wire from the handlebar rocker
switch.
r P/N 06716 and 06717 (See Fig. 4)
4
1
the winch plug end to your S-Series winch socket.
protection during installation and remove all metal jewelry.
(Fig. 3)
Automotive batteries contain flammable and explosive gases. Wear eye
1
1
2
3
El transmisor utiliza una antena interna; el receptor tiene una antena externa.
Estas antenas no pueden puentearse ni alterarse de manera alguna.
Su alteración anulará la garantía y podría causar un funcionamiento errático.
Para cambiar las pilas abrir la parte de atrás del transmisor aflojando los dos
tornillos. Quitar la tapa, retirar las pilas usadas y colocar las nuevas pilas AAA
de 1.5 V. Antes de colocar las nuevas pilas verificar que los conectores no estén
oxidados. La oxidación puede eliminarse con un cepillo pequeño de cerda dura.
Luego de cambiar las pilas colocar nuevamente la tapa con los dos tornillos.
Después de cambiar las pilas verificar que el sello de caucho
del transmisor esté correctamente colocado para evitar
la pérdida de hermeticidad. Desechar las pilas según las reglamentaciones cor-
respondientes.
!
PRECAUCIÓN