Pre-2008 mac pro installation – Sonnet Technologies eSATA Extender Cable User Manual
Page 8
8
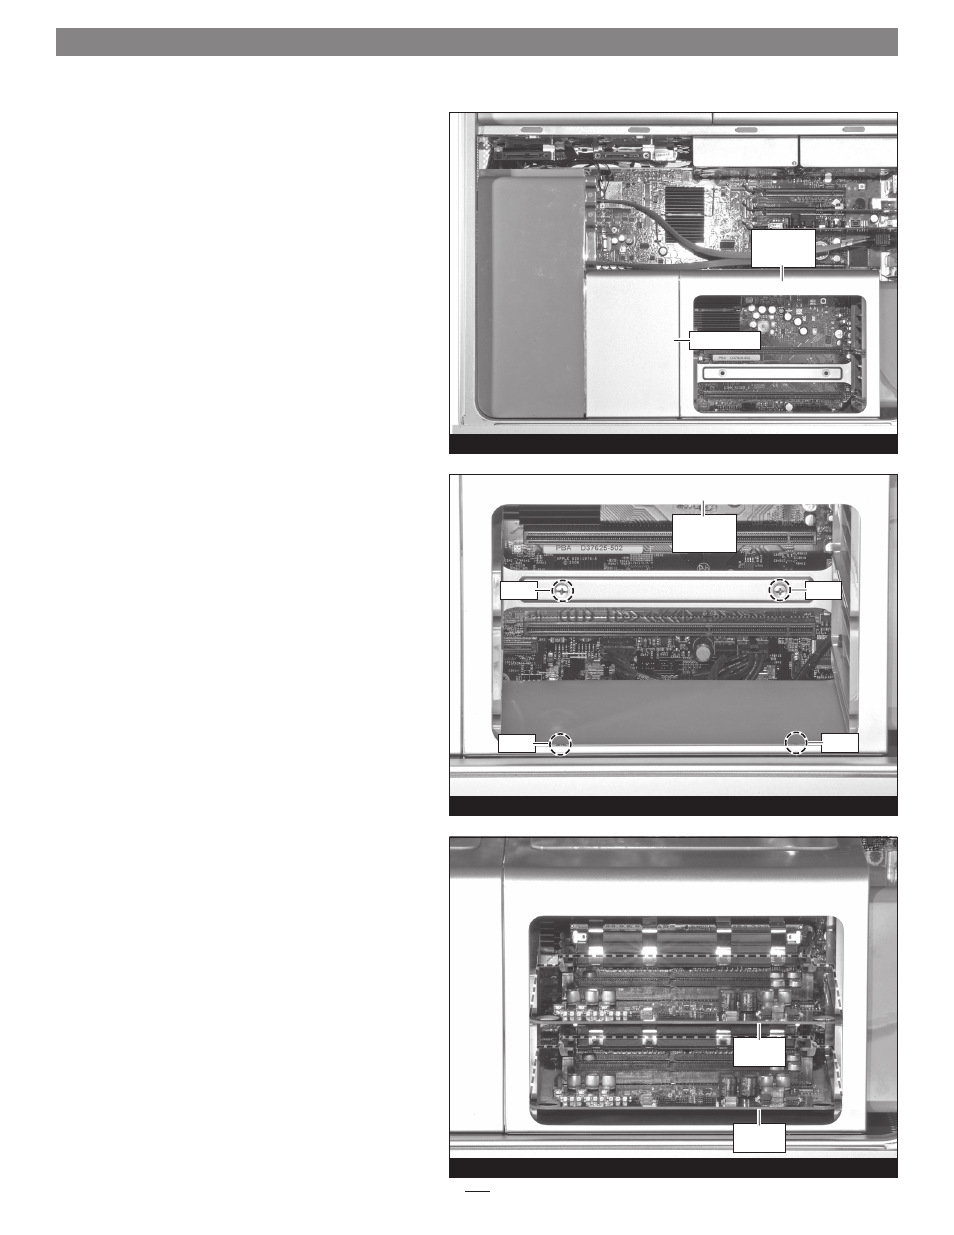
Figure 21
Figure 20
Figure 19
PRE-2008 MAC PRO INSTALLATION
4. Slide the memory riser card compartment to the left
so that the tabs on the compartment and the heat sink
cover join together
(Figure 19).
5. Move the memory riser card compartment so that the
screw holes in it, and on the logic board and computer
case line up.
6. Secure the memory riser card compartment using the
screws you removed previously;
do not overtighten the
screws (Figure 20).
7. Handling them by their edges, insert the memory riser
cards back into their slots;
make sure the cards are
fully seated (Figure 21).
memory
riser card
compartment
heat sink cover
screw
screw
screw
screw
memory
riser card
compartment
memory
riser card
memory
riser card