Step 1: replacing existing thermostat, Important safety information warning, Old terminal new label description – Robertshaw 9555 User Manual
Page 2
IMPORTANT SAFETY INFORMATION
WARNING:
• Always turn off power at the main power source by unscrewing fuse
or switching circuit breaker to the off position before installing,
removing, cleaning, or servicing thermostat.
• Read all the information in this manual before installing or program-
ming this thermostat.
• This is a 24 VAC low-voltage thermostat. Do not install on voltages
higher than 30 VAC.
• All wiring must conform to local and national building and electrical
codes and ordinances.
• Do not short (jumper) across terminals on the gas valve or at the
system control to test installation. This will damage the thermostat
and void the warranty.
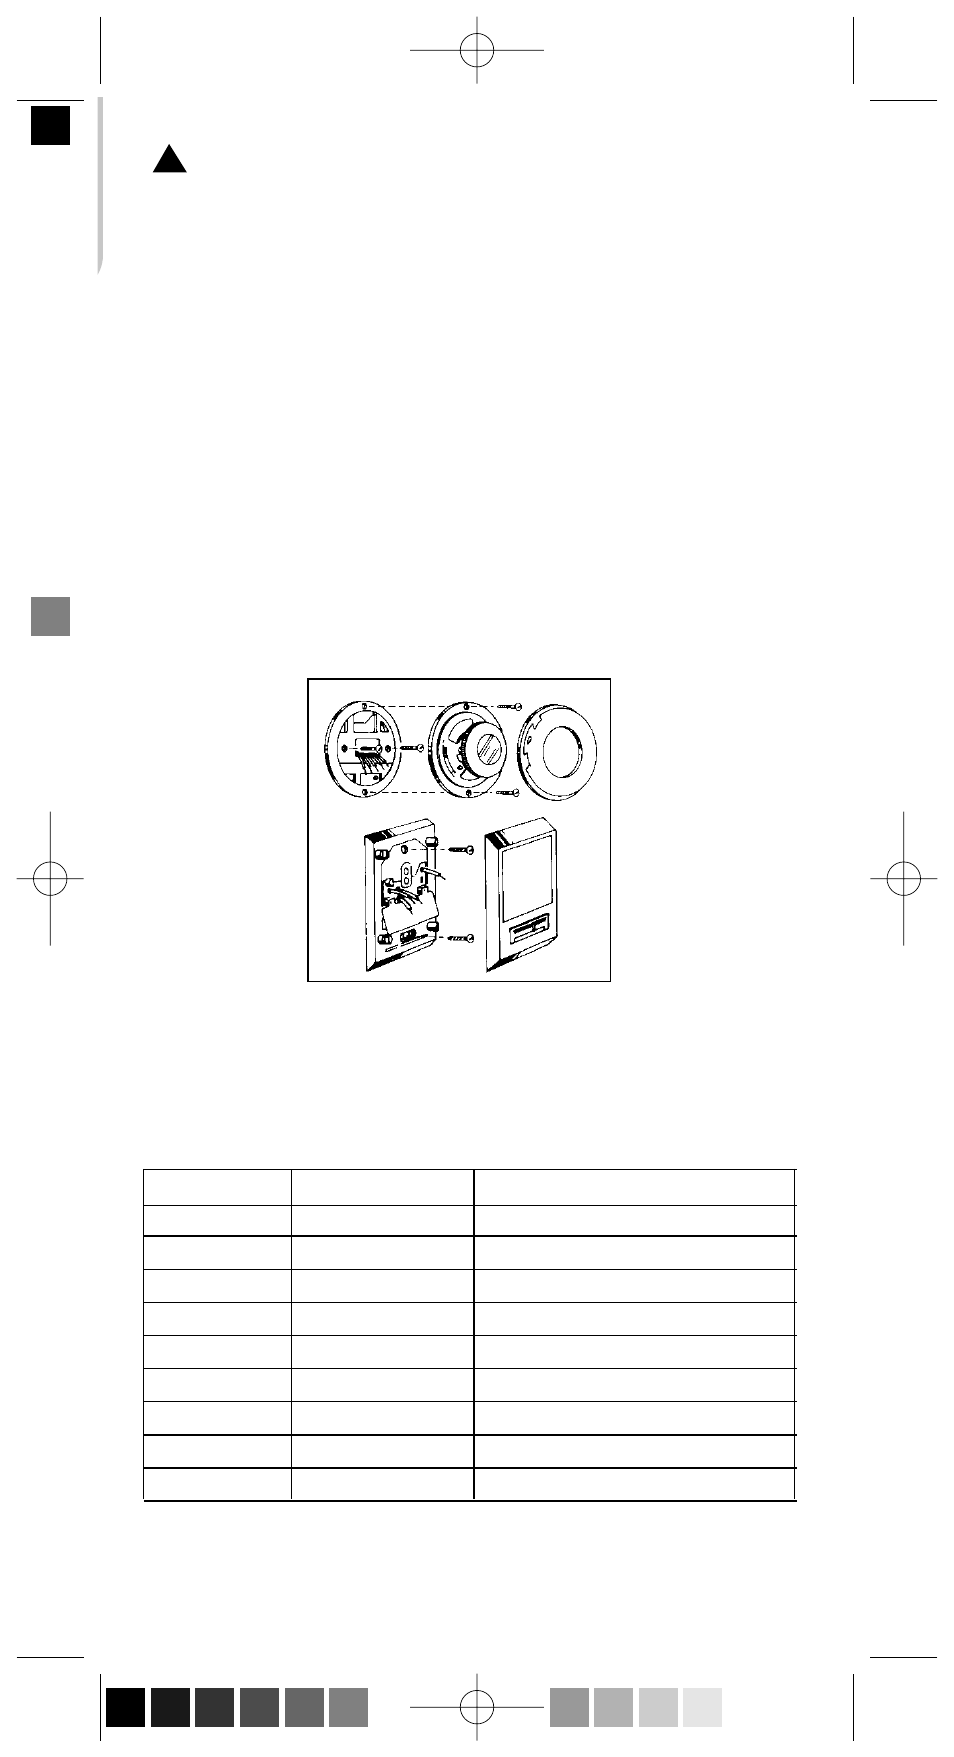
Step 1: Replacing Existing Thermostat
1. Turn off power to heating and cooling system.
2. Remove cover from old thermostat to expose wires (Figure 1).
3. Disconnect wires one at a time from existing terminals. Use enclosed labels
to mark existing wires. Refer to cross references in Table 1 if existing wiring
does not directly match the labels.
Old Terminal
New Label
Description
C, X or B
C
24 VAC, Transformer Common Side
R, V-VR or VR-R
R
24 VAC, Return
W1 or W
W1
1st Stage Heating Control
Y, Y1 or M
Y1
1st Stage Cooling Control
O or R
O
Reversing Valve (Cooling Mode)
B
B
Reversing Valve (Heating Mode)
F or G
G
Fan Control Relay
Y2
Y2
2nd Stage Cooling Control
W2 or W-U
W2
2nd Stage Heating Control
NOTE: THIS THERMOSTAT REQUIRES A 24V COMMON WIRE FOR PROPER OPERATION.
2
Figure 1
Table 1
!
110-975D En.qxd 5/13/03 2:43 PM Page 2 (Black plate)