Ransburg Test Stand RMA-303, EVOLVER, EVOLVER NE User Manual
Page 17
LN-9259-07.1
Test Stations - Operation
14
10. Activate the “dump” trigger until the air is
completely purged from the manifold. You will see
water running from the dump output. Turn the
“Dump” switch off which will stop the water flow.
Turn “Fluid” switch to “off”. Leak gauge should
stay at pressure.
11. Observe the applicator for any possible water
leakage, wait 3 minutes. No seepage is allowed.
12. If leak is found, turn the “Fluid” switch to “Air”
and activate the dump until all water is evacu-
ated. Turn “Fluid” switch to “Off”. Repair leak
and repeat the test.
13. If no leak is found, turn the “Fluid” switch to
“Air”. Open the dump to purge out the water.
14. When all water has been evacuated, close
the dump, turn off all switches and turn the “Fluid”
switch to “Off”.
Shaping Air Consumption Test (Inner and
Outer)
1. Reduce the turbine speed from 70k to 30k rpm.
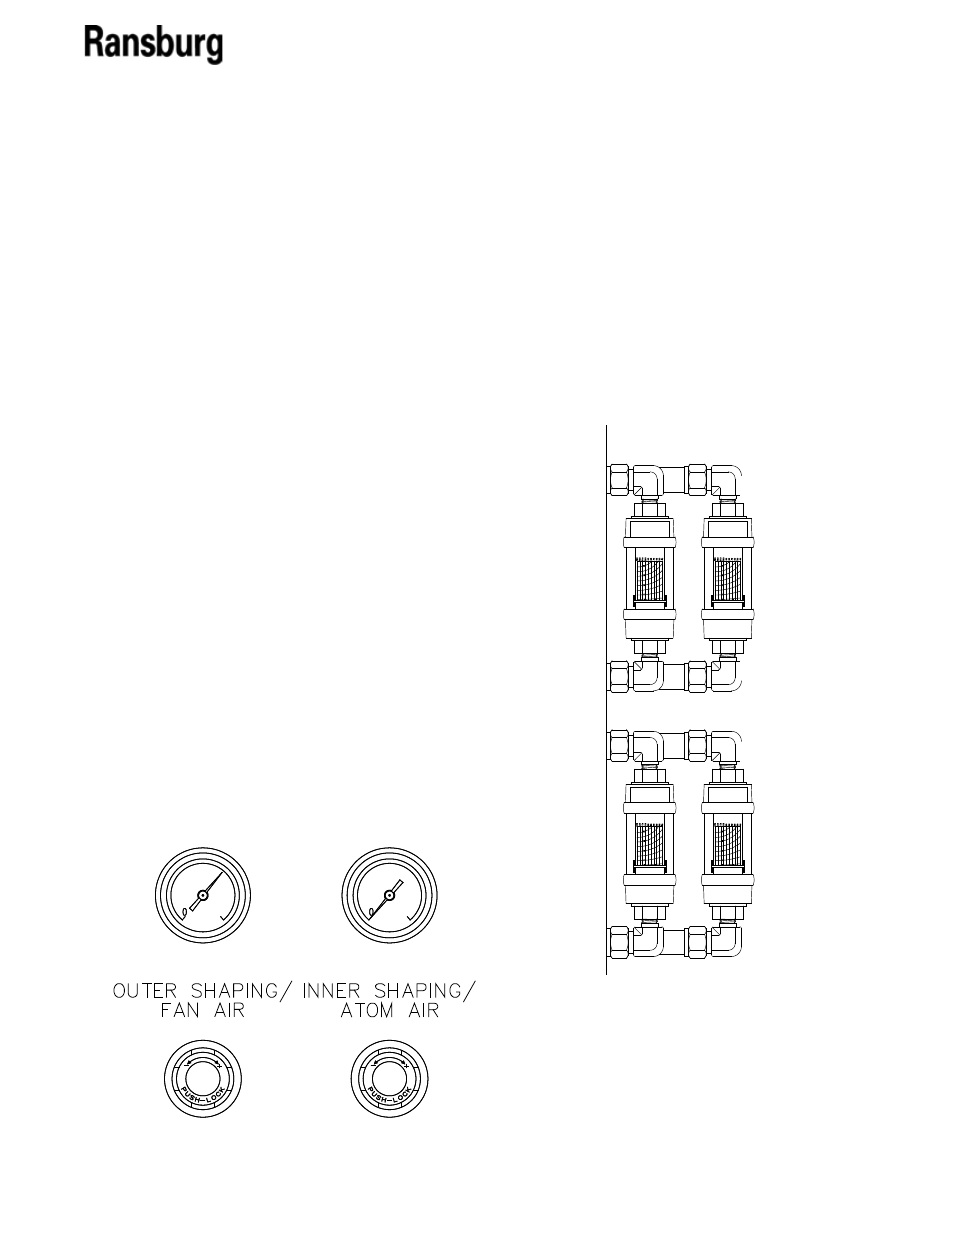
2. Turn on the “Shaping Air” dial and adjust the
outer shaping air to 60 psi. Reference the shaping
air gauge for the correct pressure reading. Ensure
no air leak is present between the shaping air cap
and shroud. If present, inspect the assembly.
3. Look at the shaping air flow meter. It should
be reading 10-13 CFM (outer) and 10-13 CFM
(inner). Make sure the flow meter regulator is
100
100
100
100
adjusted to 100 psi input pressure.
4. Readjust the shaping air dial to 25 psi. Refer-
ence shaping air gauge for the correct pressure
reading.
5. Look at the shaping air flow meter. It should
be reading 4-7 CFM (outer) and 4-7 CFM (inner).
Make sure the flow meter regulator is adjusted to
100 psi input pressure.
6. Turn off the “Shaping Air” dial.
TURBINE
S.A.O./FAN
S.A.I./ATOM
BEARING AIR