DoorKing Remote Account Manager User Manual
Page 37
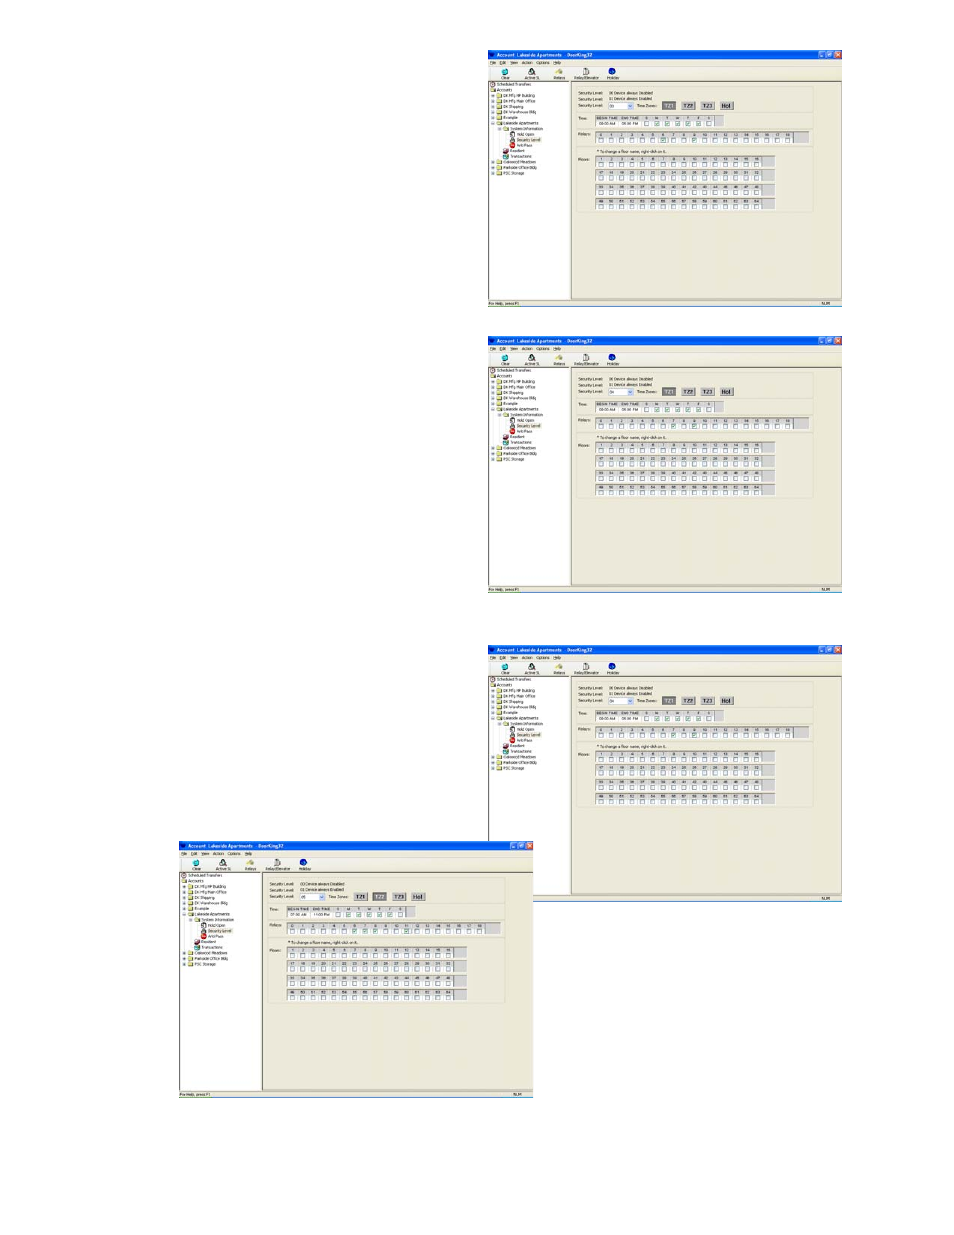
PROGRAMMING ADDITIONAL SECURITY
LEVELS
9. Click the Security Level pull down menu
down arrow button to select the next
security level you want to create.
10. Enter the begin and end times for TZ1,
select the days of the week for this time
zone and select the relays that this time
zone will be applied to.
11. Click TZ2 and enter the begin and end
times for TZ2, select the days of the week
for this time zone and select the relays
that this time zone will be applied to.
Figure28
12. Click TZ3 and enter the begin and end
times for TZ3, select the days of the week
for this time zone and select the relays
that this time zone will be applied to.
13. Click TZ4 and enter the begin and end
times for TZ4, select the days of the week
for this time zone and select the relays
that this time zone will be applied to.
14. Repeat steps 9-13 to create additional
security levels.
To view all the security levels that have been
created, click the VIEW ACTIVE SL button. Click
the DONE button to return to the Security Level
window.
Figure 29
Click the CLEAR TIME ZONE button to reset the
time zones in the current window.
Click OK to return to the SYSTEM INFO screen.
NOTE: The RELAY/ELEVATOR button is used with
elevator control only. If Elevator control is in use,
see section 3.8 for additional programming
instructions.
Figure 30
Figure 31
1835-066-N-7-13
Page
37