Pg19, Hydraulic system, Changing the hydraulic oil – Diamond Products UDM User Manual
Page 22: Changing the hydraulic oil filter, Belt system, Tensioning the engine belt
Hydraulic System
•
Always use a piece of
cardboard or paper to check
for hydraulic fluid leaks. Keep all
body parts away from leaks
and/or areas that may eject hydraulic fluid.
Pressurized hydraulic fluid can penetrate the
skin, causing serious injuries. Seek medical
attention immediately!
•
Remove the core bit to reduce residual pressure
in the cylinder circuit prior to servicing the
machine.
Inspect the hydraulic hoses and fittings daily for
leaks. Replace damaged components
immediately.
Changing the Hydraulic Oil
An oil analysis program is recommended to
determine the oil’s condition and when to change
it. Along with the program; if the oil is kept clean,
dry, and has been operated at moderate
temperatures it may last for several years. With no
analysis program, change the oil every 200 hours.
1. Place an oil drain tray under the hydraulic
tank’s drain plug.
2. Remove the drain plug and drain the oil from
the tank. Replace the plug when completely
drained. Dispose of the used oil according to
city, state, and federal regulations.
3. Fill the tank to just below where the filler port
extends from the hydraulic tank. DO NOT overfill
as oil expands when hot. DO NOT contaminate
the oil to avoid damaging system components.
Use a high quality, petroleum based hydraulic
oil with the following properties:
a) Anti-wear
b) Low foaming
c) Rust and oxidation inhibitors
d) Wide temperature range
e) Fluid viscosity: 8-1,000 Centistokes (Cs)/(52-
4,600 SUS). Note: The machine is shipped
with an ISO 46 viscosity grade (8 Cs/52 SUS @
212°F/100°C and 46 Cs/210 SUS @
104°F/40°C).
4. Replace the oil cap and secure.
Changing the Hydraulic Oil Filter
Check the hydraulic filter gauge daily and replace
the filter once the gauge needle enters the red
range.
1. Place an oil drain tray under the hydraulic filter.
2. Unscrew the filter and hold it over the tray to
catch falling oil. Dispose of the used filter and oil
according to city, state, and federal
regulations.
3. Lightly oil the new filter’s rubber gasket with
clean oil.
4. Tighten the new filter according to the
directions on the filter.
5. Inspect the seal for leaks.
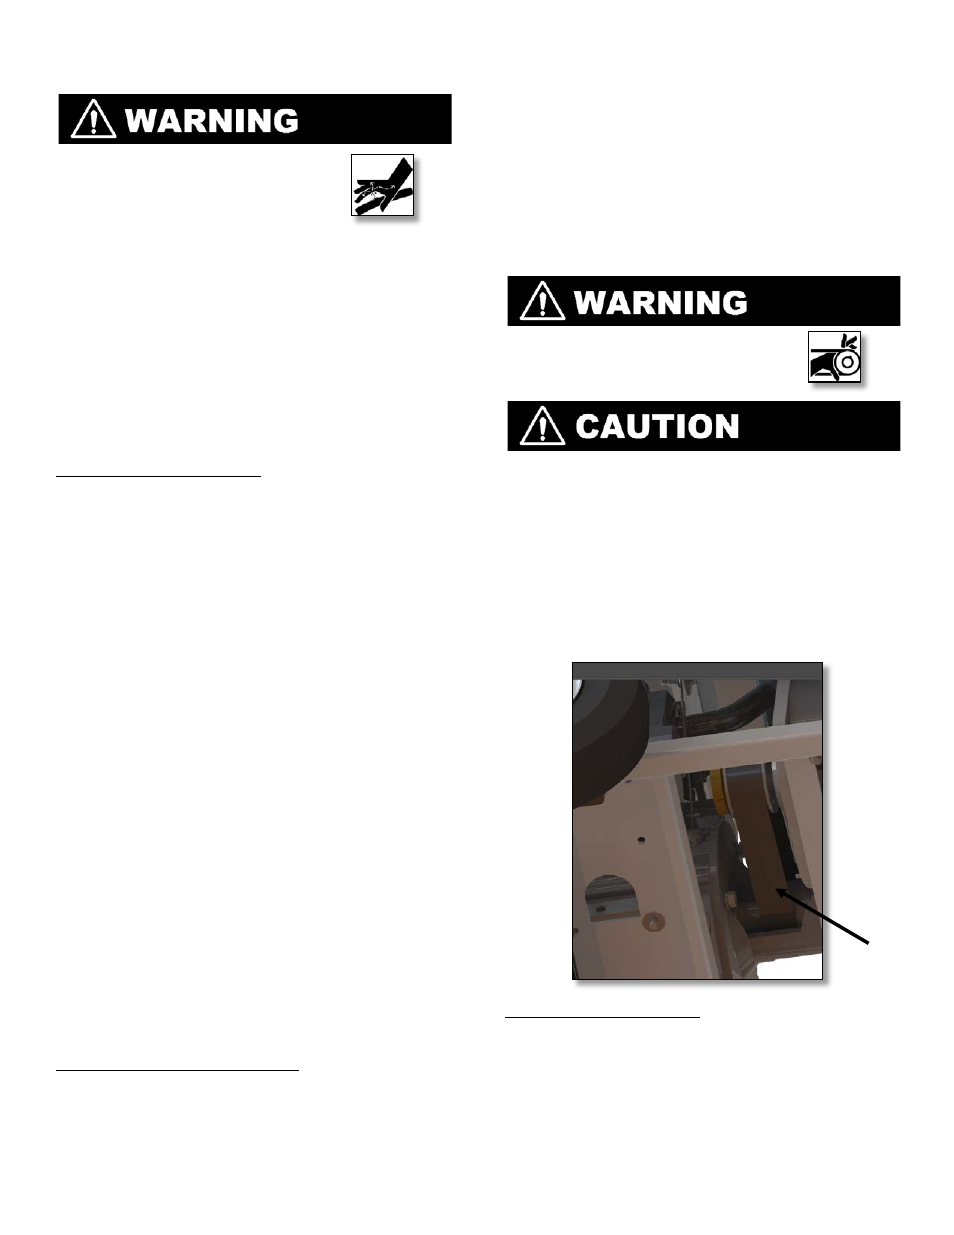
Belt System
•
Turn off the engine prior to
servicing the belts.
•
Always let the belts cool down prior to servicing
them.
Inspect the belts daily for fraying, stress cracks,
and/or breakage and replace immediately when
damaged. DO NOT exceed the manufacturer’s
belt tension settings when tensioning belts. Note:
Over-tensioning the belts may damage the engine
crankshaft. Under-tensioning the belts may cause
slippage, shorter belt life, and poor alternator
performance.
Tensioning the Engine Belt
1. Test the belt tension. Refer to Appendix C for
additional information and belt tension settings.
If adjustments are necessary, continue.
2. Loosen the nut on the four screws (under the
frame) securing the alternator to the frame.
19