Magnum Venus Plastech Flex Molding Process IVX3 INJECTION VALVE 8010 User Manual
Page 24
IVx3 Injection Valve Manual
Rev. 03/2012
Page | 24
12. Using the IVX3 Tools A and B remove the Seal Upper Insert (6978) from the end
of the Lower Shaft (6977) of the actuator.
13. Slide the Valve Bush (7052) off the end of the Lower Shaft (6977).
14. Check all parts for wear and replace any damage or worn items.
Assembly:
1. Replace all old or damaged O-rings with new ones from the Spares Kit (8011).
Apply a coat of lubrication to the O-rings using Red Grease (6706-2-1 1oz).
2. With the new O-rings (7049 & 7044) installed, slide the Valve Bush (7052) onto
the Lower Shaft (6977).
3. Apply a drop of removable thread lock compound to the end of the Seal Upper
Insert (6978) and thread it into the end of the Lower Shaft (6977) of the Actuator,
tighten using IVX3 Tools A and B.
4. Install the Upper Valve Body (6985) over the Lower Shaft (6977) and press it
firmly over the Valve Bush (7052) & O-ring (7049) so that it is flat against the
Actuator Cylinder (6981).
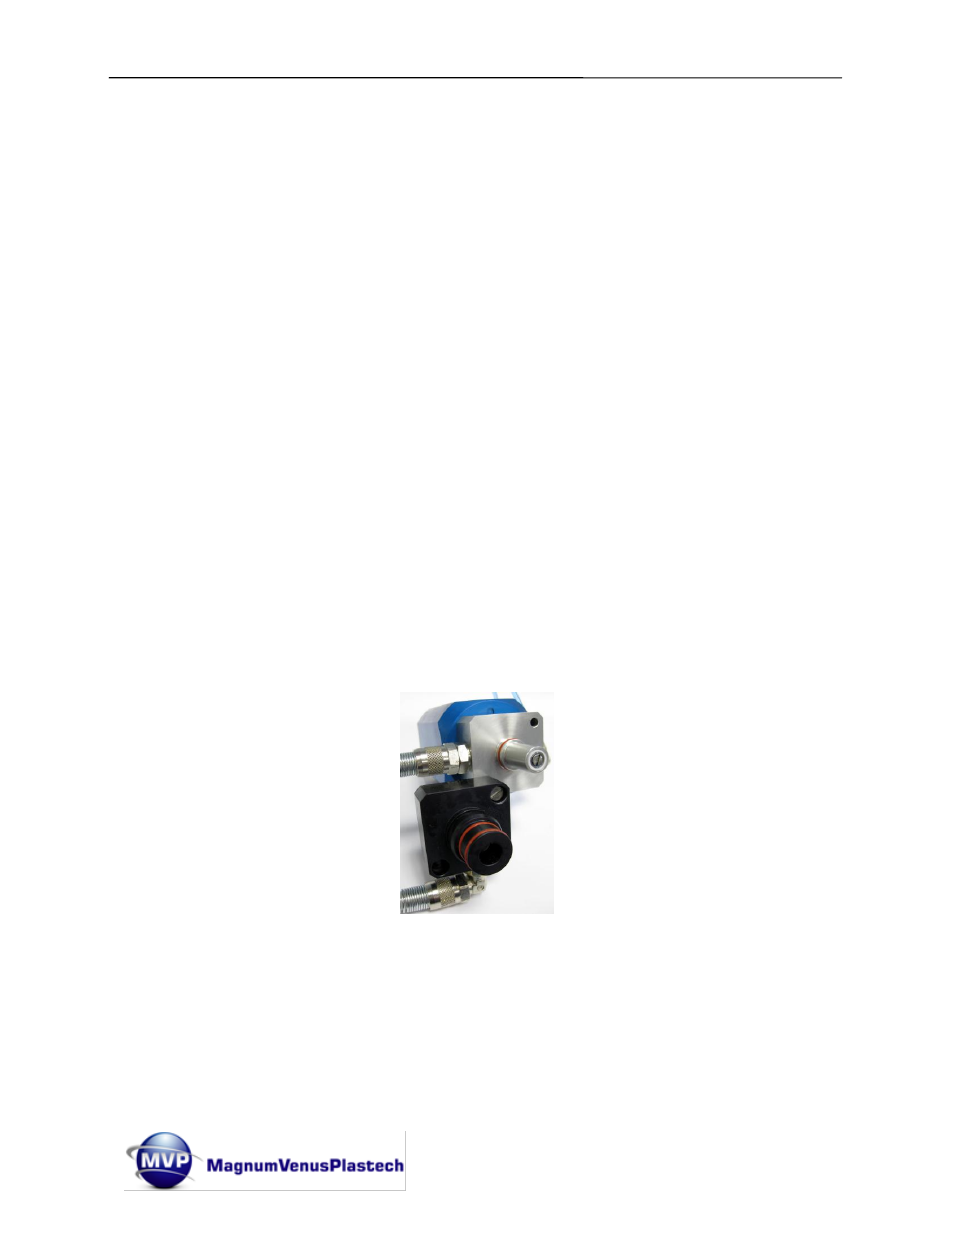
5. Attach the Lower Valve Body (6986) to the Upper Valve Body (6985) using one
of the Machine Screws (7057). Position the Lower Valve Body as shown below
and tighten the screw.
6. Supply air to the actuator to place the valve in the Purge position so that the Seal
Upper Insert (6978) is visible above the Upper Valve Body (6985).
7. With a new O-ring (6988) installed on the Seal Upper insert (6978), carefully
press the new Seal - Hard Wearing (7051) onto the Seal Upper Insert and O-ring.