Magnum Venus Plastech Flex Molding Process IVX3 INJECTION VALVE 8010 User Manual
Page 23
IVx3 Injection Valve Manual
Rev. 03/2012
Page | 23
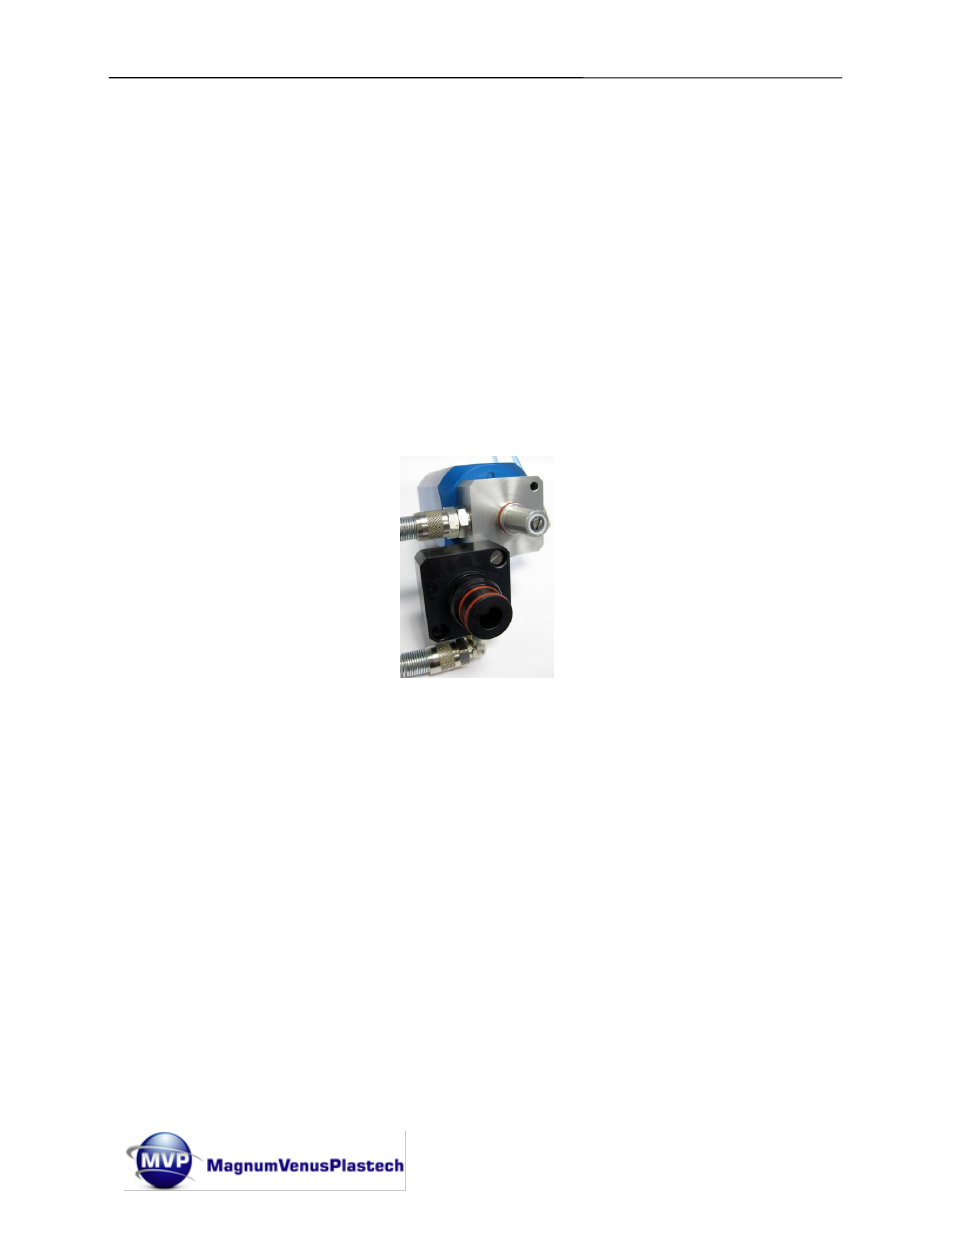
Disassembly:
1. Remove and replace the two O-rings (3265) on the Nose of the Lower Valve
Body (6986). Apply a light coat of the Lubrication to the two O-rings.
2. Supply air to the actuator to move the valve to the Inject position.
3. Remove the two (2) Machine Screws (7057) from the bottom of the valve.
4. Carefully remove the Lower Valve Body (6986) from the Upper Valve Body
(6985).
5. Re-attach the Lower Valve Body (6986) to the Upper Valve Body (6985) using
one of the Machine Screws (7057). Position the Lower Valve Body as shown
below and tighten the screw.
6. Apply air to the actuator to move the valve to the Purge position and fully expose
the seal.
7. Use IVX3 Tool A or B on the flats of the Seal Upper Insert (6978) to stop it
turning as you unscrew the Slotted Screw (7055) from the end of the Seal Upper
Insert.
8. Remove the Seal
– Hard Wearing (7052) from the Seal Upper Insert (6978) and
press out the Seal Lower Insert (6979) using the Machine Screw (7057).
9. Exhaust the air from actuator to return the valve to the Off position.
10. Remove the Lower Valve Body (6986) positioned to assist the maintenance
process by unscrewing the single Machine Screw (7057).
11. Carefully but firmly pull the Upper Valve Body (6985) off the assembly, the Valve
Bush (7052) will be left on the end of the Lower Shaft (6977), retained by the
Seal Upper Insert (6978).