Functionality, Receiptware bitmap conversion tool – CognitiveTPG A776 User Manual
Page 6
Functionality
ReceiptWare Bitmap Conversion Tool
Converting BMP (Bitmap) Files to LGO (Logo) Files
It is important to note that ReceiptWare only supports LGO graphic files. Therefore, the first step in making your Receipt
Format file is to convert all of the graphics that you wish to use from Bitmap (BMP) files to LGO files. This is done with a built
in tool called the ReceiptWare Bitmap Conversion Tool. This tool can be accessed by selecting Tool>Bitmap Conversion
Tool. You can also open this utility by clicking on the Bitmap Conversion Tool button located on the bottom right-hand
side of the Legacy Graphics tab.
1. Loading the bitmap – Click on the Load Bitmap button. From the open bitmap
file window, choose a bitmap file and click Open. The bitmap you have selected is
displayed on the screen.
2. Resizing the bitmap – Resize the bitmap by clicking on the Resize button at the
top of the screen. A window entitled Resize Bitmap will appear. Enter the desired
width of the image in pixels in the Width field within this window. Allowed values
are 10 to 576 pixels. The height of the bitmap will be scaled to maintain the aspect
ratio of the image. After entering the desired width of the image in pixels, click on
the Resize button.
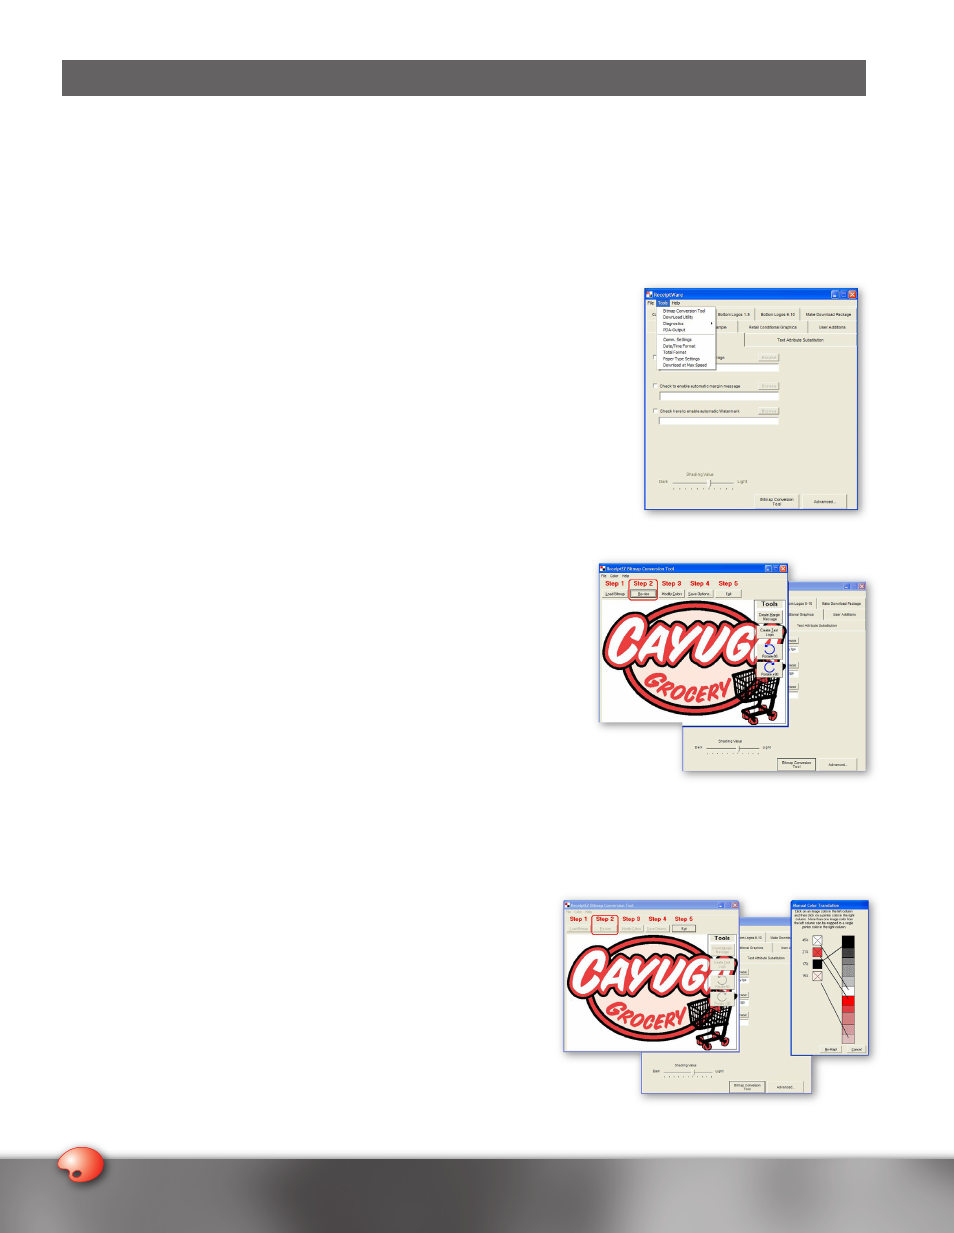
3. Modifying the colors – If you wish, you can adjust the Color option within the
conversion tool to match the color that you will be using. (The Color option choices
are limited to Red and Blue.) To do this, select the Color menu at the top
of the screen and scroll down to select either red/black (red) or blue/black
(blue), depending upon the paper on which you will be printing. Once you
have selected the colors, click on the Modify Colors button to proceed. A
window will appear asking for the maximum number of user colors as well
as the conversion speed. For best results, it is recommended that you keep
the maximum number of user colors to around 5 and the conversion speed to
around 500. Once you have made your selections, click OK. Another window
will pop-up entitled Manual Color Translation. The colors that appear on
the left side of the window were detected by the software in the original
bitmap file and broken down into percentages. The colors on the right side
of window represent all of the gradients within the two-color scale that
are available for re-mapping. Select each color in the left-hand column and
match it with the desired color in the right-hand column. Then click on the
Re-Map button to see the changes that you have made.
Note: To complete the bitmap conversion process, Re-Map needs to be completed. Skipping this step will prompt
an error.
4. Saving options – After you have resized and modified the colors of the
bitmap that you would like to use, you will need to save your options.
To do this, click on the Save Options button on the menu. At this time,
you can either save your options as a logo definition (LGO) file and as a
BMP file.
Note: The bitmap conversion tool will only work with bitmap (BMP) files
that are under 24-bit. If you have a bitmap that is 24-bit or over, open
the file with an application that accepts bitmap files (i.e., Microsoft
®
Paint, etc.), and then save it as a 16-bit bitmap file.