User additions, Print sample, Using the user additions tool – CognitiveTPG A776 User Manual
Page 23
User Additions
The User Additions feature of ReceiptWare gives you access to printer functions that are not currently automated by
ReceiptWare. It is an advanced tool that allows you to manually change the behavior of the printer. Unless you are very
familiar with HEX command sets and printer firmware, we do not suggest that you use this feature.
Using the User Additions Tool
As with every other ReceiptWare tool, we recommend having a sample receipt
present with you when creating Receipt Formats. When specifying “triggers,” we
advocate avoiding the use of numbers as well as text that could appear elsewhere in
your receipt. Try to choose a trigger that is unique and will be printed only on specific
transactions.
1. Open the ReceiptWare software application.
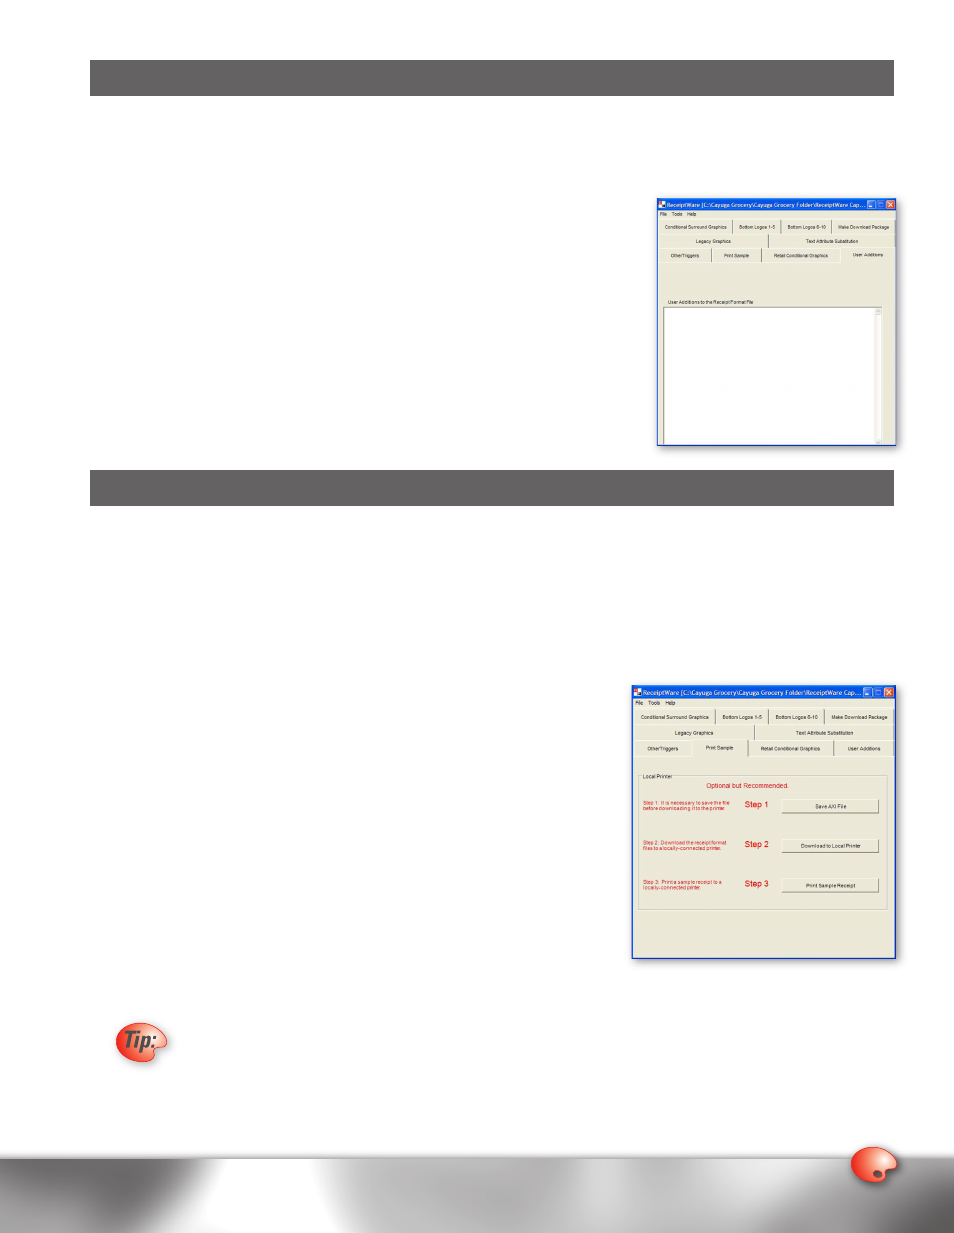
2. Click on User Additions tab.
3. Enter command sets into the field called User Additions to the Receipt Format File.
Print Sample
After you have created your Receipt Format file, you will want to see how all of your graphics and triggers will look on a printed
receipt. ReceiptWare’s Print Sample feature gives you the ability to do so. This function allows you to “print preview” the
Legacy Graphics, Text Attribute Substitutions, Retail Conditional Graphics, Conditional Surround Graphics, Legacy Color Triggers,
Logo Suppression Triggers, and User Additions that you specified. With a sample of the graphics, triggers, and instructions in
your hand, you can go back into the AXI file and make adjustments before saving the final copy and deploying it.
Using the Print Sample Tool
1. Open the ReceiptWare software application.
2. Click on the Print Sample tab.
3. Click on the Save AXI button if you have not already saved it.
4. Assuming that you have a POS printer attached to your PC and a copy of the
POS Download Utility installed, click on the Download to local Printer
button. The POS Download Utility will execute. You can follow the
progress by reading the messages in the status window. When the download
is complete, the POS Download Utility will close. If there was no error
downloading the file to the printer, you will receive no further messages. If
there was an error, you will see a message box that indicates the location of
the status file that provides further information on the error.
Note: Depending upon the file size that is being downloaded to the printer, a one-
minute delay can be expected after the POS Download Utility launches.
Download progress can be monitored within the utility’s Status window.
5. Click on the Print Sample Receipt button located at the bottom of the screen. A sample receipt will print.
To print a sample, a TPG printer must first be connected to and communicating with the PC on which you
are operating. Please make sure that your printer’s communication settings are configured to operate with
ReceiptWare’s POS Download Utility. We also recommend optimizing your printers logo storage space by
reallocating the printers memory. Please consult the relative printer User Guide to learn how to change a
printer’s communication and memory configurations.