4 preset load and save management – Analog Way QuickMatriX User Manual
Page 42
42
- MIRROR BUTTON:
the mirror button allows you to define for each layer the
way it will be copied in the preset. You can choose to mirror the layer or flip the position.
7.3.4 Preset load and save management
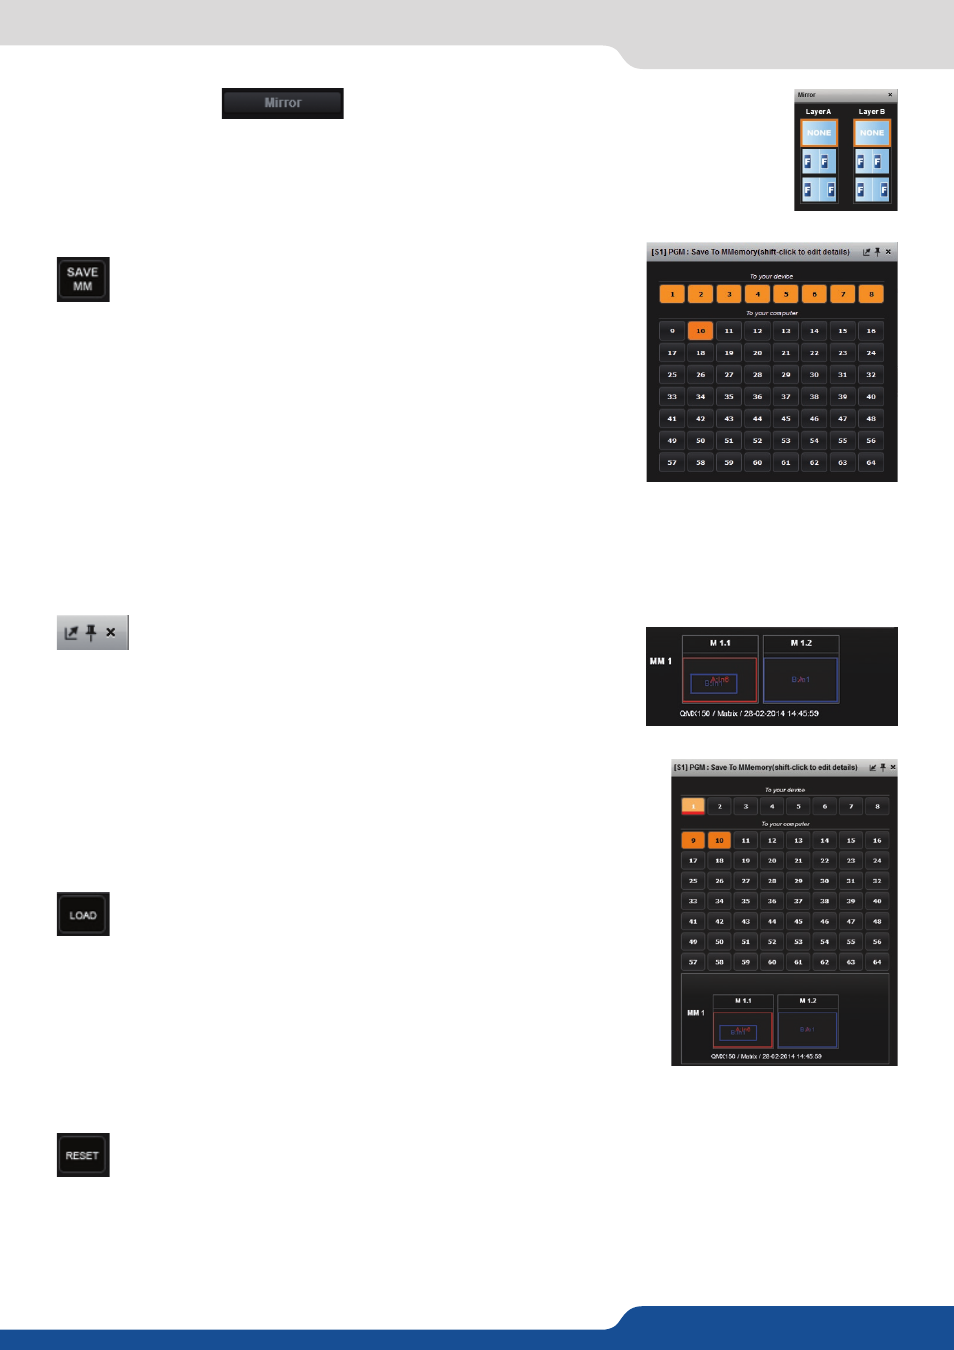
Save a preset
Once your preset is set up, you can store it into one of the 64
preset slots. To do that, click on SAVE MM and choose the number
corresponding to the slot number.
WARNING: in the RCS², you cannot save a preset for only 1 screen when
you are in matrix mode, only MASTER MEMORIES can be saved into the
EDIT section.
In addition, in the EDIT section, as you work on screen by screen, the load
button loads only single memory. You will find the load MASTER MEMORIES
in LIVE MODE.
The first 8 presets are stored into the unit, all the other presets are stored locally on your computer, and will
only be available when using the RCS2 software.
If you want to have more details, you can SHIFT+CLICK on any preset to bring up a detailed status window. In
this window, you can rename each preset using the PRESET LABEL.
- The first icon displays a window with all preset detail,
- The second one allows you to let the windows open,
- The last one quits the window.
Load a preset
To recall a previously saved preset, click the Load button (on the right
side of each screen) and select a preset to load.
Reset button
You can reset a screen using the reset button. Using that, all sizes and positions will be deleted. Your
layers will be reset. If the «HIDE UNUSED LAYERS» button is enabled and all of your layers are empty
and hidden, you can still access the layers using the layer icons on the left side of each screen.
7.3.4 Preset load and save management