Driverack, Geq select link/unlink, Program 1 – dbx DriveRack 260 User Manual
Page 34: Comp select link/unlink, Mono dly 1.3 10 ms unused select link/unlink, 1x1 filter select route, Post eq link/unlink, Limiter select link/unlink, Output ch2 route name output ch2
26
DriveRack
®
DriveRack® User Manual
Section 3
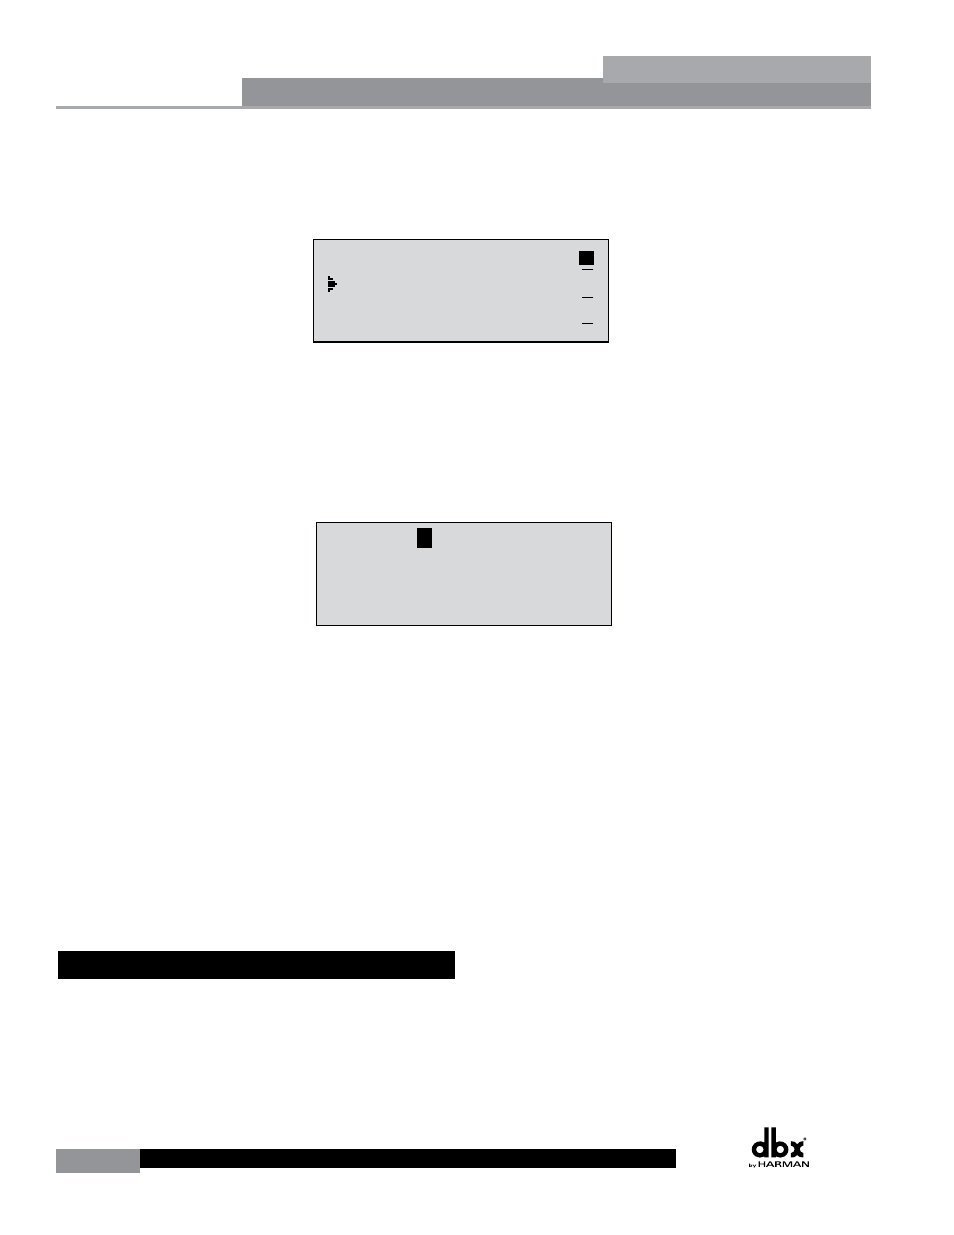
once you have exited Configuration mode. Pressing and then rotating the DATA wheel lets
you link or unlink the Output Delay modules as desired. Use the PREV PG and NEXT
PG buttons to move through outputs 1-6, allocating delay and linking/unlinking modules as
necessary, then to the next module screen which will appear something like this:
GEQ
Select
Link/Unlink
- SELECT CHARACTER
NAME:
O
utput Ch2
CONFIGURATION ERROR!
One or more outputs
have duplicated
channels.
M
6
4
2
5
3
1
M
A
B
Program 1
8
FACT
GEQ
GEQ
G
G
A
B
COMP
Select
Link/Unlink
A
B
2
N
C
F
N
S
D
D
P
2X6
P P
C
C
F
1
MONO DLY 1.3
10 ms Unused
Select
Link/Unlink
A
B
D
D
1X1 FILTER
Select
Route
2
A
A
3
4
A
B
5
6
A
A
2
POST EQ
Link/Unlink
2
3
4
5
6
2
P
P
P
P
P
P
LIMITER
Select
Link/Unlink
2
3
4
5
6
2
L
L
L
L
L
L
MONO DLY 20 MS
810 ms Unused
Select
Link/Unlink
2
3
4
5
6
2
D
D
D
D
D
D
OUTPUT CH2
Route
NAME Output Ch2
2
3
4
5
6
2
• You are now in the Output Route and Naming module. The arrow indicates whether
you can change the Routing or change the Name of the output. The output 1-6
indicators indicate which Output module block is currently selected. Rotate the DATA
wheel to change the Output Route. Pressing the DATA wheel in, then allows you to
rename the output. Turning the DATA wheel will allow you to select a predetermined
name. Pressing the STORE button will move you to the Naming Page which appears
something like the following display:
GEQ
Select
Link/Unlink
- SELECT CHARACTER
NAME:
O
utput Ch2
CONFIGURATION ERROR!
One or more outputs
have duplicated
channels.
M
6
4
2
5
3
1
M
A
B
Program 1
8
FACT
GEQ
GEQ
G
G
A
B
COMP
Select
Link/Unlink
A
B
2
N
C
F
N
S
D
D
P
2X6
P P
C
C
F
1
MONO DLY 1.3
10 ms Unused
Select
Link/Unlink
A
B
D
D
1X1 FILTER
Select
Route
2
A
A
3
4
A
B
5
6
A
A
2
POST EQ
Link/Unlink
2
3
4
5
6
2
P
P
P
P
P
P
LIMITER
Select
Link/Unlink
2
3
4
5
6
2
L
L
L
L
L
L
MONO DLY 20 MS
810 ms Unused
Select
Link/Unlink
2
3
4
5
6
2
D
D
D
D
D
D
OUTPUT CH2
Route
NAME Output Ch2
2
3
4
5
6
2
• Turn the DATA wheel to change the selected character. Pressing the DATA wheel in
successively allows you to toggle between uppercase letters, lowercase letters, numbers,
and symbols/blank space. The PREV PG and NEXT PG buttons allow you to move
to the next or previous character (left and right). Once all of the naming assignments
have been made, press the UTILITY button to return to Configuration mode. Use
the PREV PG and NEXT PG buttons to move through outputs 1-6, re-routing and
renaming outputs as necessary, until you reach the next page. The display will now read
‘CONFIGURATION DONE’. If you have made all necessary changes, press the DATA
wheel to load these changes into your program. If you decide that you do not want to
load these changes, you can press and hold the CONFIG button until the display reads
‘Abort Config’. Either way you will now be back in Program Edit mode.
Important Note! You must navigate to the last page within Configuration mode and load the
new configuration (by pressing the DATA wheel) for any changes in Configuration mode to
take effect.
3.6 Saving Configuration Changes
Once your Configuration edits have been loaded, these new changes can be saved. Please
see section 3.4 ‘Saving Factory Program Changes’ for information on how to store and rename
the program. You can then make necessary processing parameter changes (i.e. crossover, EQ,
Delay adjustments, etc.).
Configuration Functions