Electronics LP2000_VAR User Manual
Page 11
11
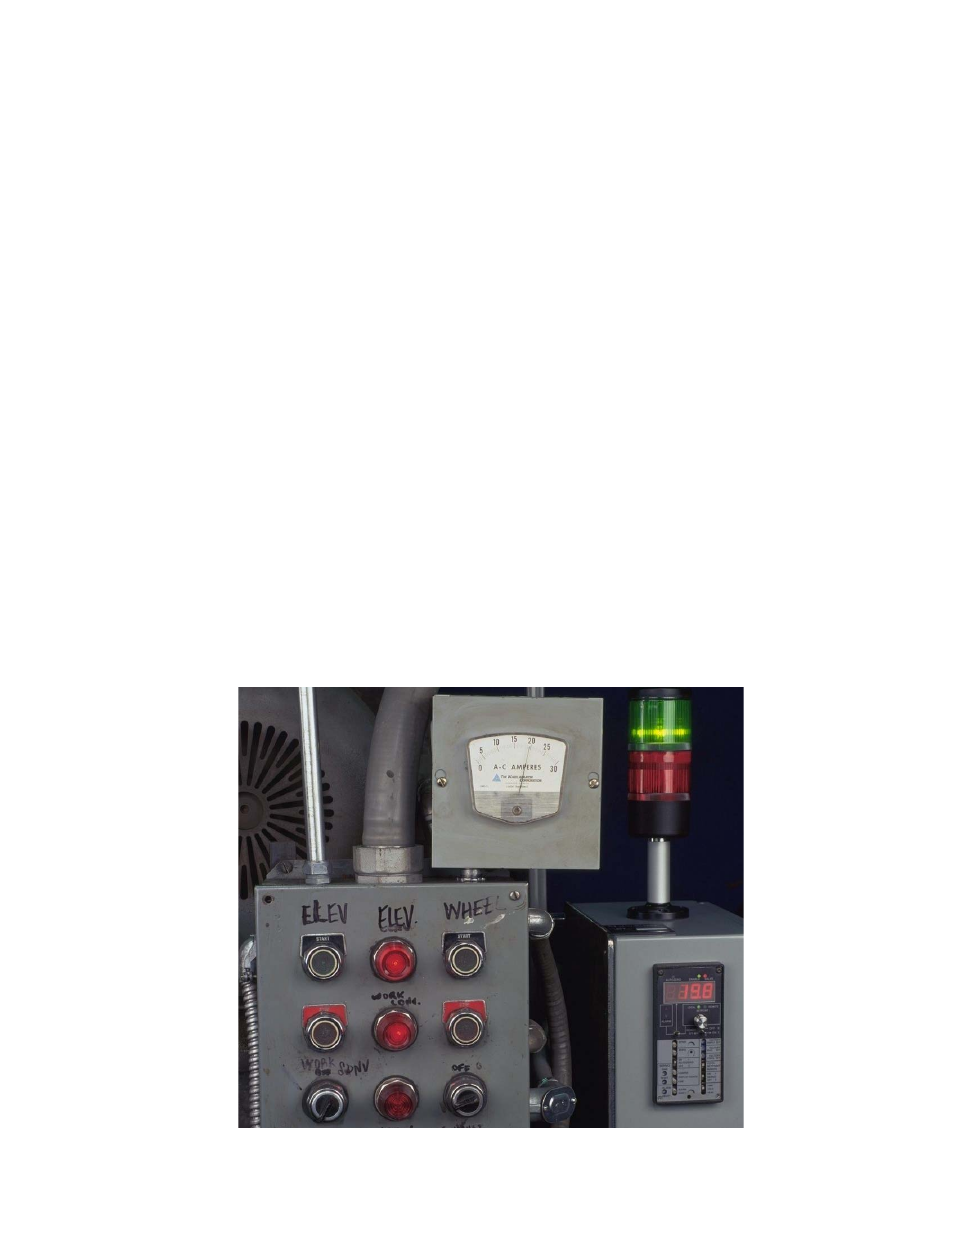
The last step of the installation is to adjust the AC controller to the same operating amperage
noted before at the beginning of the installation, 24 amps. Push and hold the Setpoint and press
the Down arrow until the value 24.0 appears in the display. Release the keypad and notice that
the display returns to show the no load amperage. Activate the MagnaValve, either by pressing
the Mode keypad to the on position, or pressing the Mode keypad to the Ready position and acti-
vate the blast machine automatic cycle. The enable green LED on the front of the AC controller
will come on and the valve red LED will start to blink, indicating that the valve is receiving power
pulses to allow shot to flow. After a few seconds the motor current will rise to the setpoint value,
in this case 24.0 amps. It is normal for the digital display to vary by +/- 0.2 amps. If the variation
is greater than this refer to the installation manual for the FC controller.
After several sample pipes have been cleaned at the standard conveyor speed the setpoint
should be adjusted for different flow rates to confirm the effect on cleaning rates. It was deter-
mined that on this machine the flow rate can be turned down to 14 amps at the original conveyor
speed and still obtain proper cleaning. Then, the conveyor was turned up to maximum speed and
the flow rate increased to pull 20 amps. The result was a doubling of the production rate and
(approximately) 25% less shot is being consumed or broken. Additionally, longer life can be ex-
pected for the wheel components and the blast cabinet and conveyor. These cost savings in con-
sumables and less maintenance due to air cylinder repair will help pay for the MagnaValve instal-
lation in a very short time.
This installation also included an alarm horn and a highly visible pedestal mounted light stalk with
green indicator to indicate shot flow and a red blinking indicator to show an alarm condition (such
as low shot flow). The elapsed meter for “abrasive on” time was included to verify the increased
productivity and reduced downtime.