Linearity calibration, Security bracket, Span calibration – Ohaus Scout II Electronic Balances User Manual
Page 23: Operation, Menu, Weigh below hook, Pan installation, Turning the balance on, Turning the balance off, Weighing
LINEARITY CALIBRATION
1. Activate linearity calibration through - LIN option under
.
2. When the balance displays
, press ReZero On.
will be
displayed followed by the value of the mass which must be placed on the pan.
Do not disturb the balance while
is displayed.
3. Place the displayed mass on the pan and momentarily press ReZero On.
is displayed, then the value of the second mass to be placed
on the pan is displayed.
4. Place the displayed mass on the pan and momentarily press ReZero On.
5. When the weight on the pan is displayed with the stability indicator,
the balance is calibrated.
When Linearity calibration is completed, the balance automatically exits
the menu and stores any changes you have made.
5
6
8
PAN SUPPORT
(400g/600g Balance Illustrated)
Weigh Below Hook
For below balance weighing applications (eg. density determination),
the weigh below hook may be installed at the bottom of the balance as
shown.
Do not over tighten the screw, tighten finger tight. Place the balance
on a suitable stand which will allow below balance weighing.
BOTTOM OF BALANCE
WEIGH BELOW HOOK
SECURITY
BRACKET
Security Bracket
A security bracket is provided at the rear of the balance which allows the
balance to be secured by the optional cable and lock accessory.
SPAN CALIBRATION
Scout
balances are calibrated before shipment, however calibration can
be affected by changes in location, temperature, or rough handling. Check
the balance with the calibration mass suppied. If calibration is required,
proceed as follows:
1. With the balance on, press and hold ReZero On until
is dis-
played then release it.
will be displayed followed by the value of
the mass which must be placed on the pan.
Do not disturb the balance while
is displayed.
2. Place the required mass on the pan and momentarily press ReZero On.
3. When the weight on the pan is displayed with the stability indicator, the
balance is calibrated. If Err1 and/or Err4 is displayed, perform linear-
ity calibration.
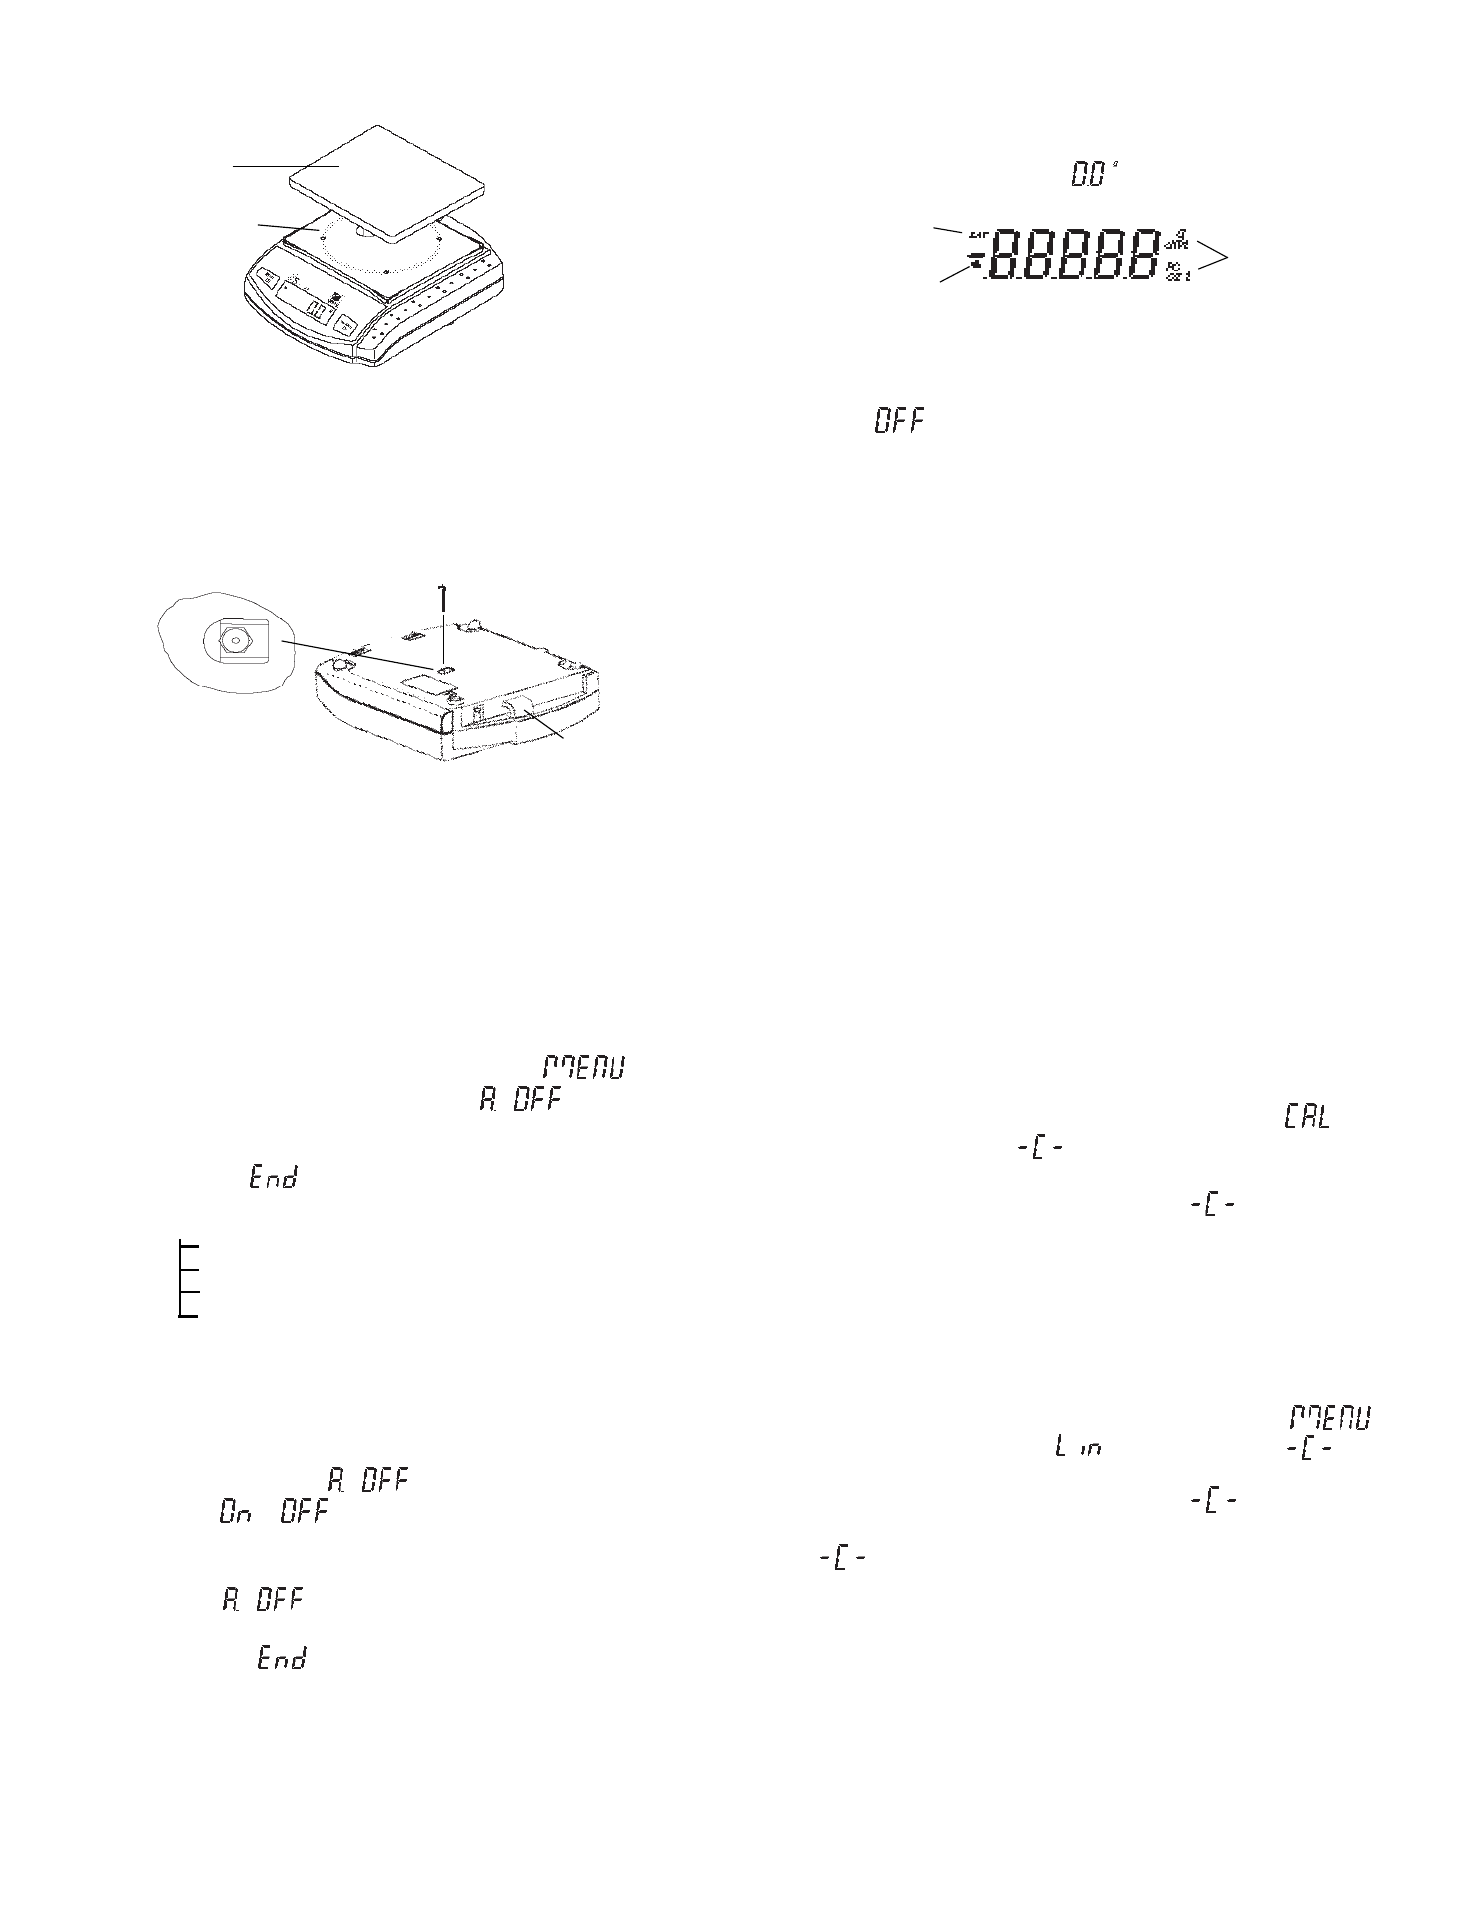
Pan Installation
Place the pan over the pan support as shown in the illustration.
7
PAN
OPERATION
Turning the Balance ON
Press ReZero On. All segments will appear briefly followed by a soft-
ware revision number and then
. Allow 5 minutes warm-up time.
Turning the Balance OFF
To turn the balance OFF, press and hold Mode Off until the display
indicates
, then release.
Weighing
The balance is shipped from the factory ready to weigh in g, oz, oz t and dwt.
1. Select the desired weighing unit by momentarily pressing Mode Off.
2. If it is necessary to rezero the display, momentarily press ReZero On.
3. Place item(s) to be weighed on the pan and read the weight on the display.
The stability indicator appears when the reading is stable.
Taring
When weighing items that must be held in a container, taring subtracts
the container's weight from the total weight on the pan.
1. With an empty container on the pan, press ReZero On to zero the display.
2. As material is added to the container, the net weight is displayed.
Tared weight remains in balance memory until ReZero On is pressed
again.
STABILITY
INDICATOR
Balance Display
LOW BATTERY
INDICATOR
WEIGHING UNIT
INDICATORS
*
The User Menu permits you to activate the Auto Shut-off feature, avail-
able weighing units, parts counting and Linearity calibration.
1. With the balance off, press and hold ReZero On until
is
displayed, then release it. The first menu item
will be dis-
played.
2. Repeatedly press Mode Off to change to another menu item or to exit,
press Mode Off until
is displayed, then press ReZero On.
MENU
A.OFF - Set to On or Off.
UNITS - - Set each to On or Off. See table below.
LIN - Performs linearity calibration.
END - Exit menu and store settings.
Auto Shut-off
When Auto Shut-off is activated, the balance will shut off after three min-
utes of non use.
1. When the balance displays
, press ReZero On to view the
current setting
or
.
2. To change the displayed setting, press Mode Off.
3. To accept the displayed setting, press ReZero On. The display will
again indicate
.
4. Repeatedly press Mode Off to change to another menu item or to exit,
press Mode Off until
is displayed, then press ReZero On.
MENU