Pc 6415 – Acnodes PC 6415 User Manual
Page 30
14628 Central Blvd,
Chino, CA91710
tel:909.597.7588, fax:909.597.1939
© Copyright 2011 Acnodes, Inc.
All rights reserved. Product descrions
are subject to change without nomation,
please visit Acnodes’ web site at
PC 6415
15” Fanless Pa
4.7 HDD INSTALLATION (PC6412 AND PC6415 ONLY)
To install the HDD into the PC6412/ PC6415, please follow the
Step 1: Remove the aluminum cover.
Step 2: Remove the four HDD bracket retention screws and liftet off
the panel PC.
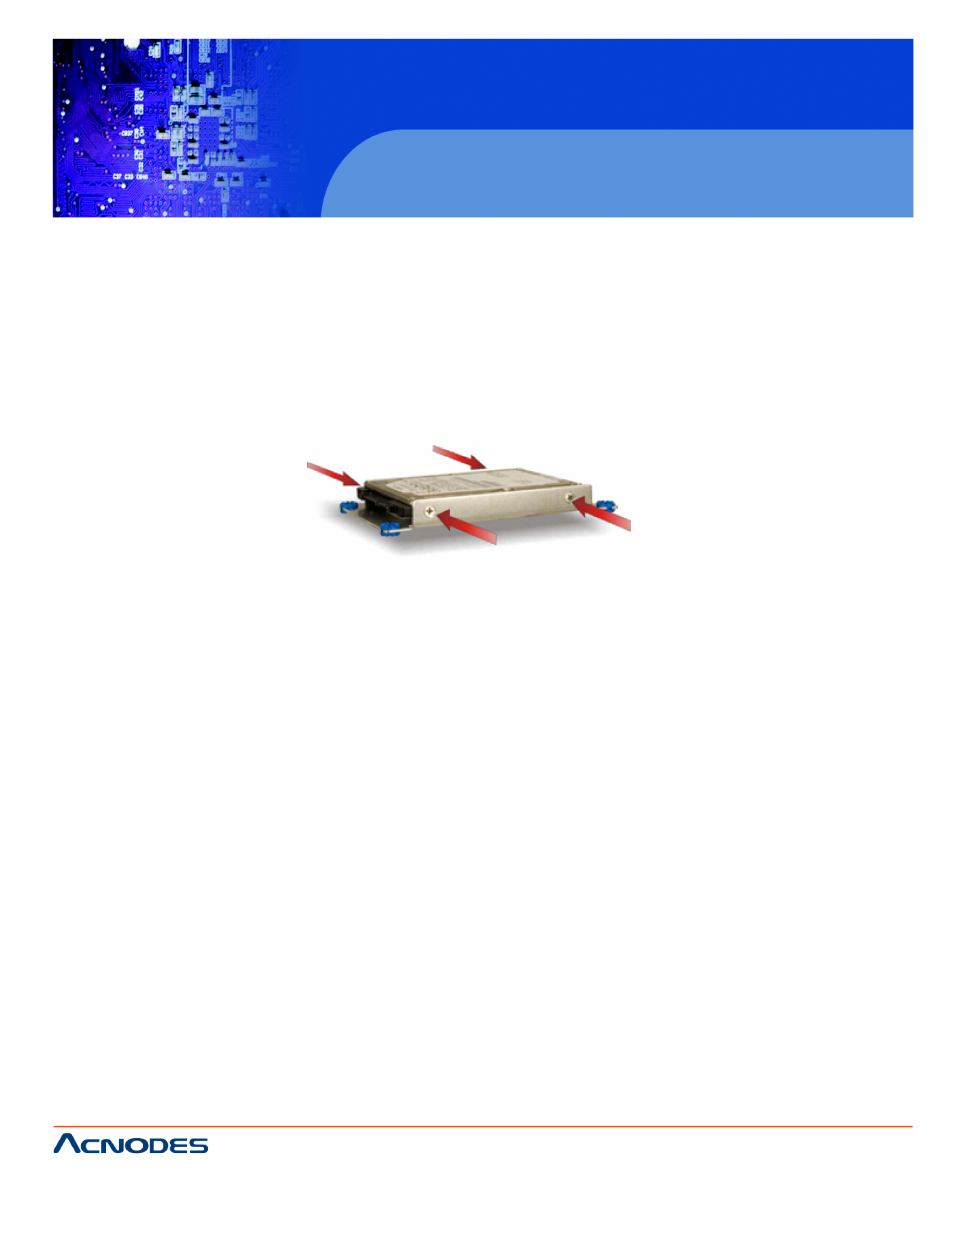
Step 3: Attach the HDD brackets to the HDD. To do this, align t screw
holes in the both sides of the HDD bracket with the retention scr sides
of the HDD. Insert four retention screws into the HDD bracket (F
Step 4: Connect the SATA cable to the rear of the HDD and thor on
the motherboard.
Step 5: Install the HDD into the PC6412/ PC6415 by aligning tw holes
in the HDD brackets with the retention screw holes on the chassr reten-
tion screws.
Step 6: Replace the aluminum back cover to the chassis.
Step 7: Replace the plastic back cover.
4.8 AT/ATX MODE SELECTION
AT and ATX power modes can both be used on the PC Series-tion is
made through an AT/ATX switch on the bottom panel. To select mode,
follow the steps below.
Step 1: Locate the AT/ATX switch on the bottom panel (Figure
Step 2: Adjust the AT/ATX switch.