Returning to an earlier system snapshot – Acer Aspire V5-571G User Manual
Page 34
13
Eng
lish
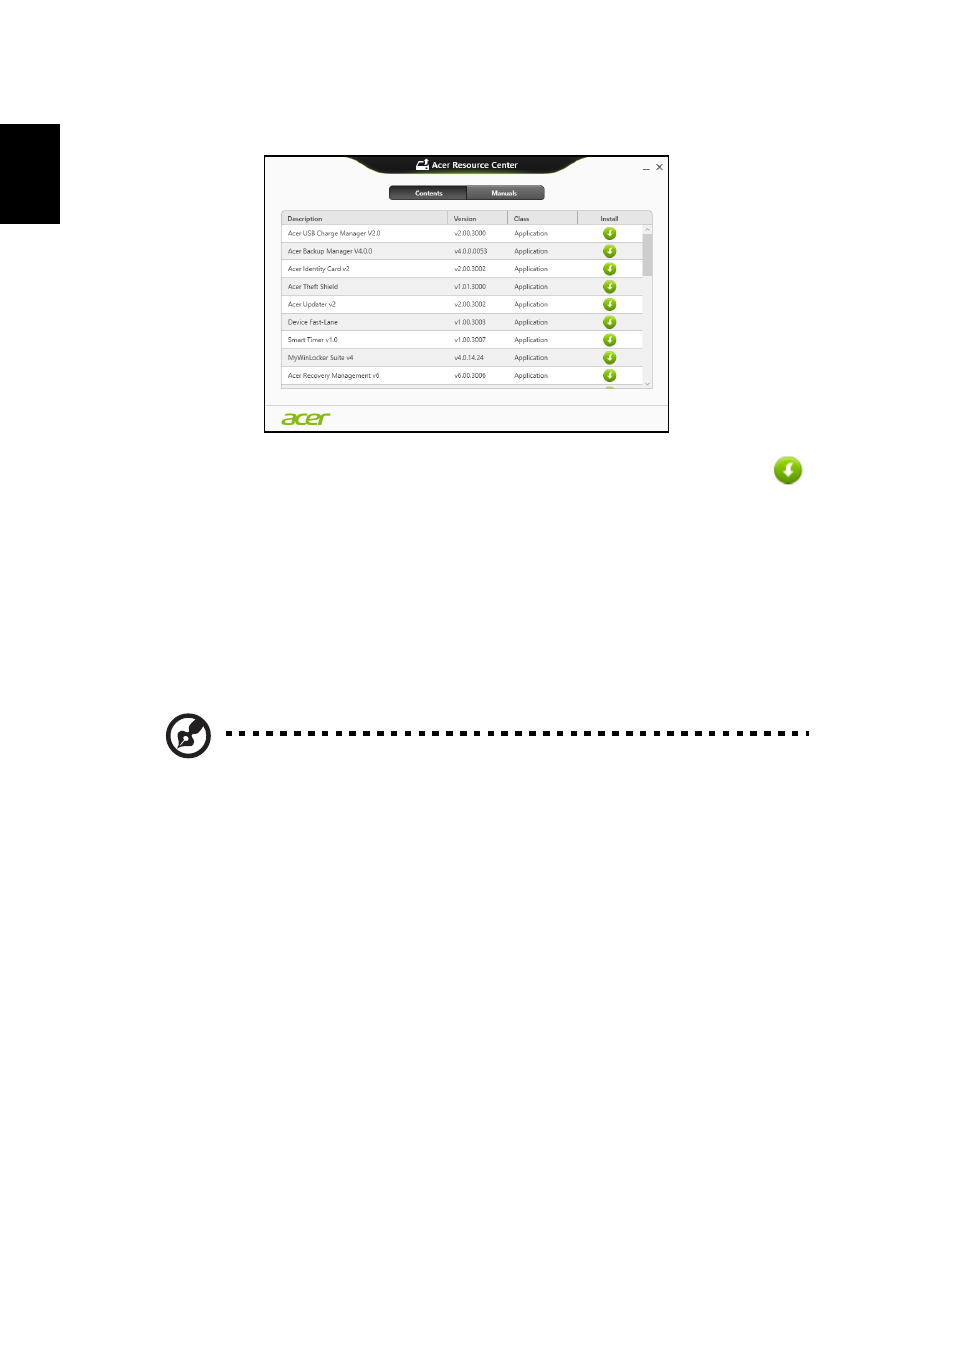
2. You should see the Contents section of the Acer Resource Center.
3. Click the install icon for the item you want to install, then follow the
onscreen prompts to complete the installation. Repeat this step for each
item you want to reinstall.
Returning to an earlier system snapshot
Microsoft System Restore periodically takes a 'snapshot' of your system settings and
saves them as restore points. In most cases of hard-to-resolve software problems,
you can return to one of these restore points to get your system running again.
Windows automatically creates an additional restore point each day, and also each
time you install software or device drivers.
Note: For more information about using Microsoft System Restore,
from Start, type 'Help' and then click Help and Support in the list of
apps. Type 'Windows system restore' in the Search Help box, then
press Enter.
Returning to a restore point
1. From Start, type 'Control Panel' and then click Control Panel in the list of apps.
2. Click System and Security > Action Center, then click Recovery at the bottom
of the window.
3. Click Open System Restore, then Next.
4. Click the latest restore point (at a time when your system worked correctly), click
Next, then Finish.
5. A confirmation window appears; click Yes. Your system is restored using the
restore point you specified. This process may take several minutes, and may
restart your computer.
- Aspire V5-431 Aspire V3-471 Aspire V3-571G Aspire V3-771 Aspire EC-471G Aspire E1-421 Aspire V5-431G Aspire E1-531 Aspire V5-571 Aspire E1-571G Aspire V3-531G Aspire V3-551 Aspire V5-531 Aspire V3-551G Aspire E1-521 Aspire E1-571 Aspire V3-571 Aspire E1-471 Aspire V5-531G Aspire E1-431 Aspire V3-431 Aspire V5-471 Aspire E1-471G Aspire V3-731G Aspire E1-431G Aspire E1-531G Aspire V3-471G Aspire V5-471G Aspire V3-531 Aspire V3-731 Aspire V3-771G