Operation, Power on, 5 remove the lens cap – VIEWSONIC PJ751 User Manual
Page 16: 6 adjust picture size using the zoom knob, 7 adjust focus with the focus ring, Power off
ViewSonic PJ751
13
OPERATION
Power ON
1 Check to be sure the power cord is connected correctly.
2 Set the power switch to [I]. When the standby mode is selected, the POWER indicator is orange.
3 Press the STANDBY/ON button on the control panel or the remote control device. The warm-up
starts and the POWER indicator blinks green.
4 The POWER indicator stops blinking and turns green when the power is on.
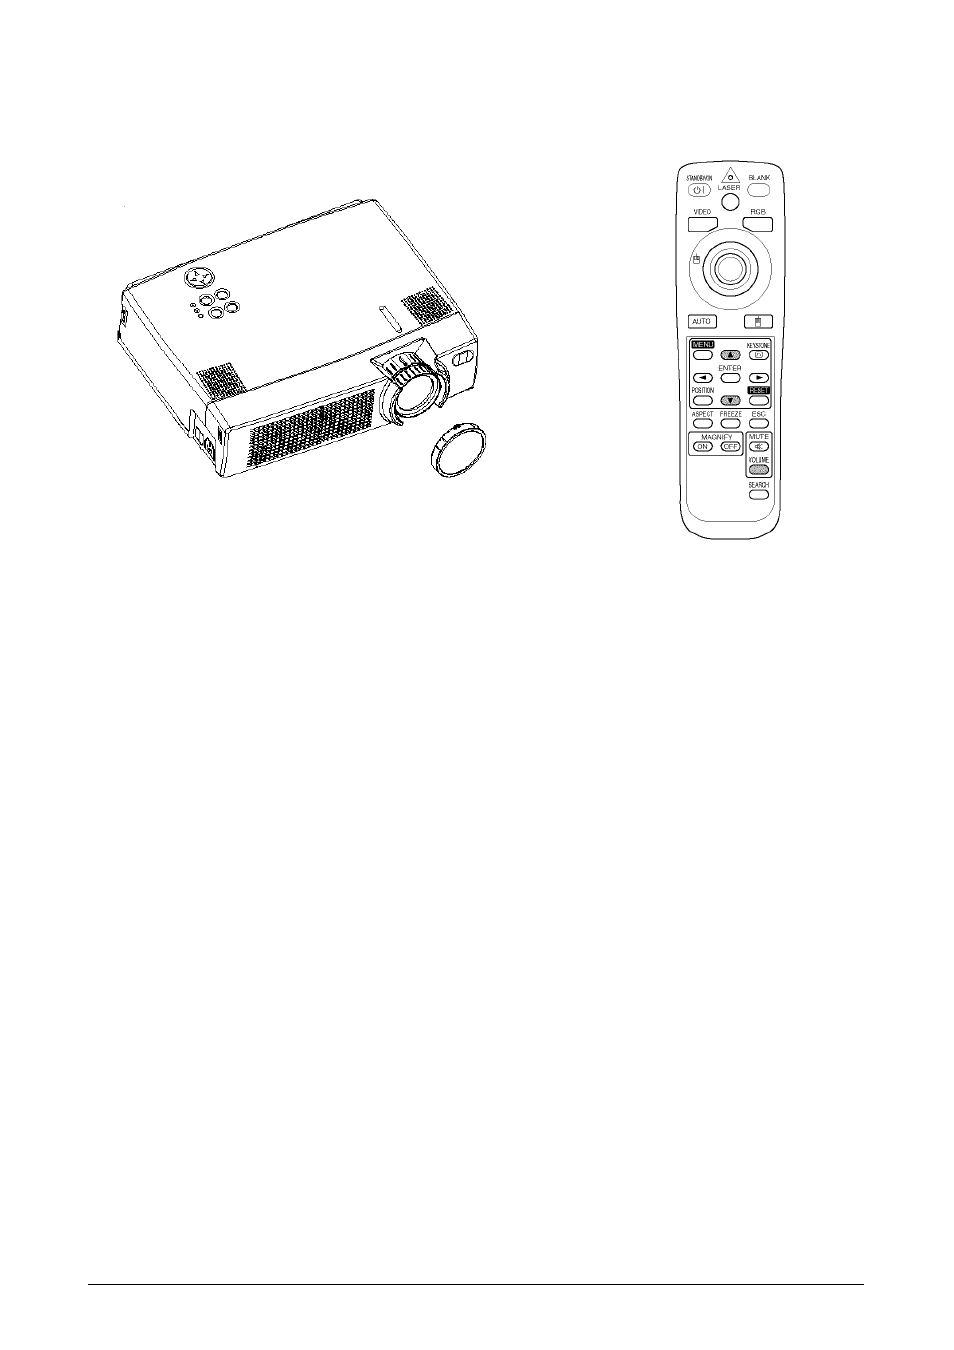
5 Remove the lens cap.
6 Adjust picture size using the ZOOM Knob.
7 Adjust focus with the FOCUS Ring.
Power OFF
1 Press the STANDBY/ON button on the control panel or the remote control device. The message
"Power off?" will appear on the screen. The message will disappear by any operation or if no
operation is carried out for 5 seconds. During this message indication, press the STANDBY/ON
button again. The projector lamp is turned off and the lamp will cool down. The POWER indica-
tor blinks orange when the lamp cools down. Pressing the STANDBY/ON button has no effect
while the POWER indicator is blinking.
2 The system goes into the Standby mode after cooling, then the POWER indicator stops blinking
and changes to orange. Check to be sure the indicator is orange then set the power switch to [0].
3 The POWER indicator is extinguished when power is off. Be sure to replace the lens cap.
NOTE:
• Except in emergencies, follow the above-mentioned procedure for turning the power off. Incor-
rect procedure will shorten the life of the projector lamp and LCD panel.
• To prevent any trouble, turn the projector on/off when the computer or video tape recorder is
OFF. Providing a RS-232C cable is connected, turn on the computer before switching on the pro-
jector.
POWER Indicator
Power Switch
Lens cap
FOCUS Ring
ZOOM Knob
STANDBY/ON
Button
STANDBY/ON Button