Toshiba GA-1190 User Manual
Page 38
5 CONFIGURING NETWORKS (EQUIPMENT)
36 TCP/IP Configuration
7
Press the [ENTER] button.
The screen returns to the shown in step 5.
3
Press
or
to select NET-
WORK, and then press the
[ENTER] button.
4
Press
or
to select TCP/
IP, and then press the [ENTER]
button.
5
Press
or
to select
ADDRESS MODE, and then
press the [ENTER] button.
6
Press
or
to select the
desired method of automatic
IP address assignment.
DYNAMIC: Obtains an IP address automatically using the Auto IP function and
DHCP.
NO AUTOIP: Obtains an IP address automatically using DHCP.
8
Press the [CANCEL] button
once to return the screen to
the NETWORK menu screen.
If you press the [CANCEL] button more than twice and exit the NETWORK menu, the
NIC initialization operation in the next step becomes ineffective. In this case, repeat the
procedure from step 1.
9
Press
or
to select COM-
PLETE, and then press the
[ENTER] button.
The initialization starts and “Initializing”
appears. When it is completed,
“Operation Completed” appears and the
screen returns to the one shown in step
3.
INITIAL SETUP
03.DRAWER SET POP-UP
04.TERMINAL ID
05.NETWORK
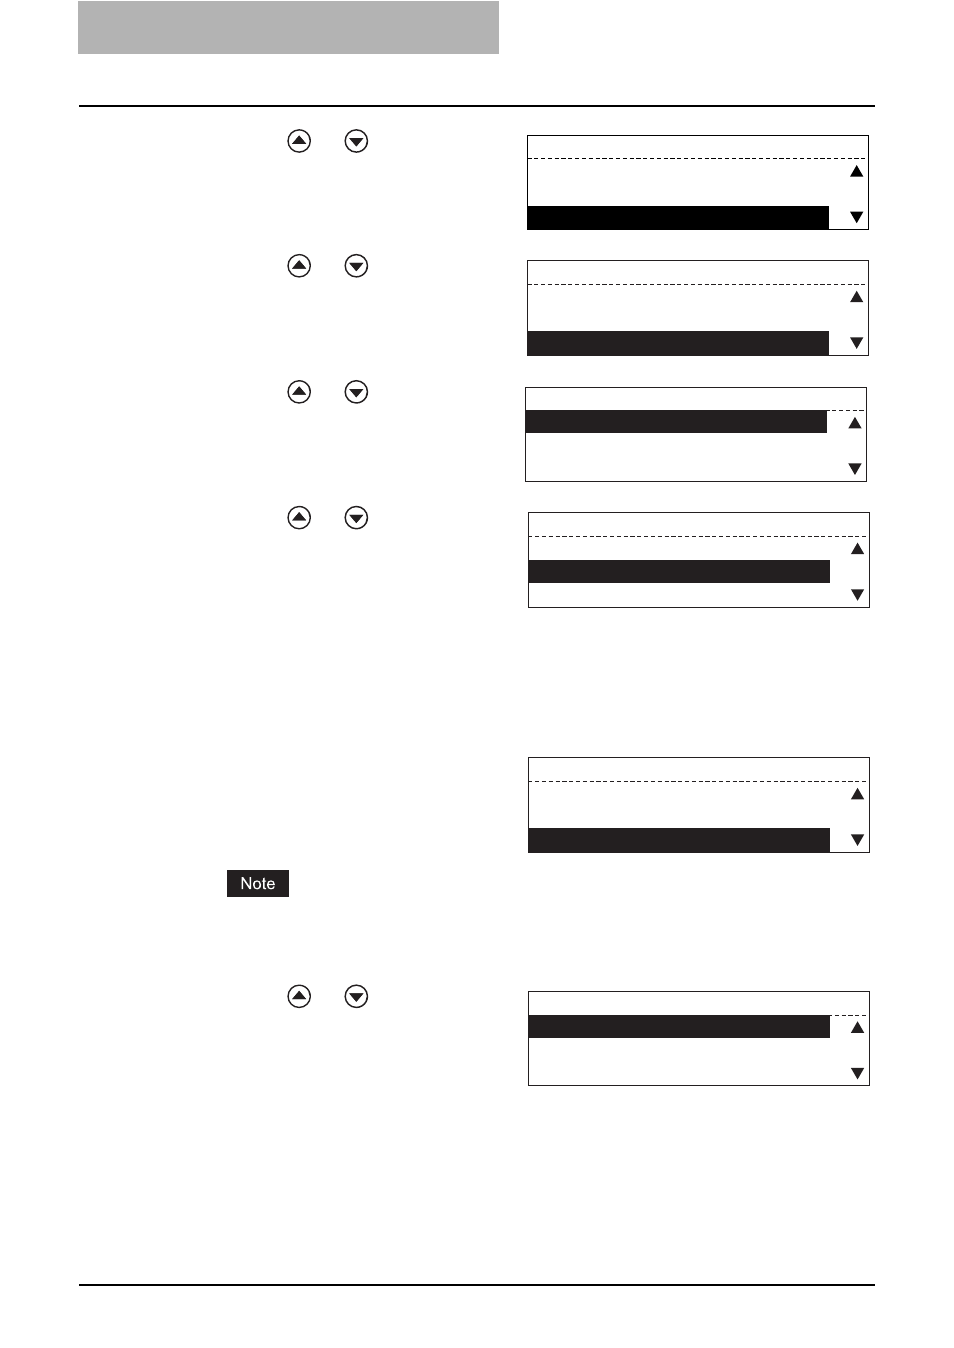
NETWORK
01.COMPLETE
02.ETHERNET
03.TCP/IP
TCP/IP
01.ADDRESS MODE
02.IP ADDRESS
03.SUBNET MASK
ADDRESS MODE
1.STATIC IP
2.DYNAMIC
3.NO AUTOIP
NETWORK
01.COMPLETE
02.ETHERNET
03.TCP/IP
NETWORK
01.COMPLETE
02.ETHERNET
03.TCP/IP