Setting up the copier settings, P.98 “setting up the copier settings – Toshiba GA-1190 User Manual
Page 100
10 TopAccess ADMINISTRATION TAB PAGE - SETUP
MENU (Printing Function)
98 Setting up Copier Settings
5
Click [OK] to apply the changes.
When using the Internet Explorer, the settings that are displayed in each field may not be
changed even if you change the settings and click [Save]. However, the settings have
been changed in the equipment. In that case, click the Copier submenu then the page
displays the current settings in each field.
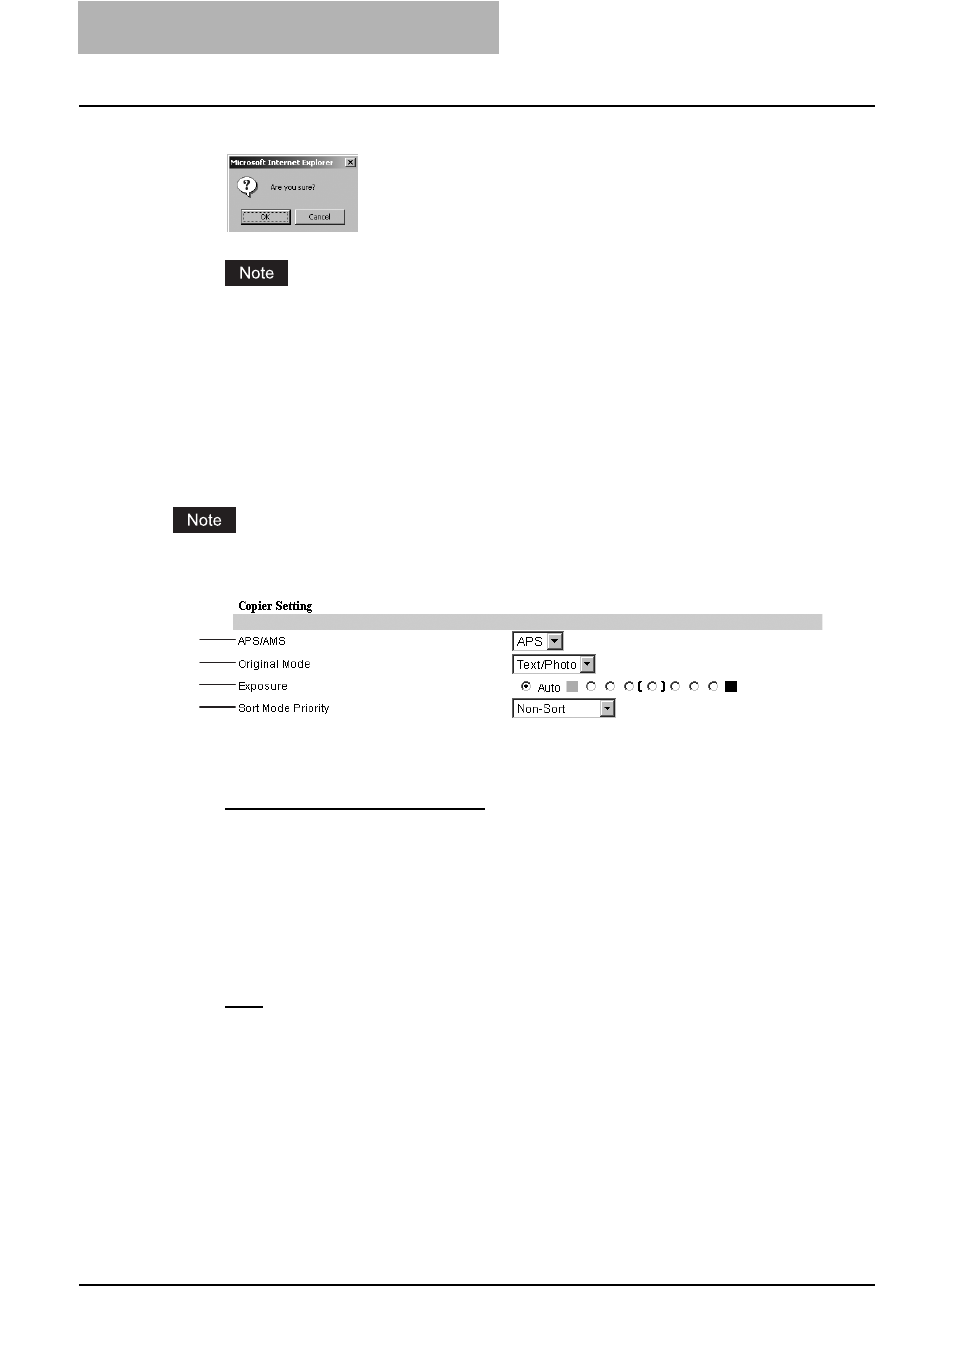
Setting up the copier settings
In Copier Settings, you can set the default copier settings that apply for copy operation from the
LCD of this equipment.
Depending on the settings in this equipment, some copier setting items may not be displayed.
1) APS/AMS
Select whether to give priority to APS or AMS, or to disable the priority.
- APS (Automatic Paper Selection) — Automatically detects the size of the originals and
selects the drawer in which paper of the same size as the originals is used.
- AMS (Automatic Magnification Selection) — Automatically sets the reproduction ratio
to match the scanned original data to the paper size in the selected drawer.
- No — Disable priority.
2) Original Mode
Select the default original mode for black/white originals.
3) Exposure
Select the type of image density for black and white copy.
- Auto — Select this to set the Auto mode as the default exposure for black and white
copy. The Auto mode automatically detects the density of the original to make copies at
the optimum exposure.
- Manual — Select this to set the density level manually within 7 stages.
4) Sorter Mode Priority
Select the default sort mode for copying.
1
2
3
4