Setting up the netware print, P.114 “setting up the netware print – Toshiba GA-1190 User Manual
Page 116
10 TopAccess ADMINISTRATION TAB PAGE - SETUP
MENU (Printing Function)
114 Setting up Print Service Settings (Printing Function)
5) Administrator’s Name
Enter the administrator’s user name to be allowed to perform the [Cancel All Documents]
function. The user who log in to the computer using this administrator’s name can delete all
jobs in the IPP queue by selecting [Cancel All Documents] command in the [File] menu of
printer queue dialog box on Windows.
6) Administrator’s Password
Enter the password of user to be allowed to perform the [Cancel All Documents] function.
7) Authentication
Enable or disable the authentication for creating the IPP queue on the client computers.
When this is enabled, the dialog box to enter a user name and password will be displayed
when a user creates the IPP print port.
- Disable — Select this to disable the authentication.
- Basic — Select this to enable the authentication.
To enable the authentication, be sure to select “Basic”. If “Digest” or “Basic Digest” is
selected, users no longer create the IPP print port, because “Digest” or “Basic Digest” is not
supported for Windows.
8) User Name
Enter the user name for authentication.
9) Password
Enter the password for authentication. “123456” has been set as the default.
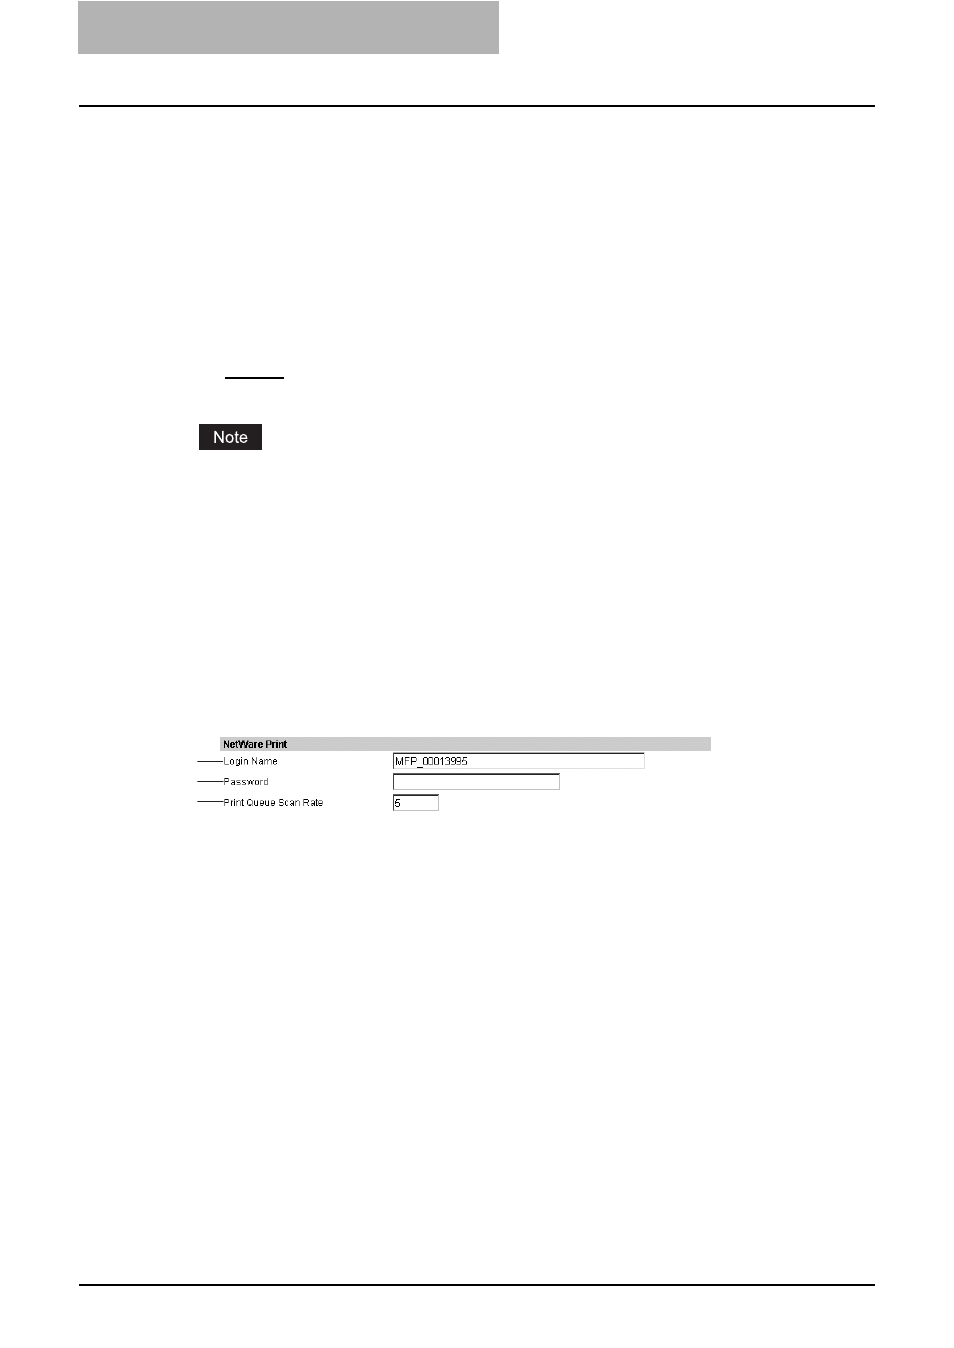
Setting up the NetWare print
In NetWare Print, you can set the NetWare print options to enable the Novell print service.
1) Login Name
Enter the print server name that is created in the NetWare file server.
2) Password
Enter the password that is set to the print server, if required.
3) Print Queue Scan Rate
Enter how frequently to scan the print queues for print jobs. This should be entered in sec-
ond. You can enter between 1 to 255.
1
2
3