Selecting the reception paper size – Toshiba Copier User Manual
Page 19
INITIAL SETTINGS
2-11
Fax Setup
On the control panel, you can select the paper size that you want received faxes to
be printed on (AUTO, A4, Letter, Legal). If you select the AUTO setting the unit
automatically prints the fax out on the most appropriate size paper.
Follow the procedure below:
Factory setting: 4 (AUTO)
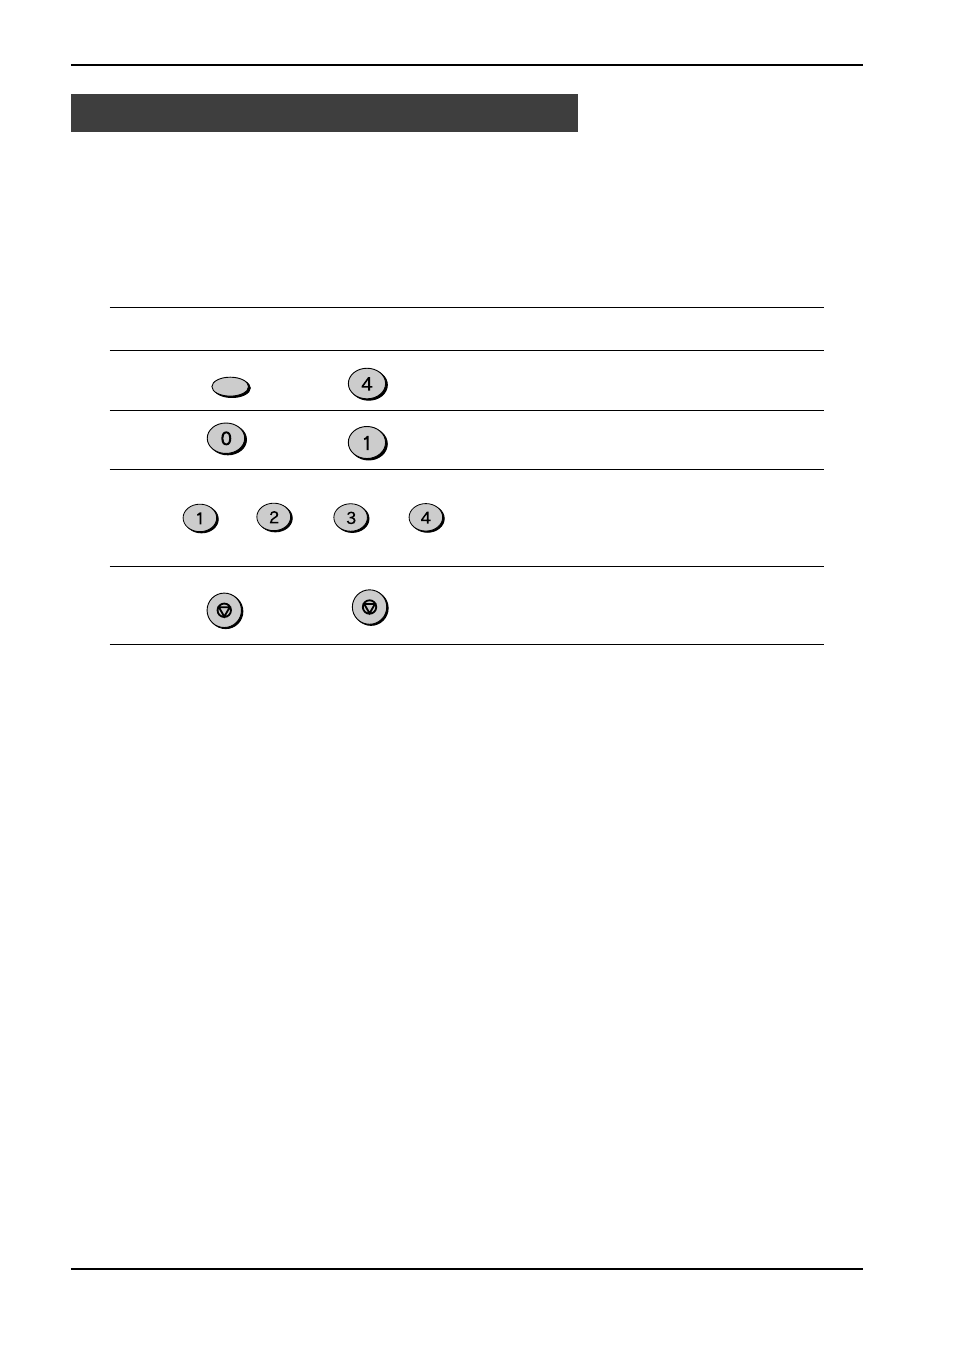
Step
Press these keys
Comments
1
“OPTION SETTING” will appear
in the display.
2
“PRINT PAPER SIZE ” will
appear in the display.
3
Press 1 for letter, 2 for legal, 3
for A4, or 4 for AUTO.
“STORED” will appear in the
display.
4
Press the STOP key twice to
exit.
Note: If the size setting on the control panel differs from the size actually in the
paper trays, the error message “PAPER OUT (XX)” appears on the display
(for example, if you have set A4 on the control panel and the paper trays
contains letter-size and legal-size paper). When this happens, the received
fax is saved in memory and printed when you do either of the following.
•
Correct the setting on the control panel
•
Put paper of the selected size in the paper tray and set the size with function
(See the section “Setting the Paper Size”)
Selecting the Reception Paper Size
FUNCTION
GHI
or
ABC
STOP
STOP
or
DEF
or
GHI