Deploying namespace (step-by-step guide) – Tandberg Data NAS Hardware Viking FS-1500 User Manual
Page 98
Tandberg Data
Distributed File System
__________________________________________________________________________________________________
7-8
Tandberg Viking Series Storage Server Administration Manual
7.5.
Deploying Namespace (Step-by-Step
Guide)
The tasks in this section walk you through the process of deploying a
namespace that looks similar to the namespace shown in the figure that
appears in "DFS Namespaces" earlier in this chapter.
7.5.1. Create a Namespace
To create a namespace:
1. In the console tree of the DFS Management snap-in, right-click the
Namespaces node, and then click New Namespace.
2. Follow the steps in the New Namespace Wizard and supply the
information described in the following:
o
Namespace Server - Enter the name of the server to host
the namespace. The server can be a domain controller or a
member server.
o
Namespace Name and Settings - In Name, type Public.
o
Namespace Type - If Active Directory is deployed in your
test lab and you are a member of the Domain Admins group
or have been delegated permission to create domain-based
namespaces, choose Domain-based namespace.
Otherwise, choose Stand-alone namespace. To learn how
a member of the Domain Admins group can delegate
permission to create domain-based namespaces, see
"Security requirements for creating and managing
namespaces" in DFS Management Help.
o
Review Settings and Create Namespace - Click Create to
create the namespace.
o
Confirmation - Click Close to close the wizard.
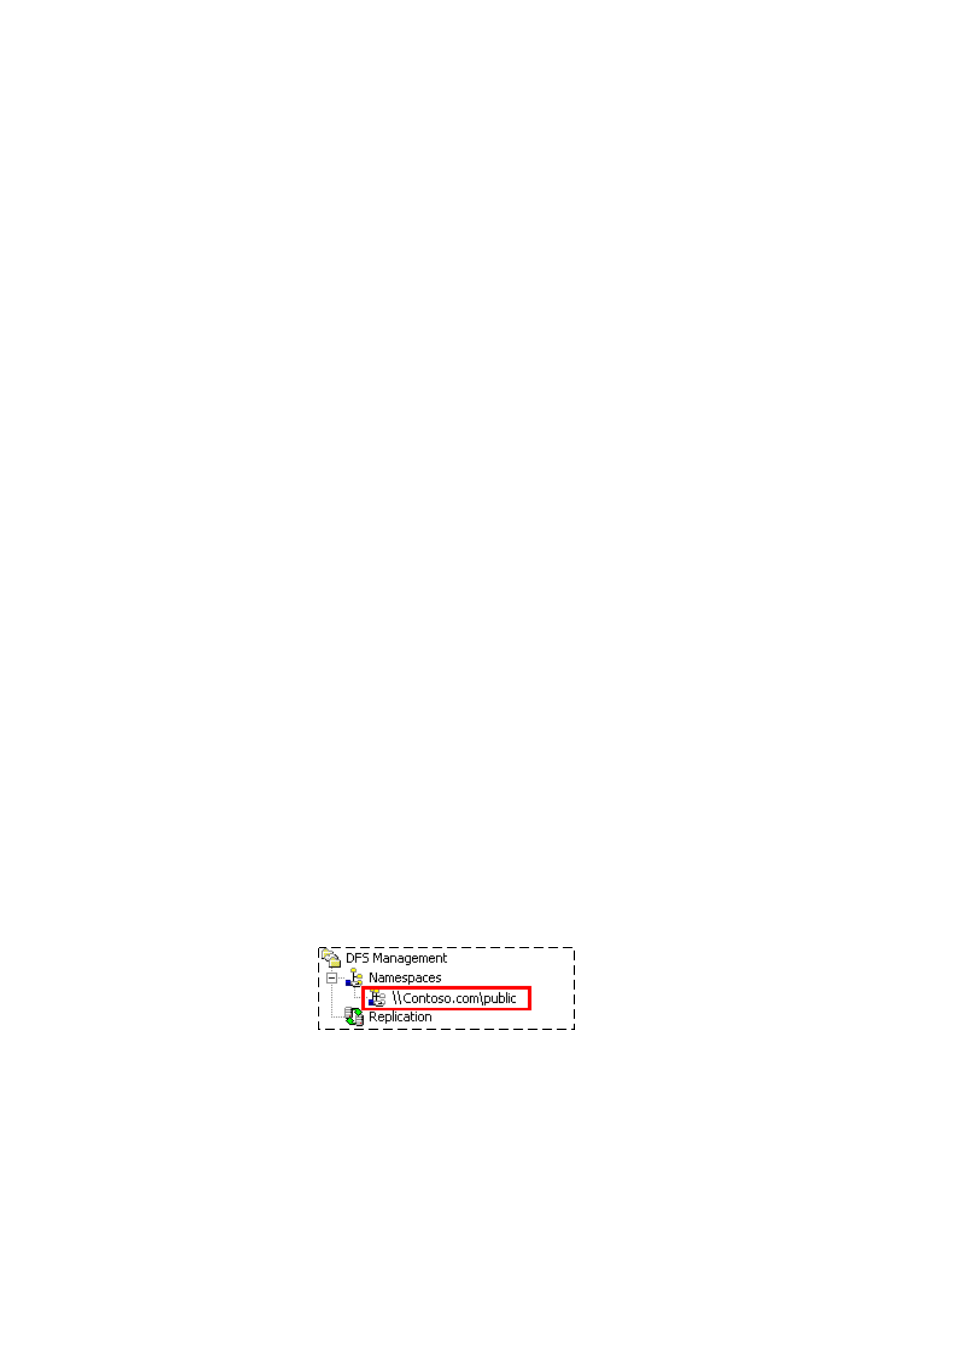
When the wizard finishes, your new namespace will be added to the console
tree. Double-click the Namespaces node, if necessary, to view your
namespace, which should be similar to the following figure.
To browse the new namespace, type the following command in the Run
dialog box, substituting either the server name (if you created a stand-alone
namespace) or the domain name (if you created a domain-based
namespace) as appropriate:
\\server_or_domain\Public