TechniSat DIGITY CI Operating Manual User Manual
Page 36
In the menu, enter the value for geographical latitude as a
decimal value correct to one decimal place (
50,2) .
The decimal equivalent of the longitude can be calculated in
the same way.
8.3 Setting the satellite position
Work progressively through points 8.3.1 to 8.3.3 for each of
the satellite positions to be entered. We recommend that you
start by programming the most easterly satellite first. Then
proceed to enter each additional satellite position, working in
a westerly direction, until you reach the most westerly satellite
position.
Your receiver is programmed at the factory for the most com-
mon satellite positions. In addition you can enter and configu-
re user-defined satellite positions for any orbital position (User
1 to User 14 ).
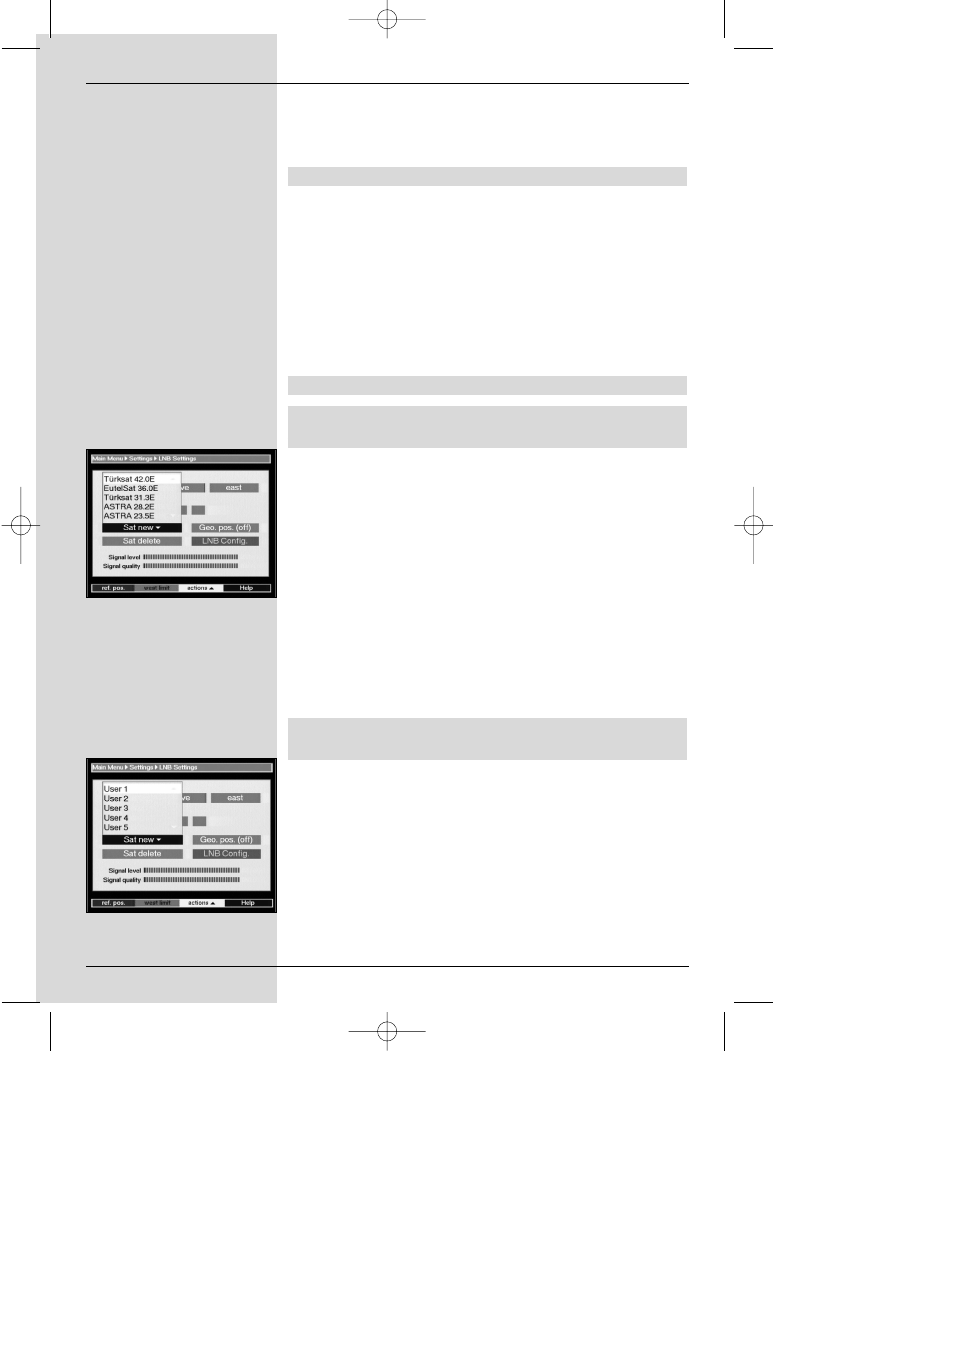
8.3.1 Selecting satellite positions
8.3.1.1 Selecting a pre-programmed satellite
position
>
To enter a satellite position in the satellite list, use the
arrow keys to mark the field
Sat new.
>
Confirm by pressingt
OK.
A list of all available satellite positions will be
displayed.
(Fig. 8-10)
>
Use the arrow keys up/down to mark a satellite
position that you wish to include in the satellite list.
>
Press the
OK key to accept the selection into the list.
In the position
Geo-positioning on (Point 8.2) the dish
antenna will now be automatically rotated to the programmed
satellite position. The rotation procedure is indicated by a
blinking message “rotating”.
In the position
Geo-positioning off you will have to rotate
the antenna manually to the desired satellite position (Point
8.3.2.2).
8.3.1.2 Setting user-defined satellite positions (User
Satellite)
>
To accept a satellite position into the satellite list, use
the arrow keys to mark the field
Sat new.
>
Confirm by pressing
OK.
A list of the available satellite positions will be
displayed.
(Fig. 8-11)
>
Use the arrow keys up/down to mark a user-defined
satellite position (User 1 to User 14).
>
Press the
OK key to display the menu for setting a
test transponder. In this menu, set the parameters of
the test transponder as well as of the LNB used, as
described in
Point 5.4.3 .
36
(Fig. 8-10)
(Fig. 8-11)
bed_anl_DIGITY CI_Quark3_en.qxd 31.01.03 16:47 Seite 36