5 installation – TechniSat DIGITY CI Operating Manual User Manual
Page 10
10
If your video recorder does not provide an electric
signal, use the
EXTERN key to switch your receiver
to the external
VCR input. Pressing this key again will
revert to normal operation.
4.5 Hi-fi amplifier
To achieve the best sound quality, the receiver can be
connected to a hi-fi amplifier. To do this, connect the
Audio
R and Audio L cinch sockets of the receiver with a suitable
input of your hi-fi amplifier, e.g. CD or AUX, using a suitable
cable. Note that the Phono imput is not suitable!.
4.6 Serial interface RS 232
The RS 232 interface serves to update the operating
software, and to facilitate pre-programming by means of a
PC.
5 Installation
Once you have connected your receiver, and have
commenced operation, you can proceed to optimize the
settings for your personal preferences, if you wish.
5.1 OSD language
This feature gives you the opportunity to set the menu
language in accordance with your preferences.
To change the OSD language, proceed as follows:
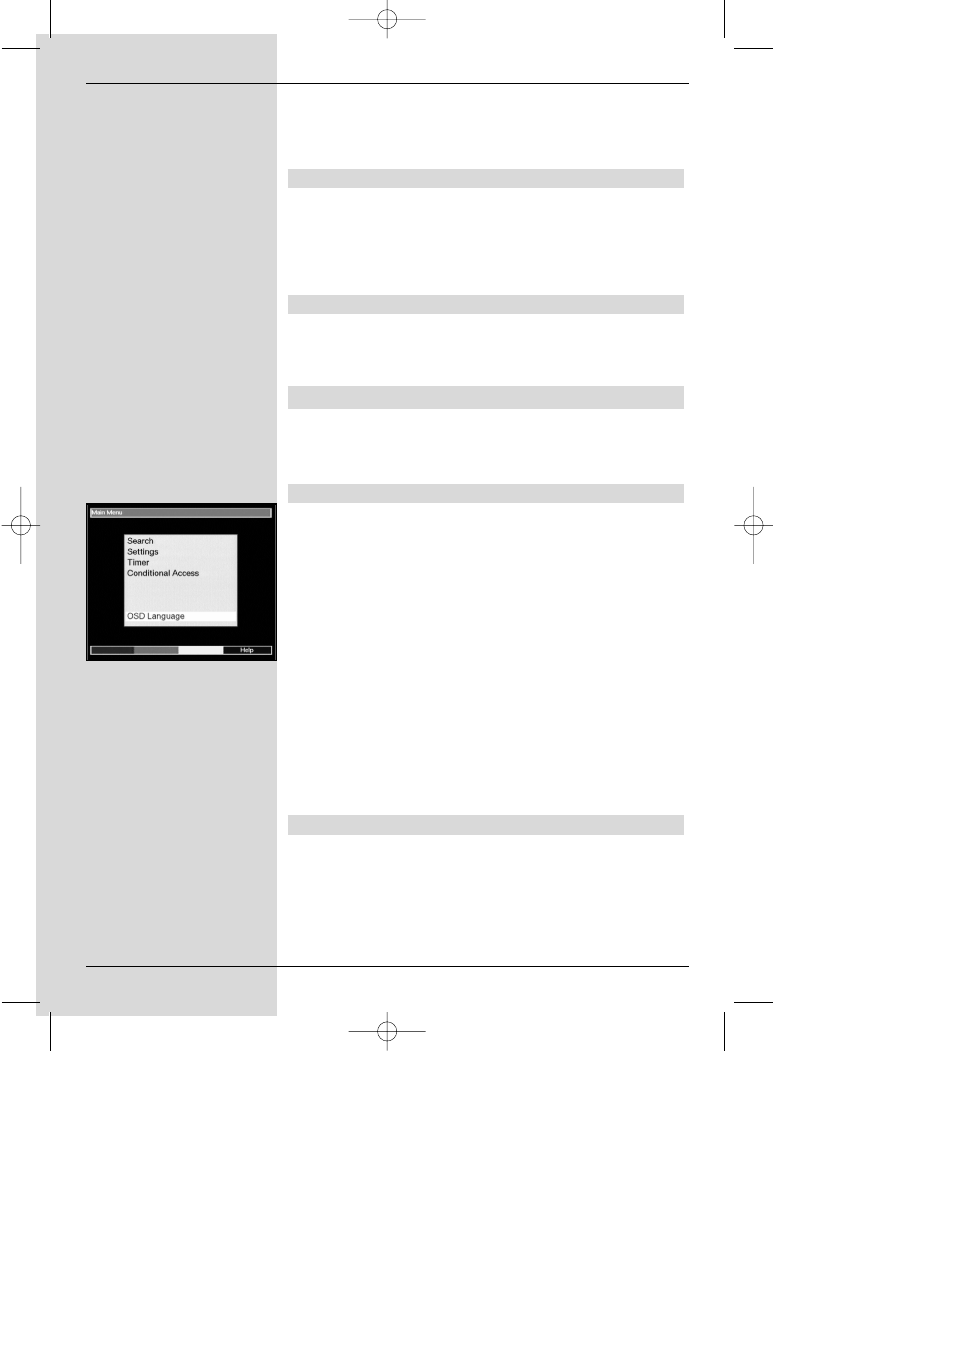
>
Press the
Menu key to display the Main Menu (Fig.
5-1).
>
Now use the arrow keys up/down to select the menu
item
OSD language.
>
Confirm by pressing
OK.
The sub-menu OSD language will be displayed.
>
Use the arrow up/down keys to select the desired
language. Use the
arrow up/down keys to move
the marker up or down one line at a time, use the
arrow keys left/right to move forward or back one
page at a time.
>
Store your selection in memory by pressing
OK.
>
Press the
Back key to return to the Main Menu.
5.2 Basic settings
In order to gain optimum enjoyment from your DVB receiver,
you may still have to adjust some settings to your individual
preferences.
>
Press the Menu key to display the Main Menu.
>
Use the arrow keys up/down to select the line
Settings.
(Fig. 5-1)
bed_anl_DIGITY CI_Quark3_en.qxd 31.01.03 16:47 Seite 10