TechniSat S1 User Manual
Page 59
with the most easterly satellite location. Then, continue by
adding the other satellite positions, working in a westerly
direction, until you have reached the most westerly satellite
position. Your digital receiver has been pre-programmed at
the factory for the most commonly used satellite positions. In
addition, you may enter and configure user-defined (User)
satellite positions (User 1 to User 14) for any orbital position.
9.3.1 Selecting a satellite position
9.3.1.1 Selecting a pre-programmed satellite
position
>
To include a satellite position in the satellite list, use
the
arrow keys to mark the field Sat new.
>
Confirm by pressing
OK.
A list showing the available satellite positions will be
displayed. (Fig. 9-10)
>
Now use the
up/down arrow keys to mark a
satellite position that you wish to include in the
satellite list.
>
Press OK to accept the selection into memory.
If the
geo-positioning function is active (Point 9.2)
the dish will now be rotated automatically to the programmed
satellite position. While the rotation is in progress, the display
“
turn” will be shown, and will blink.
If the
geo-positioning function is not active (Point
9.3.2.2) you must rotate the antenna manually to the desired
position.
9.3.1.2 Setting user-defined satellite positions (User
satellite)
>
To include a user satellite position in the satellite list,
use the
arrow keys to mark the field Sat new.
>
Confirm by pressing
OK.
The list of available satellite positions will be dis-
played. (Fig. 9-11)
>
Now use the
up/down arrow keys to mark a user
satellite position (User 1 to User 14).
>
Press the
OK key to display the menu used to set a
test transponder. In this menu, set the parameters of
the test transponder and of the LNC used as
described in
Point 6.4.3.
>
When you have completed setting the test trans-
ponder, press
Back, to return to the menu for setting
the motorised antenna. The field for entering the
orbital position is active.
>
Use the
numeric keys to enter the orbital position of
the user satellite, and confirm by pressing
OK.
>
Now use the
OK key to enter whether the orbital posi-
tion is a western (W) or eastern (E) position.
59
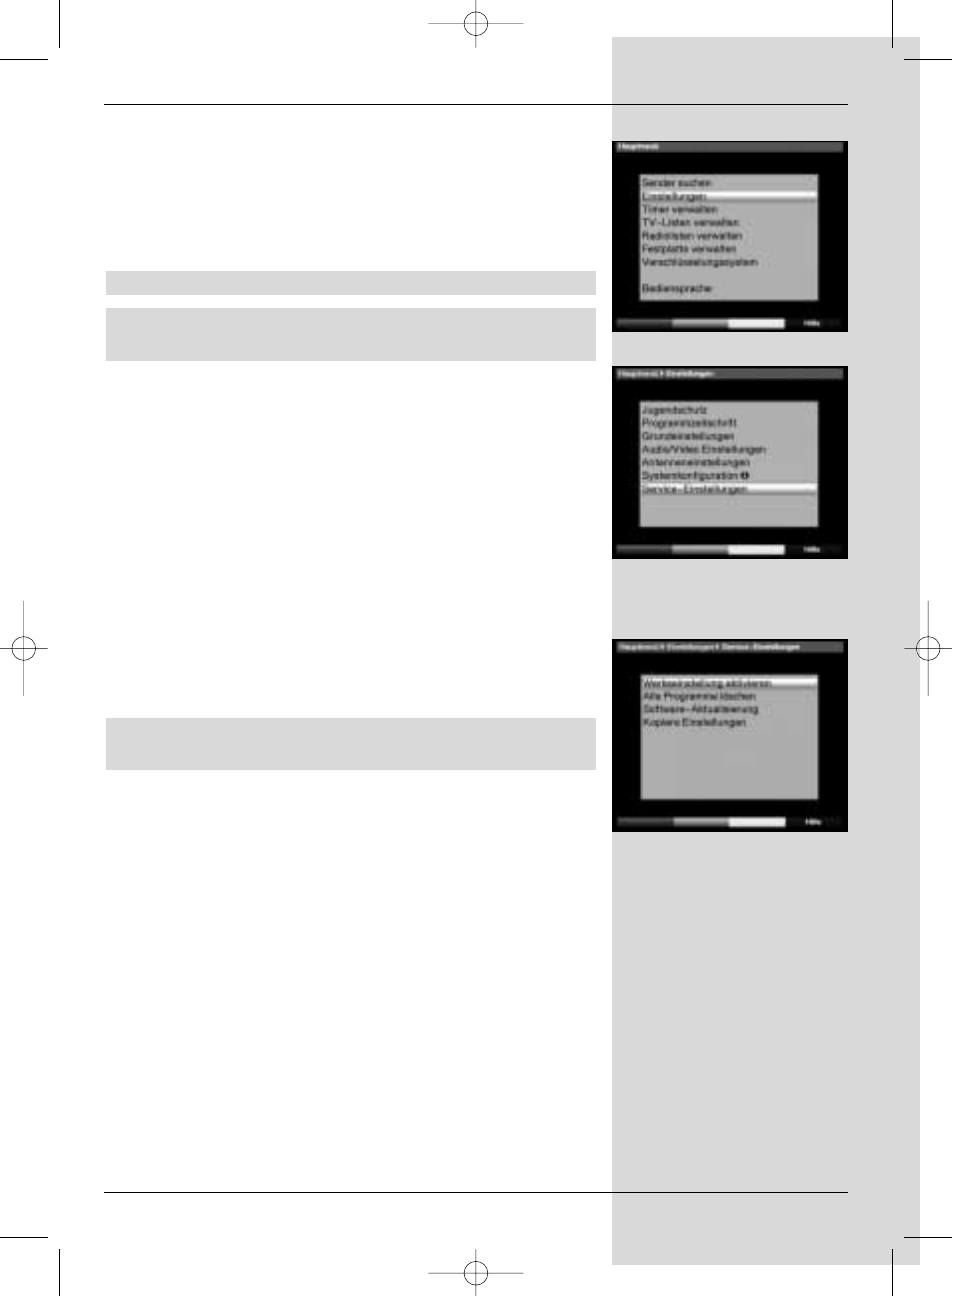
(Fig. 8-22)
(Fig. 8-21)
(Fig. 8-20)
Bed_anl_.qxd 20.02.04 16:29 Seite 59