TechniSat S1 User Manual
Page 16
should still make some settings related to your individual pre-
ferences.
>
Press the
Menu key to call up the Main Menu.
>
Use the
up/down arrow keys to mark the entry
Settings.
>
Confirm by pressing
OK. The sub-menu Settings
will be displayed. (Fig. 6-2)
>
Now use the
up/down arrow keys to mark the entry
Basic Settings.
>
Confrim by pressing
OK. The menu Basic Settings
will be displayed. (Fig. 6-3)
>
Use the
up/down arrow keys to move the marker
around within the menu, and to change any of the indi-
vidual positions. When selecting a menu item, please
note any additional messages displayed on screen.
The following settings may be made:
6.2.1 Time difference GMT (hours)
Your unit is equipped with a clock. This is synchronized via
satellite with
Greenwich Mean Time.
If you have selected the entry
None under the heading
Country (Point 6.2.3), you can simply set the unit clock to
the correct local time by means of the
right/left arrow
keys. For Germany, this difference is +1 hour on standard
time, and +2 hours during daylight savings time.
6.2.2 Country
This function provides for an automatic switch-over from stan-
dard to daylight savings time.
>
Go to the entry
Country and use the left/right
arrow keys to select you country of residence.
6.2.3 Remote control code
In this line you must decide whether your receiver should be
allocated the remote control option
SAT1 or SAT2.
>
To make the selection, press the
SAT1 resp. SAT2
key and the
OK key simultaneously.
Press the
Back key to return to the menu Settings,
or press
Menu to return to normal operation. The set-
tings will be automatically stored in memory.
6.2.4 Standby clock
In this line you must decide whether the clock time should be
displayed when the unit is in standby mode.
>
In this line, you can use the
left/right arrow keys to
set the standby clock mode to
on or off einstellen.
>
Press Back to return to the menu Settings, or press
Menu to return to normal operation. The settings will
be automatically stored in memory.
16
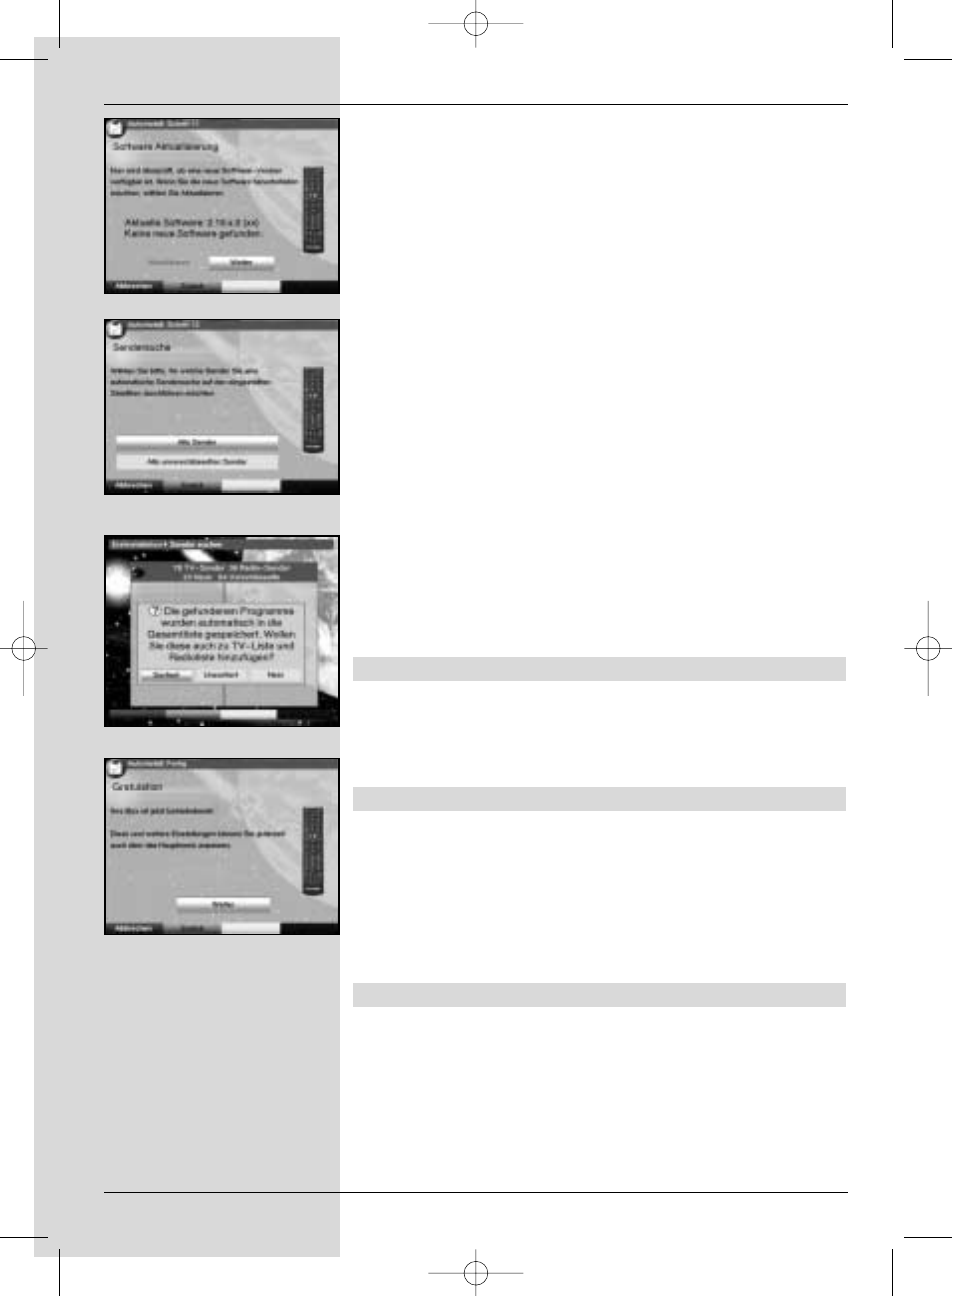
(Fig. 5-15)
(Fig. 5-13)
(Fig. 5-14)
(Fig. 5-12)
Bed_anl_.qxd 20.02.04 16:28 Seite 16