2 cleaning the submerged probe without disassembly, 3 disassembling the probe for cleaning, 2 warning disk inside probe -5 – Teledyne 4220 User Manual
Page 139
4220 Flow Meter
Section 6 Maintenance and Service
6-5
6.3.2 Cleaning the
Submerged Probe
Without Disassembly
Occasionally, organic materials may become jammed inside the
submerged probe's housing. If this material swells as it becomes
saturated with water, it will exert pressure on the stainless dia-
phragm placed over the transducer. In the unlikely event that all
entrance ports in the submerged probe housing become blocked
with material that does not permit the pressure above the probe
to be transmitted to the pressure transducer, you may clean the
probe with the following procedure:
1. Remove the submerged probe and its mounting apparatus
from the flow stream.
2. Scrape any accumulated solids off the exterior of the sub-
merged probe body with a brush.
3. Gently flush the inside cavity of the submerged probe with
water. Do not use brushes or tools to try to remove matter
lodged in the submerged probe's ports or cavity.
4. If the ports are clogged and do not clear with the running
water, you may have to carefully disassemble the sub-
merged probe.
6.3.3 Disassembling the
Probe for Cleaning
If you cannot clean the submerged probe sufficiently by washing
and brushing the exterior, or if you want to completely clean the
unit prior to long-term storage, remove the probe from the flow
stream and proceed as follows:
1. Clean the exterior of the submerged probe with a stiff
brush and flowing water.
2. Remove the submerged probe nose section by unscrewing
the two flat-head screws that hold the nose section in
place.
3. Pull the nose section straight out of the probe body.
4. Flush the probe cavity with gently flowing water to wash
out any accumulated solid materials.
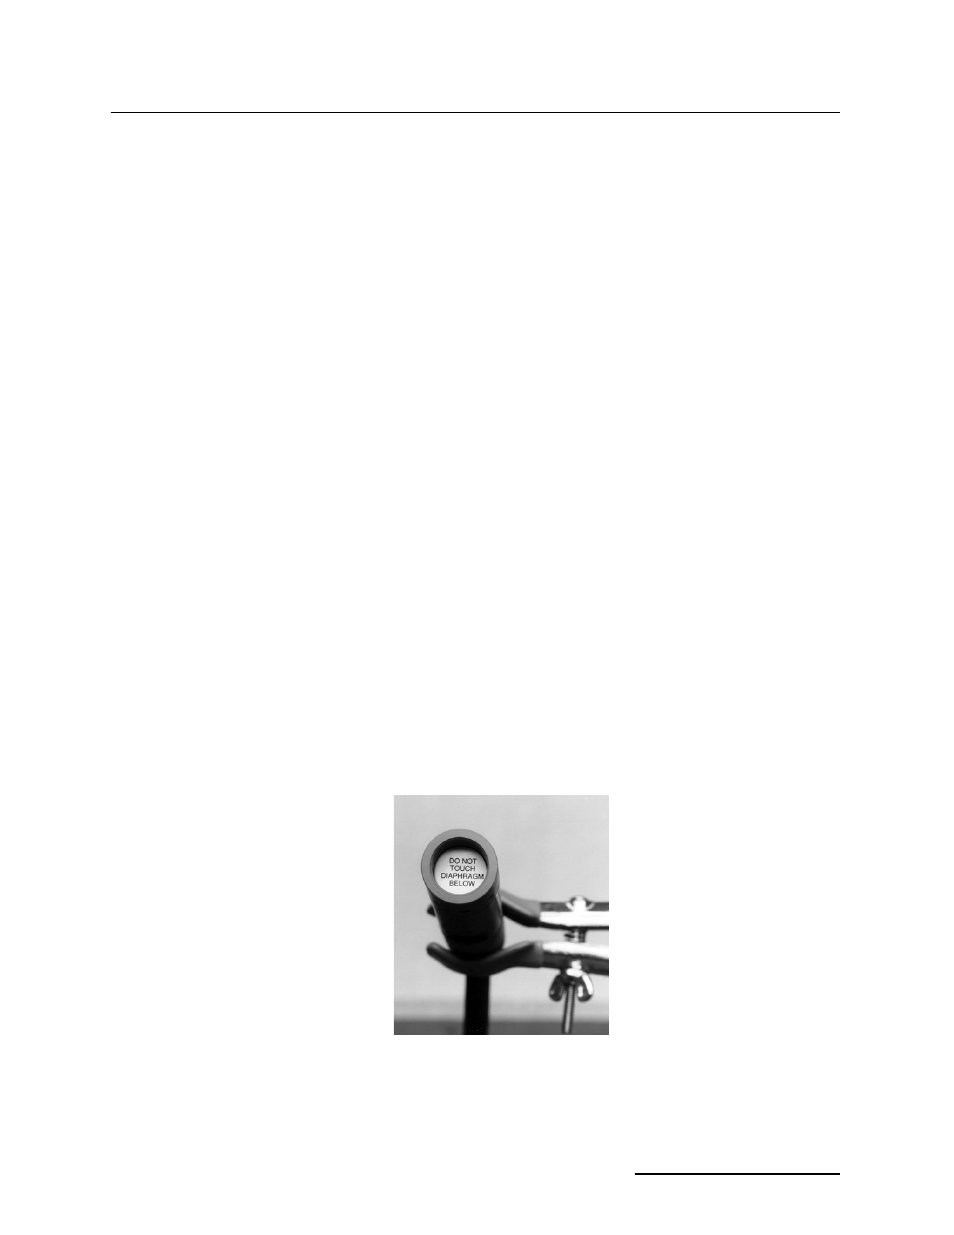
Figure 6-2 Warning Disk Inside Probe