B. set up the network address, Manually setting up the network address, Resetting the network address – Toshiba 52HMX95 User Manual
Page 109: Continued)
109
Copyright © 2005 TOSHIBA CORPORATION. All rights reserved.
(E) 42/50HPX95 *web 213:276
Chapter 11: Using the THINC™ home network feature
B. Set up the network address
(continued)
Manually setting up the network
address
(continued)
Note:
• If you used an Ethernet crossover cable to connect your PC directly
to the TV, you will not be able to use the automatic setup, and
must manually set up the network address.
• If you used a hub or switch to connect the TV to your home
network, you will not be able to use the automatic setup, and must
manually set up the network address.
• If you used a router with built-in DHCP functionality, use the
automatic setup. Manual setup may not work.
For home networktroubleshooting tips, see Chapter 12.
Resetting the network address
1. Press MENU and open the Setup menu.
2. Highlight Installation and press ENTER. The Installation
menu appears.
3. Open the Network menu.
4. Highlight Basic Network Setup and press ENTER.
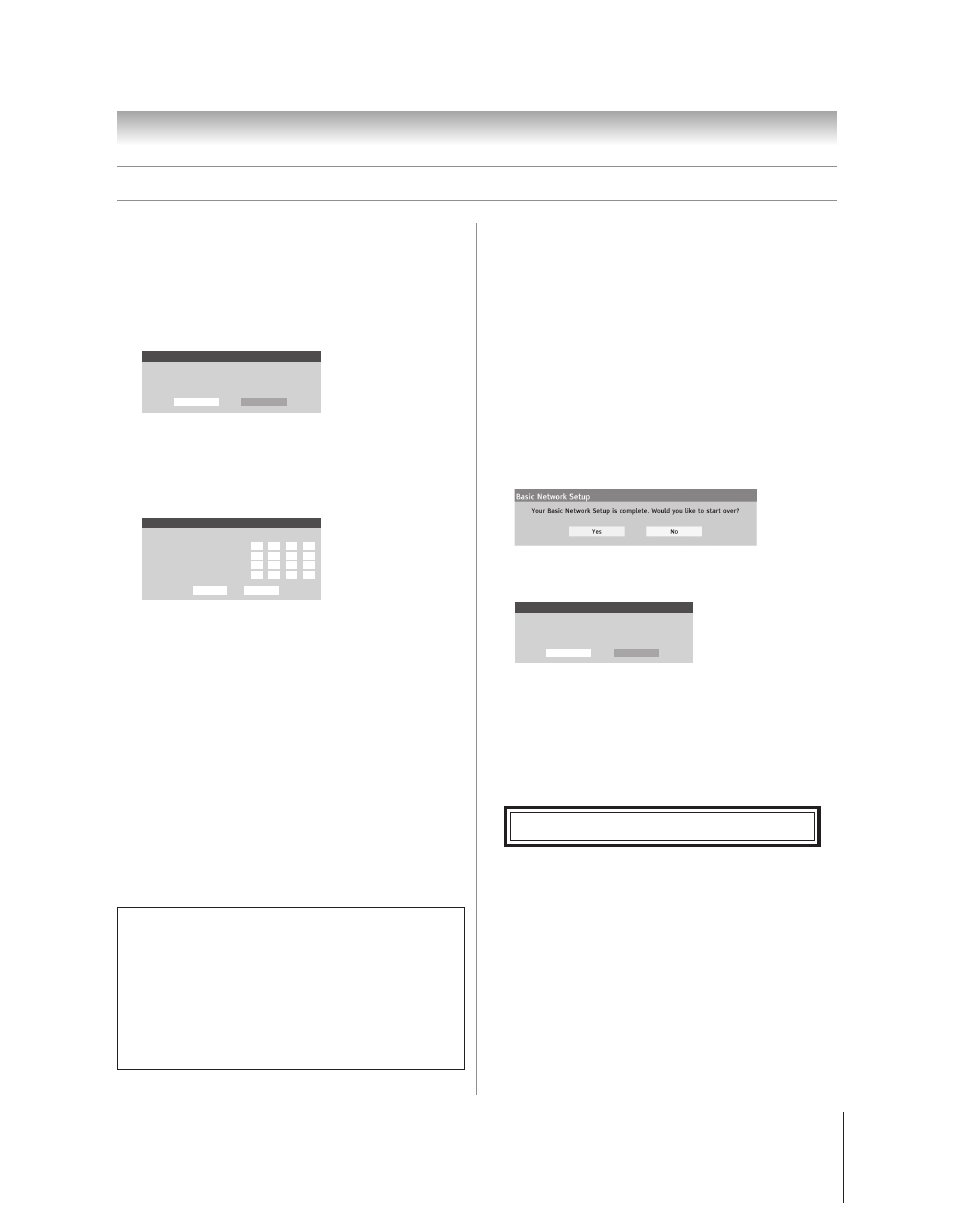
5. The message “Your Basic Network Setup is complete.
Would you like to start over?” will appear.
To continue, highlight Yes and press ENTER.
To return to the Network menu, highlight No and press
ENTER.
6. If you selected Yes in step 5, the message “Obtain network
address automatically?” will appear.
Basic Network Setup
Obtain network address automatically?
Yes
No
To obtain the network address automatically, go to step 5
under “Automatically setting up the network address” on
page 108.
To manually enter the network address, go to “Manually
setting up the network address” on page 108.
5. The message “Obtain network address automatically?”
appears.
Highlight No and press ENTER.
Basic Network Setup
Obtain network address automatically?
Yes
No
6. The Basic Network Setup menu appears.
Press
y or z to highlight the IP address field, and then use
the Number buttons on the remote control to input the
IP address.
Basic Network Setup
Please enter your Network Address Information
IP Address
Subnet Mask
Gateway(Router)
DNS(Domain Name Saver)
Cancel
Done
7. Press
z to highlight the Subnet Mask field, and then use
the Number buttons to input the Subnet Mask.
8. Press
z to highlight the Gateway (Router) field, and then
use the Number buttons to input the Gateway (Router)
address.
9. Press
z to highlight the DNS (Domain Name Server) field,
and then use the Number buttons to input the Gateway
(Router) address.
10. When finished, highlight Done and press ENTER.
The Basic Network Setup menu closes and the Network
menu appears.
11. Go to section C, “Set up file sharing on your PC,”
on page 110.