Toshiba KV-HD01A User Manual
Page 20
19
4.2.2 Timer Recording
Timer recording provides two periods of time each day in a weekly table which programs the DVR to
turn on and off at specified times. This way the DVR will start and stop recording according to the
programmed schedule. Please take the following steps to program the scheduled recording.
(1) Press the SETUP button
to enter the MAIN MENU.
(2) Select the RECORD TIMER and press the ENTER/SAVE button
to enter the TIMER page.
(3) Select the TIMER-SET.
(4) Press the
ENTER
/
SAVE
ENTER/SAVE button
to enter the REC SCHEDULE table.
(5) Use the
button and the
button to locate the specific day/hour/minute and use the
button and the
button to set the day/hour/minute you wish. The time is displayed in
a 24-hour clock format.
(6) After scheduling is completed, press the
ENTER
/
SAVE
ENTER/SAVE button
and set OK to save the
setting or select CANCEL to leave the page without saving the settings.
(7) To activate the programmed recording schedule, set the REC ENABLE to ON. As the scheduled
recording is on, the red indicator of the Timer Record will be on as well. To deactivate it, set to OFF.
(8) Press the
STOP button
during the scheduled recording to stop it at any time. If you wish to
continue the scheduled recording, press the REC button
to proceed.
NOTE: You can proceed to start the scheduled recording from the current time if it is in the
scheduled interlude as soon as setting is completed. Press the REC button to proceed.
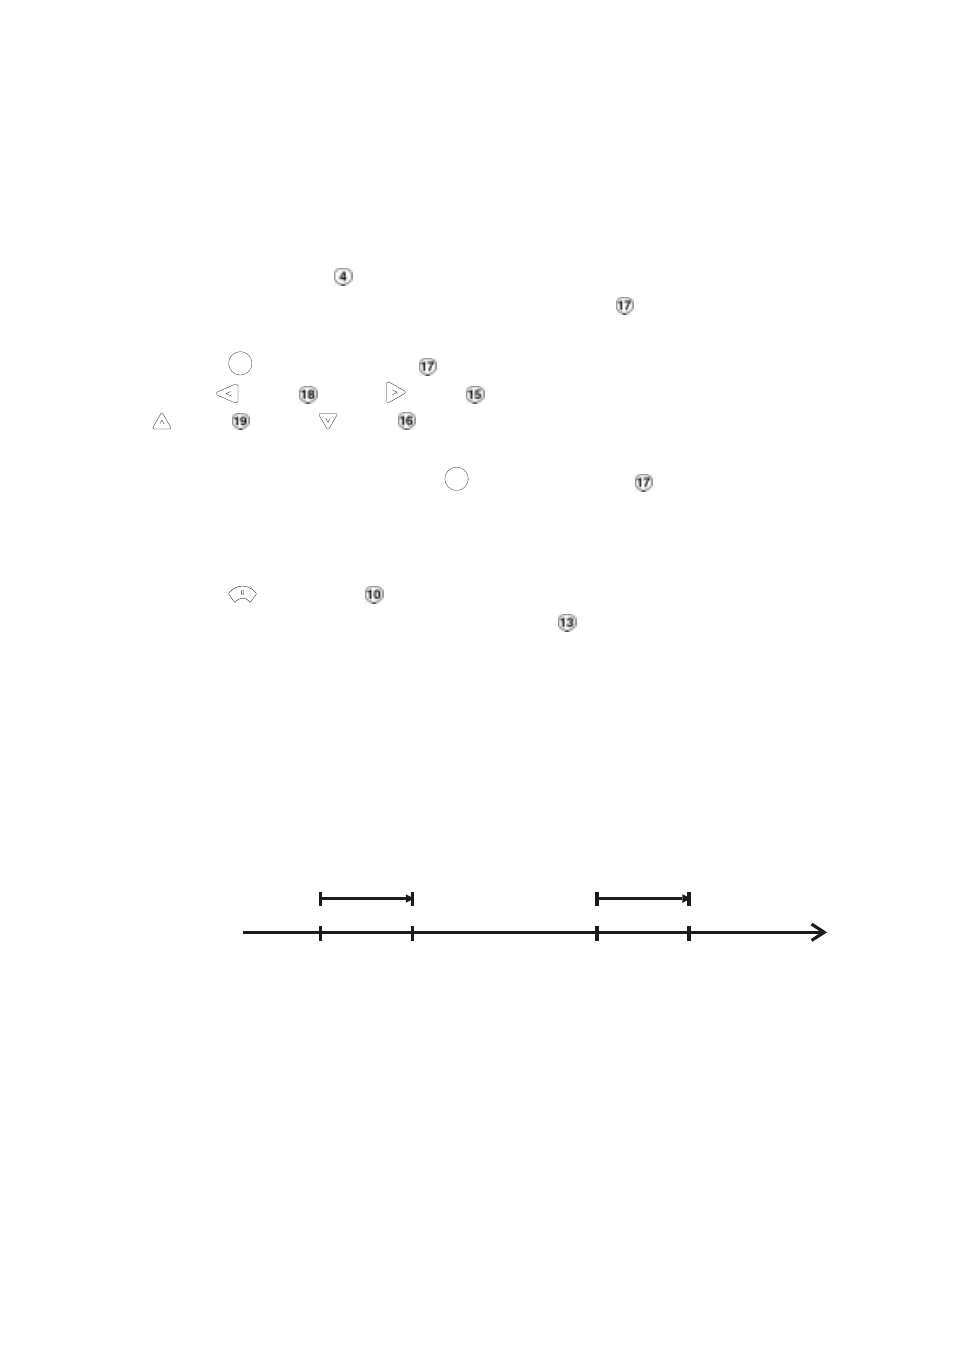
NOTE: If you activate the recording function before the scheduled recording, the unit will
operate recording as showed the diagram below and keep those Image in different files.
03:00 06:00 08:00 12:00 14:00
START END START END
Start Manual
Recording
Timer
Manual
Timer
Manual