Toshiba KV-HD01A User Manual
Page 11
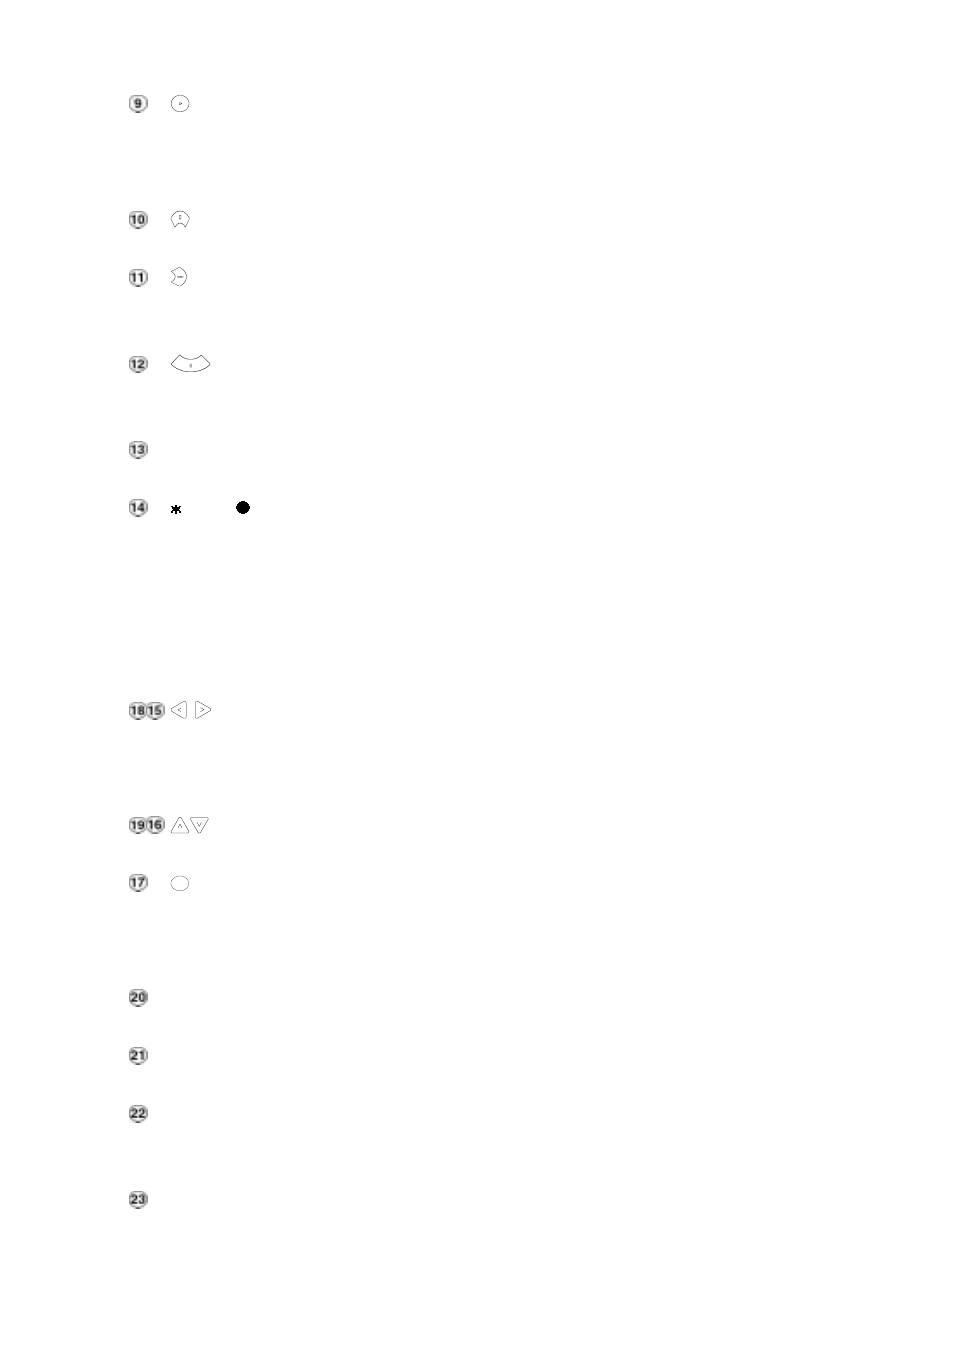
10
PLAY button:
Press to play back a recorded video from the hard disk. While playing back the recorded video at
faster or slower speeds than the recorded speed, press this button to return to the regular
playback speed.
STOP button:
Press this to stop playing back a recorded video.
FWD button:
Press this to play a recorded video in the forward direction at faster or slower speeds than the
recorded speed. Each subsequent press of the FWD button increases or slows the rate.
PAUSE / STEP button:
In a playback display, press this to freeze the display. During the freeze, press this to display one
frame/field of a picture at a time in the forward direction.
REC button:
Push this to start recording the video into hard disks while in the live display mode.
MUX /
DVR button:
When connected to a multiplexer, press the MUX/DVR button to switch between the multiplexer
decoded video and the encoded video to be displayed. When the button light is on it indicates the
DVR is displaying the decoded video (The pictures are not multiplexing). In this mode, the unit
doesn’t display the OSD message of the unit on the screen. However, it doesn’t affect the DVR’s
OSD message that is recorded into hard-disk drive. When the button light is off it indicates the
DVR is displaying encoded video (The picture is switching swiftly).
Right / Left buttons:
Press these two buttons to highlight desired items in the menu setup mode. For Key Lock
operation, simultaneously press these two buttons once to lock the unit; to release Key Lock,
simultaneously press these two buttons again.
Up / Down buttons:
Press these two buttons to select the desired contents for programming in the menu setup mode.
ENTER
/
SAVE
ENTER/SAVE Button:
Press to enter the selected item and save the setting in the menu setup mode. During the
playback of a video, if you wish to save a specific image to a floppy disk, press the PAUSE button
to freeze the picture first and then press this button to save the image to a floppy disk.
Indicator of Alarm Recording Mode:
When the scheduled record setting is on, the indicator will light.
Indicator of Timer Recording Mode:
When the alarm record setting is on, the indicator will light.
Indicator of Hard Disk Status:
Indicates the operation status of the hard-disk drives. Green light indicates the hard-disk drive is
storing or retrieving the data. Red light signals the hard disk is reaching capacity.
Power Indicator:
Indicates
the
power
status of the DVR.