Step 3: select the diagnostic function, Warning, Abs / air bag 2004 user guide – OTC Wireless switch/hub User Manual
Page 28
18
Step 3: Select the Diagnostic Function
ABS / Air Bag 2004 User Guide
Step 3: Select the Diagnostic
Function
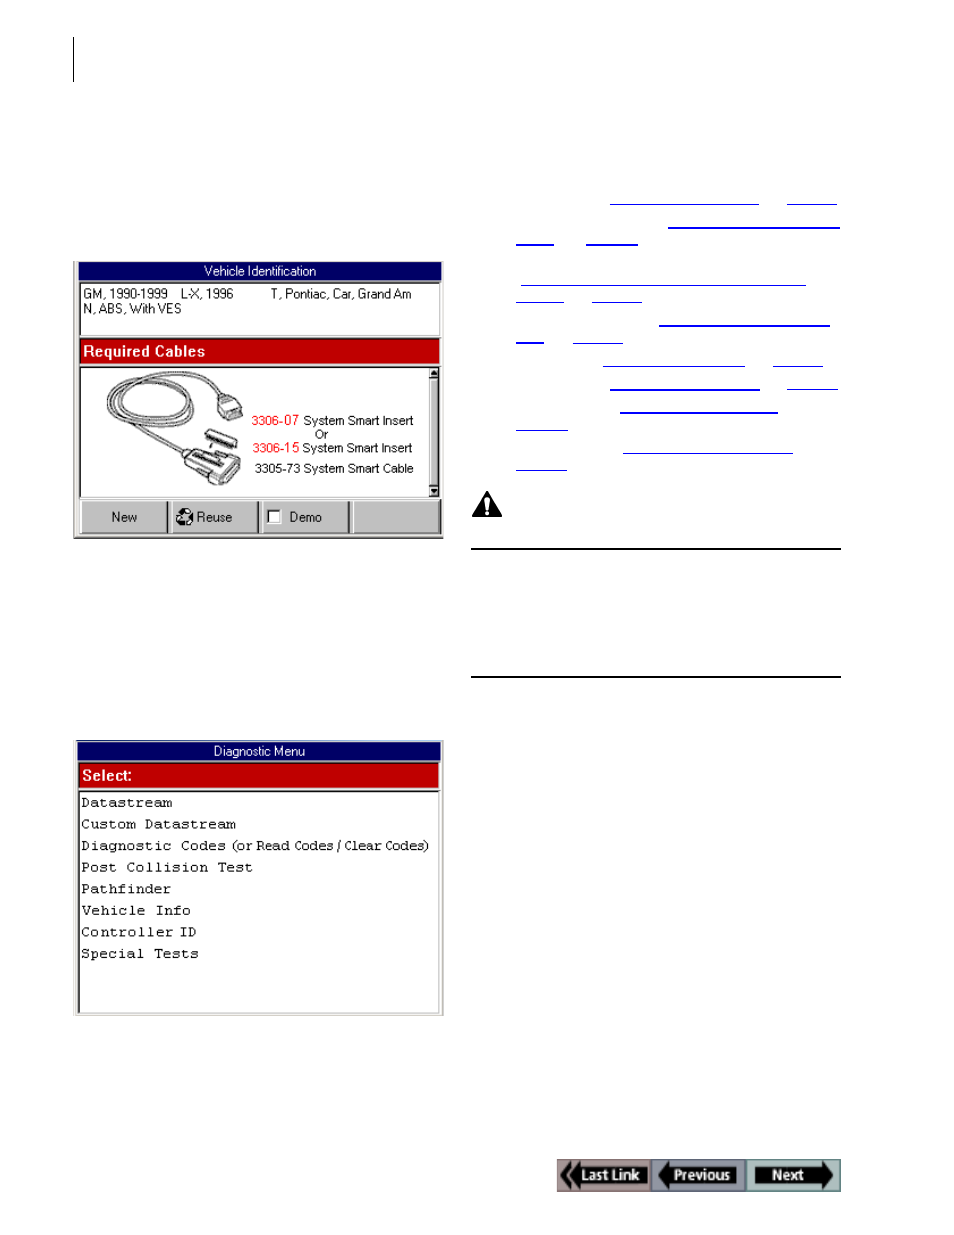
After connecting the cable, the NGIS tool should still
display the Vehicle Identification - Required Cables
screen.
Figure 2.14: Vehicle Information - Required Cables Screen
To select the diagnostic function, follow these steps:
1
With the Required Cables (or Connectors) illustration still
displayed, press the ENTER key.
2
One or more instruction screens may appear. If so, read
each screen, follow the instructions, and press the OK
function key to display the next screen. Do this until the
Diagnostic Menu screen appears.
Figure 2.15: Diagnostic Menu Screen
Note: The screen shown above is only an example.
It shows all possible options for the Diagnostic menu. During
real testing, only the options available for the vehicle being
tested will appear on this screen.
3
Select the option for the diagnostic function you want to
perform and press the ENTER key.
4
For specific steps for each function, refer to the following
chapters:
•
Datastream - “
Chapter 3: Datastream
” on
page 19
.
•
Custom Datastream - “
Chapter 4: Custom Datas-
tream
” on
page 31
.
•
Diagnostic Codes (or Read and Clear Codes) -
“
Chapter 5: Diagnostic Codes (Read / Clear
Codes)
” on
page 33
.
•
Post Collision Test - “
Chapter 6: Post Collision
Test
” on
page 45
.
•
Pathfinder - “
Chapter 7: Pathfinder
” on
page 47
.
•
Vehicle Info - “
Chapter 8: Vehicle Info
” on
page 55
.
•
Controller ID - “
Chapter 9: Controller ID
” on
page 59
.
•
Special Tests - “
Chapter 10: Special Tests
” on
page 61
.
WARNING:
Before performing any diagnostic functions, refer
to the Safety Precautions and instructions pro-
vided in this User Guide and the warnings provided
by the vehicle manufacturer. In addition, follow any
warnings and descriptions provided on the NGIS
tool screens.