10 selecting the input source, 11 adjusting the picture orientation, 12 primary lens adjustments – Runco SC-1 User Manual
Page 58: Selecting the input source, Adjusting the picture orientation, Primary lens adjustments, Pre l iminar y
46
Runco SC-1 Owner’s Operating Manual
PRE
L
IMINAR
Y
3.10
Selecting the Input
Source
By default, the SC-1 is configured to display the signal received on Input 1 (RGB). To use
Input 2 (DVI) instead:
1.
On the DHD Controller, press MENU and enter the Service Menu passcode.
2.
Select Service from the Main Menu.
3.
Select Display Device from the Service Menu.
4.
Press
to select DVI/HDMI, then press ENTER.
3.11
Adjusting the Picture
Orientation
By default, the SC-1 is configured for a “floor/front” installation, in which the projector is
installed upright and in front of the screen. If it is installed behind the screen, you must
switch to a “floor/rear” picture orientation. To do this:
1. On the DHD Controller, press MENU and enter the Service Menu passcode.
2. Select Service from the Main Menu.
3. Select Display Device from the Service Menu.
4. Select Configure from the Display Device menu, then select Installation.
5. Choose Floor/Rear.
3.12
Primary Lens
Adjustments
This initial optical alignment procedure is the foundation for optimizing your displays,
ensuring that images reflected from the DMDs are parallel to and well-centered with both
the lens and screen.
Before you begin, properly position the
projector relative to the screen (refer to
Vertical and Horizontal Position on
page 22).
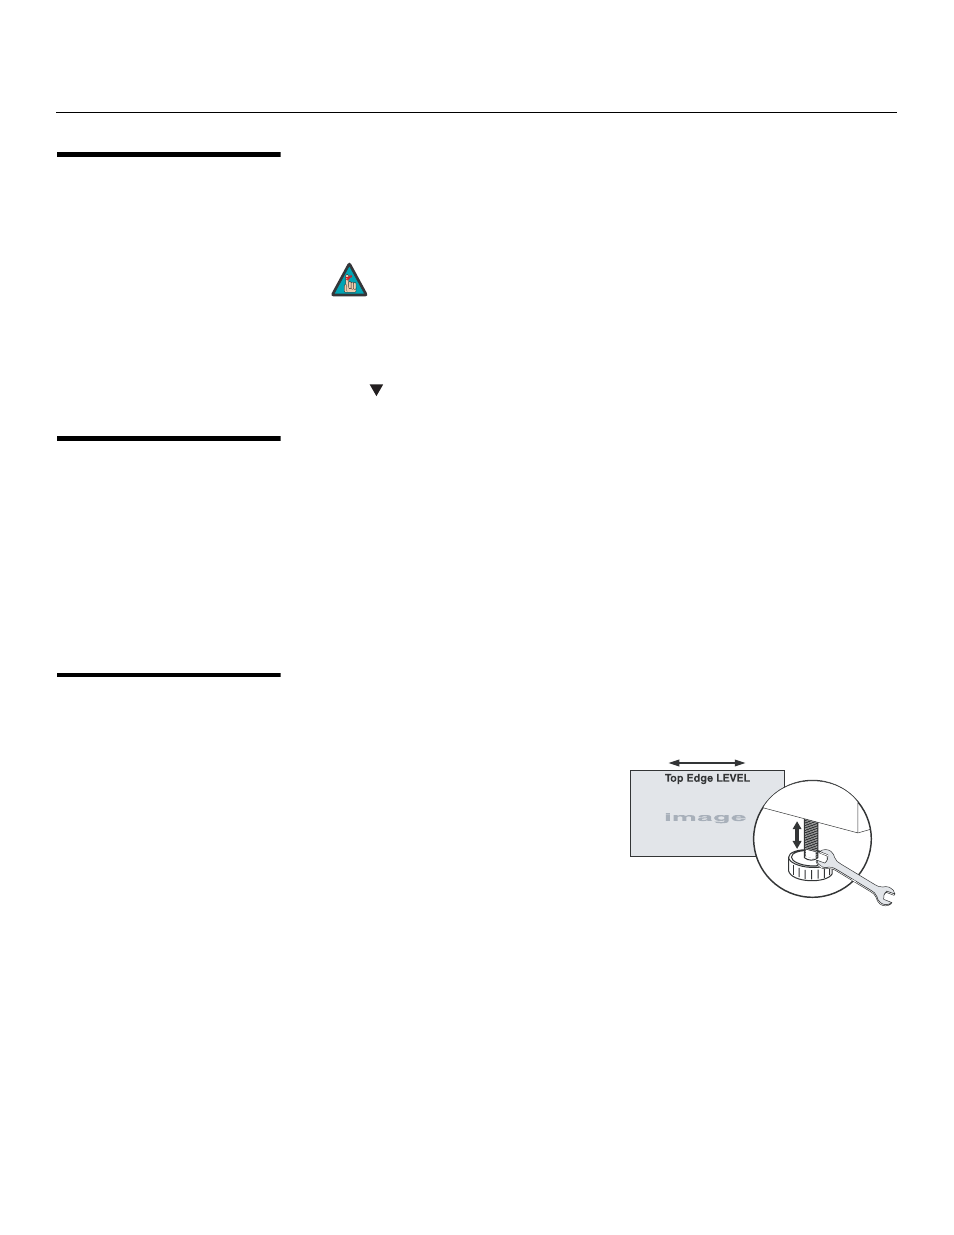
Double-check projector leveling (refer to
Adjusting the Feet on page 31) so that the
top edge of the image is parallel to the top
edge of the screen.
You must enter a passcode to access the Service menu.
Note