The menu system, The autotuning menu – RCA Scenium PHD50400 User Manual
Page 35
The Menu System
34
Chapter 2
: RGB1
: NONE
: VIDEO1
:
CMPNT1
A U TO T U N I N G S E T U P
SEL.
ADJ.
HD RCVR BTN
AUX BUTTON
VCR1 BUTTON
DVD BUTTON
RETURN
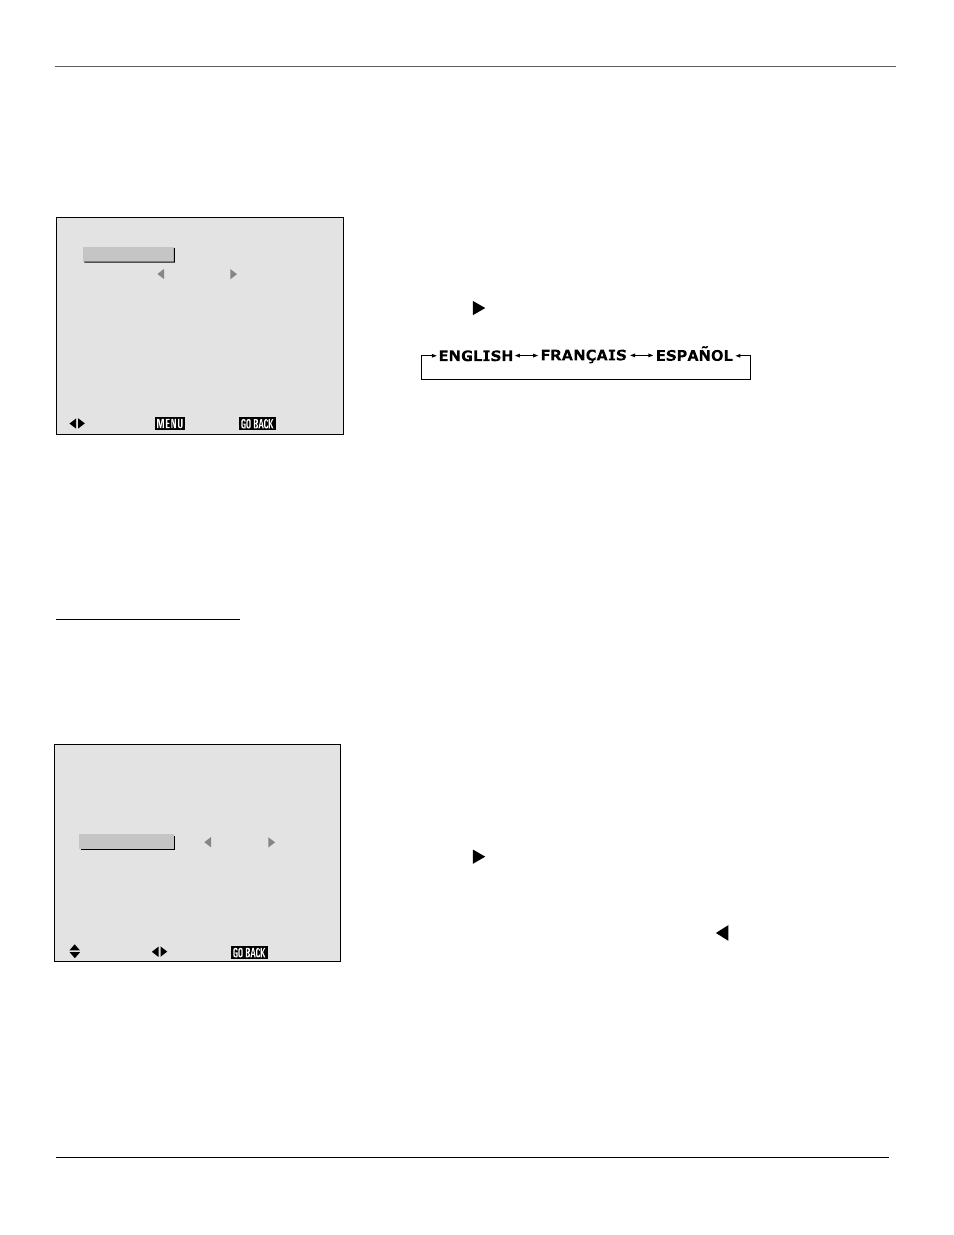
This is the AUTOTUNING SETUP menu with the DVD
BUTTON option highlighted.
This is the MENU LANGUAGE screen with Spanish as the
selected language.
M E N U L A N G U A G E
LANGUAGE
:
ESPANOL
ADJ.
˜
OK
RETURN
Selecting the Language for the Menus
The menu display can be set to one of three languages: English, French or Spanish. The default is English. To
change the default setting:
1. From the main menu, highlight and select the SETUP option. The SETUP
menu is displayed.
2. Highlight the MENU LANGUAGE option. The MENU LANGUAGE screen is
displayed.
3. Use the button to scroll through the language choices. The settings
switch as follows:
4. When the desired language is highlighted, press GO BACK to return to the
SETUP menu. You can continue making adjustments within the SETUP
menu, press GO BACK to return to the main menu, or press CLEAR to exit
the menu system.
Setting the Video Signal Format
The COLOR SYSTEM option is used to set the video signal format. Different countries used different formats for video signals. The
AUTO option automatically detects the correct video signal and sets the correct format. This setting should not be changed.
The Autotuning Menu
Autotuning the Component Buttons on the Remote Control
The AUTOTUNING feature lets you easily program the component buttons on the remote to operate the components hooked up to the
monitor. To autotune your components to the buttons on the remote:
1. From the main menu, highlight and select the AUTOTUNING SETUP option.
The AUTOTUNING SETUP menu is displayed.
2. Highlight an option which corresponds to a component which you’ve
connected. For example, if you have a DVD player connected, highlight the
DVD BUTTON option.
3. Use the button to scroll through the output choices. Select the choice
which corresponds to the jacks you used to connect the DVD player. In the
example illustration on the left, the DVD button on the remote will operate
the component connected to the CMPNT1 jacks (the DVD player).
4. When the desired option is displayed, press the button to return to the
AUTOTUNING menu options. You can continue making adjustments within
the OPTIONS menu, press GO BACK to return to the previous menu or press
CLEAR to exit the menu system.