Making settings from an application, Canceling a print job – Ricoh Printer/Scanner User Manual
Page 30
Using the Printer Function
24
3
Note
❒ Settings you make here are used
as the defaults for all applica-
tions.
Making settings from an application
To make settings for a specific appli-
cation, use the [Print] dialog box with-
in that application. The following
example describes how to make set-
tings for the WordPad application
that comes with Windows 2000 / XP
and Windows Server 2003.
Note
❒ Procedures for opening the [Print]
dialog box vary depending on the
application. For details, see the op-
erating instructions that come with
the application you are using.
❒ Any settings you make in the fol-
lowing procedure are valid for the
current application only.
A
On the [File] menu, click [Print...].
The [Print] dialog box appears.
B
In the [Select Printer] list, select the
machine you want to use, and
then click the tab that contains the
print settings you want to change.
Note
❒ Under Windows XP and Win-
dows Server 2003, click [Prefer-
ence]
to open the Printing
Preferences dialog box.
C
Make the settings you require.
D
Click [Print] to start printing.
Under Windows XP and Windows
Server 2003, click [OK], and then
click [Print] to start printing.
Canceling a Print Job
A
Double-click the printer icon on
the Windows taskbar.
A window appears, showing all
print jobs currently queued for
printing. Check the current status
of the job you want to cancel.
B
Select the name of the job you
want to cancel.
C
On the [Document] menu, click
[Cancel Printing]
.
Note
❒ Under Windows 2000 / XP, and
Windows Server 2003, click
[cancel]
on the [Document] menu.
❒ Under Windows 98SE / Me /
2000 / XP, or Windows Server
2003, you can also open the
print job queue window by
double-clicking the machine
icon in the [Printers] machine
window (the [Printers and Faxes]
window under Windows XP
and Windows Server 2003).
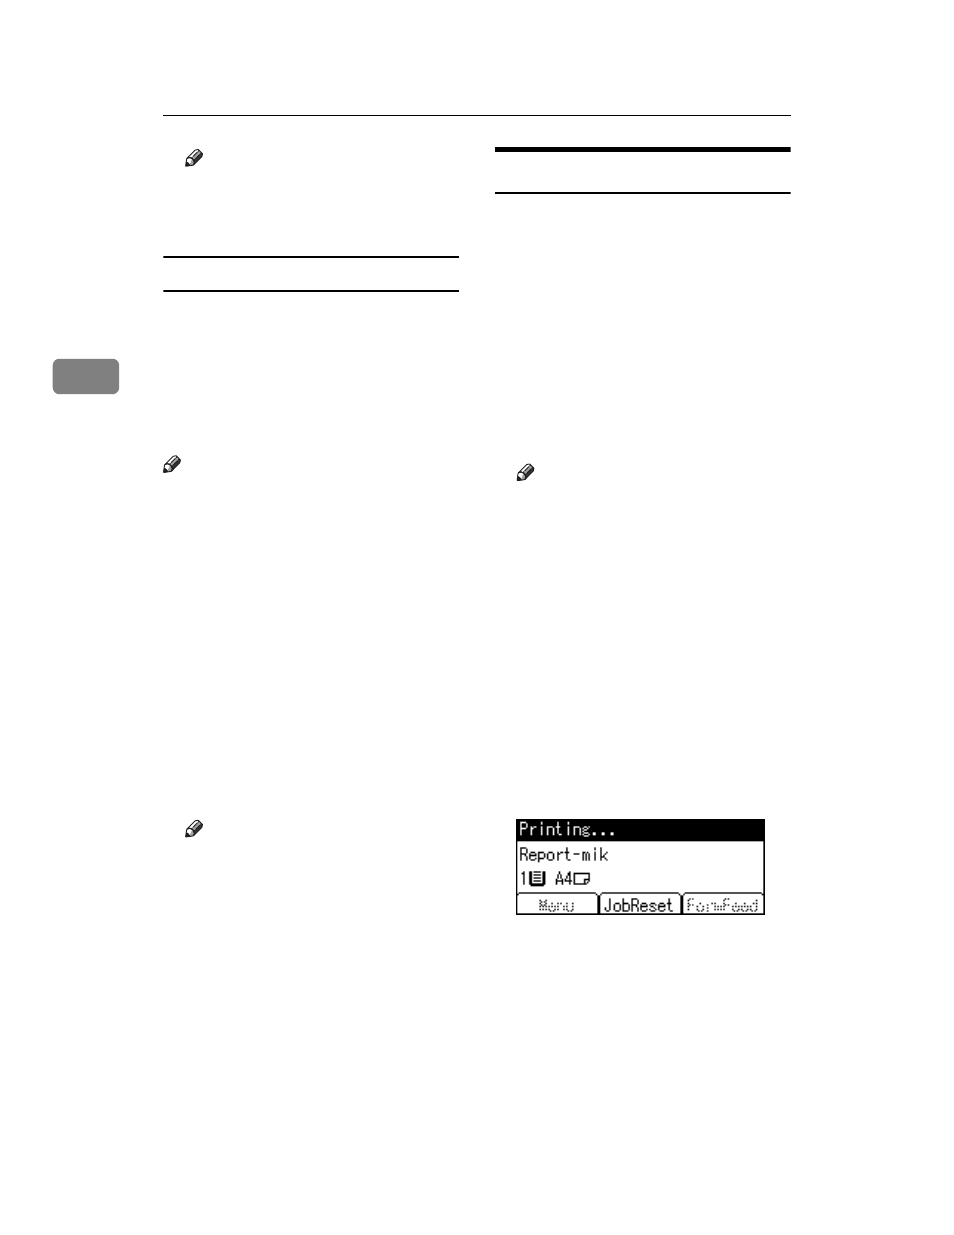
D
Press the {Printer} key.
E
Press [JobReset].