Child lock, Press [functions, Press [ e , r ] to select “setup” and press [enter – Panasonic DMR-ES20 EN User Manual
Page 39: Press [ e , r ] to select “others” and press [ q, Press [ e , r ] to select “clock” and press [enter, Press [ e , r ] to change the setting, Press [enter] when you have finished the settings, Clock settings
RQT8212
39
Con
ven
ie
nt f
unct
ions
EN
GL
IS
H
•
In the case of a power failure, the clock setting remains in memory for approximately 60 minutes.
1
While stopped
Press [FUNCTIONS].
2
Press [
e, r] to select “To Others” and press [ENTER].
3
Press [
e, r] to select “SETUP” and press [ENTER].
4
Press [
e, r] to select “Others” and press [q].
5
Press [
e, r] to select “Clock” and press [ENTER].
If a TV station transmits a time setting signal, and when “Automatic”
in the Clock setting menu is set to “On”, the automatic time
correction function checks the time and if necessary it is adjusted
several times every day.
6
Press [
e, r] to select “On” of
“Automatic” and press [ENTER].
Auto clock setting starts.
The following screen appears when setting is complete.
To stop partway
Press [RETURN].
•
If the unit cannot set the clock automatically, set the clock
manually (
➔ right, “Manual Clock Setting” Step 6).
6
Press [
e, r] to select “Off” of
“Automatic” and press [ENTER].
7
Press [
w, q] to select the item you
want to change.
The items change as follows:
8
Press [
e, r] to change the setting.
You can also use the numbered buttons for setting.
9
Press [ENTER] when you have
finished the settings.
The clock starts.
To exit the screen
Press [RETURN] several times.
To return to the previous screen
Press [RETURN].
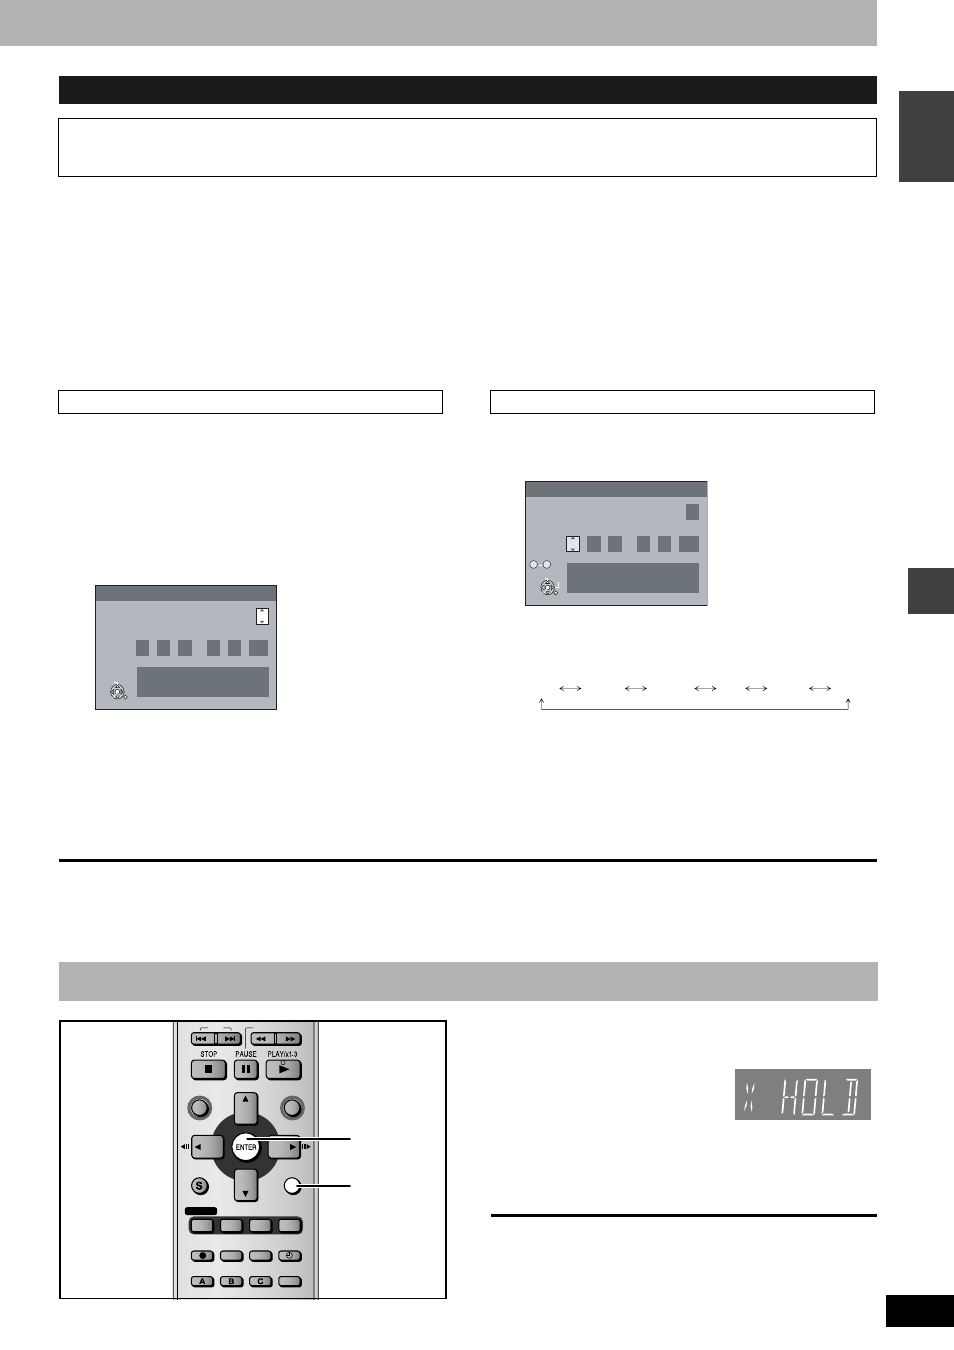
The Child Lock deactivates all buttons on the unit and remote
control. Use it to prevent other people from operating the unit.
Press and hold [ENTER]
and [RETURN]
simultaneously until
“X HOLD” appears on the unit’s display.
If you press a button while the Child Lock is on, “X HOLD” appears
on the unit’s display and operation is impossible.
To cancel the Child Lock
Press and hold [ENTER] and [RETURN] simultaneously until
“X HOLD” disappears.
Clock settings
•
Usually, the unit’s Preset Download or Auto-Setup function (
➔ page 10, 11) automatically adjusts the clock to correct time. Under some
reception conditions, however, the unit cannot set the clock automatically.
•
In this case, follow the operation steps below to manually set the clock.
Auto Clock Setting
Clock
Automatic
Time
Date
15 : 45 : 39
On
Automatic clock setting completed.
ENTER: access RETURN: leave
1
8
.
. 2005
ENTER
RETURN
CHANGE
Manual Clock Setting
Clock
Automatic Off
Time
Date
15
: 45 : 39
Please set clock manually.
ENTER: store RETURN: leave
0 9
No.
1
8
.
. 2005
ENTER
RETURN
CHANGE
SELECT
Hour
Minute
Second
Day
Month
Year
Child Lock
SKIP
SLOW/SEARCH
REC MODE
REC
F Rec
TIME SLIP
FUNCTIONS
DIRECT NAVIGATOR
TOP MENU
RETURN
STATUS
DISPLAY
SUB MENU
AUDIO
ERASE
EXT LINK
CREATE
CHAPTER
PROG/CHECK
EXT LINK
TIMER
RETURN
ENTER