Disc management, Press [functions, Press [ w , q ] to select “yes” and press [enter – Panasonic DMR-ES20 EN User Manual
Page 31: Press [ w , q ] to select “start” and press [enter, Press [enter, Setting the protection
RQT8212
31
Con
ven
ie
nt f
unct
ions
EN
GL
IS
H
DISC MANAGEMENT
Preparation
•
Turn on the television and select the appropriate video input to suit
the connections to this unit.
•
Turn the unit on.
•
Insert the disc to be managed.
1
While stopped
Press [FUNCTIONS].
2
Press [
e, r] to select “To Others” and
press [ENTER].
3
Press [
e, r] to select “DISC
MANAGEMENT” and press [ENTER].
4
Press [
e, r] to select “Disc
Protection” and press [ENTER].
5
Press [
w, q] to select “Yes” and
press [ENTER].
The lock symbol appears closed when the disc is write-
protected.
•
For a DVD-RAM with a cartridge
With the write-protect tab in the protect position,
play automatically starts when inserted in the unit.
To exit the screen
Press [RETURN] several times.
To return to the previous screen
Press [RETURN].
Preparation
•
Release protection (
➔ left).
1
While stopped
Press [FUNCTIONS].
2
Press [
e, r] to select “To Others” and
press [ENTER].
3
Press [
e, r] to select “DISC
MANAGEMENT” and press [ENTER].
4
Press [
e, r] to select “Disc Name”
and press [ENTER].
➔ page 33, Entering text
•
The disc name is displayed in the FUNCTIONS window.
•
With a finalized DVD-R, DVD-RW (DVD-Video format) and
+R, the name is displayed on the Top Menu.
To exit the screen
Press [RETURN] several times.
To return to the previous screen
Press [RETURN].
Preparation
•
Release protection (
➔ left).
1
While stopped
Press [FUNCTIONS].
2
Press [
e, r] to select “To Others” and
press [ENTER].
3
Press [
e, r] to select “DISC
MANAGEMENT” and press [ENTER].
4
Press [
e, r] to select “Erase all titles”
and press [ENTER].
5
Press [
w, q] to select “Yes” and press
[ENTER].
6
Press [
w, q] to select “Start” and
press [ENTER].
A message appears when finished.
7
Press [ENTER].
Note
•
Once erased, the recorded contents are lost and cannot be
restored. Make certain before proceeding.
•
Erasing all video titles will result in all playlists also being erased.
•
Erase does not work if one or more titles are protected.
To exit the screen
Press [RETURN] several times.
To return to the previous screen
Press [RETURN].
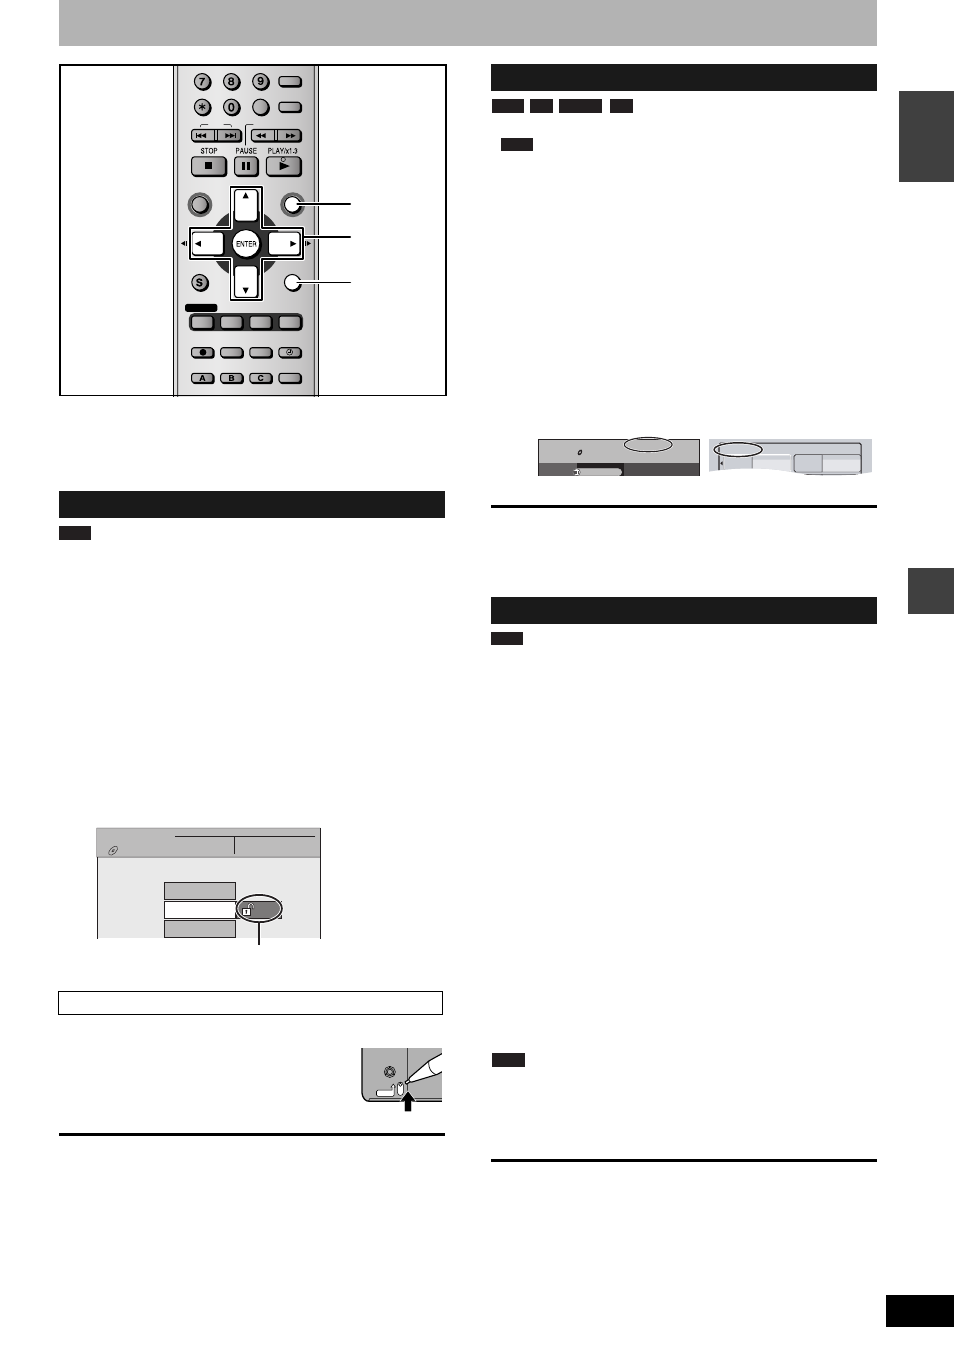
Setting the protection
Setting the protection for the whole disc
SKIP
SLOW/SEARCH
REC MODE
REC
F Rec
TIME SLIP
FUNCTIONS
DIRECT NAVIGATOR
TOP MENU
RETURN
STATUS
DISPLAY
SUB MENU
CANCEL
MANUAL SKIP
INPUT SELECT
AUDIO
ERASE
EXT LINK
CREATE
CHAPTER
PROG/CHECK
EXT LINK
TIMER
ShowView
RETURN
e, r, w, q
ENTER
FUNCTIONS
RAM
DISC
MANAGEMENT
DVD-RAM
Title No. 11
Used
Remain
0 : 22
5:38 (EP)
Disc Name
Erase all titles
Disc Protection
Off
PROTECT
Providing a disc with a name
Erasing all titles–Erase all titles
-R
RAM
-RW(V)
+R
RAM
FUNCTIONS
DOCUMENTARY
Cartridge Protection Off
Disc Protection Off
DVD
DVD-RAM
Playback
DIRECT NAVIGATOR
My favorite
01/02
01
Chapter 1
02
Chapter 2
RAM