Pentax Optio E50 User Manual
Page 117
115
6
Editin
g an
d Printi
ng Im
age
s
9
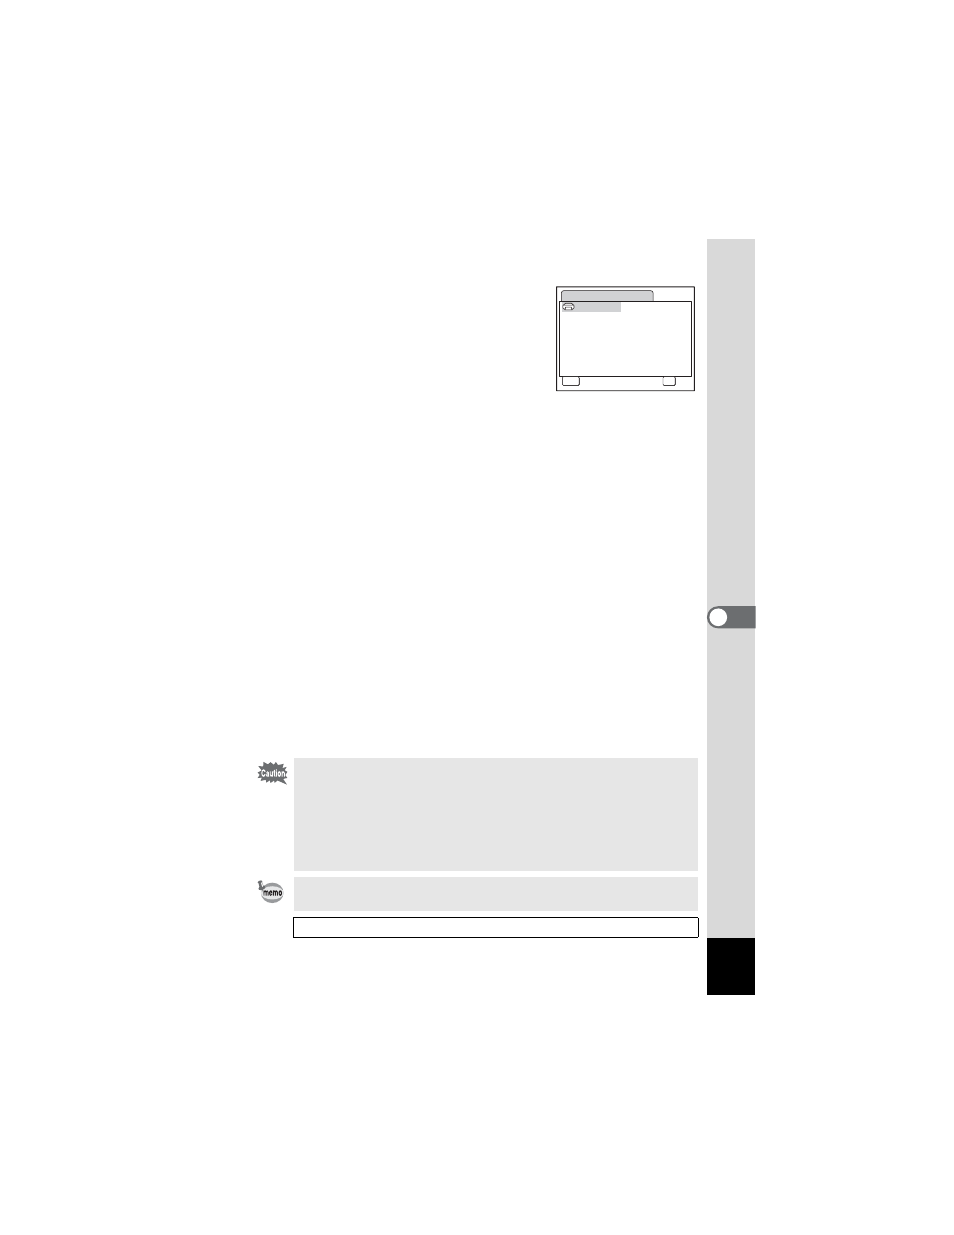
Use the four-way controller
(2345) to choose the paper
size.
You can only choose a size that is
supported by your printer.
10
Press the 4 button.
The Paper Size setting is saved, and the
screen returns to the print settings screen.
11
Use the four-way controller (23) to select [Paper Type]
and press the four-way controller (5).
A pull-down menu appears.
12
Use the four-way controller (23) to select the paper
type and press the 4 button.
The Paper Type setting is saved, and the screen returns to the print
settings screen. Set [Quality] and [Border Status] in the same way as
in Steps 11 and 12.
If you select [_ Setting] for each print setting, images are printed
according to the settings made on the printer.
Paper Type with more E supports higher quality paper.
Quality with more E indicates higher print quality.
The print settings screen appears after each item has been set.
13
Press the 3 button.
The screen returns to the confirmation dialog.
14
Press the 4 button.
The image is printed according to the settings.
Press the 3 button to cancel printing.
• The power lamp lights while the camera is communicating with the
printer, and blinks while the card is being accessed and during
printing. Do not disconnect the USB/AV cable while the power
lamp is blinking.
• If the picture already has the date imprinted on it (p.78), do not set
Date O (On) in DPOF settings. Otherwise, the date could be
imprinted twice on your printed picture.
The [Paper Size], [Paper Type], [Quality] and [Border Status]
settings are reset to the defaults when the camera is turned off.
Disconnecting the Cable from the Printer 1p.117
C a n c e l
C a n c e l
MENU
OK
O K
O K
2 L
L
1 0 0 × 1 5 0
A 4
A 3
4 ” Ч 6 ”
8 ” Ч 1 0 ”
1 1 ” Ч 1 7 ”
P a p e r S i z e
C a r d
P o s t c a r d
L e t t e r
S e t t i n g