Printing all images – Pentax Optio E50 User Manual
Page 114
112
6
Editin
g an
d Printi
ng Im
age
s
When you choose the number of copies and whether or not to insert the
date, the settings are applied to all the images stored in the camera.
1
Display the screen for DPOF settings in Q mode.
Refer to Steps 1 to 3 on p.110.
2
Use the four-way controller (23) to select [All Images].
3
Press the 4 button.
The message [DPOF setting for all images]
appears.
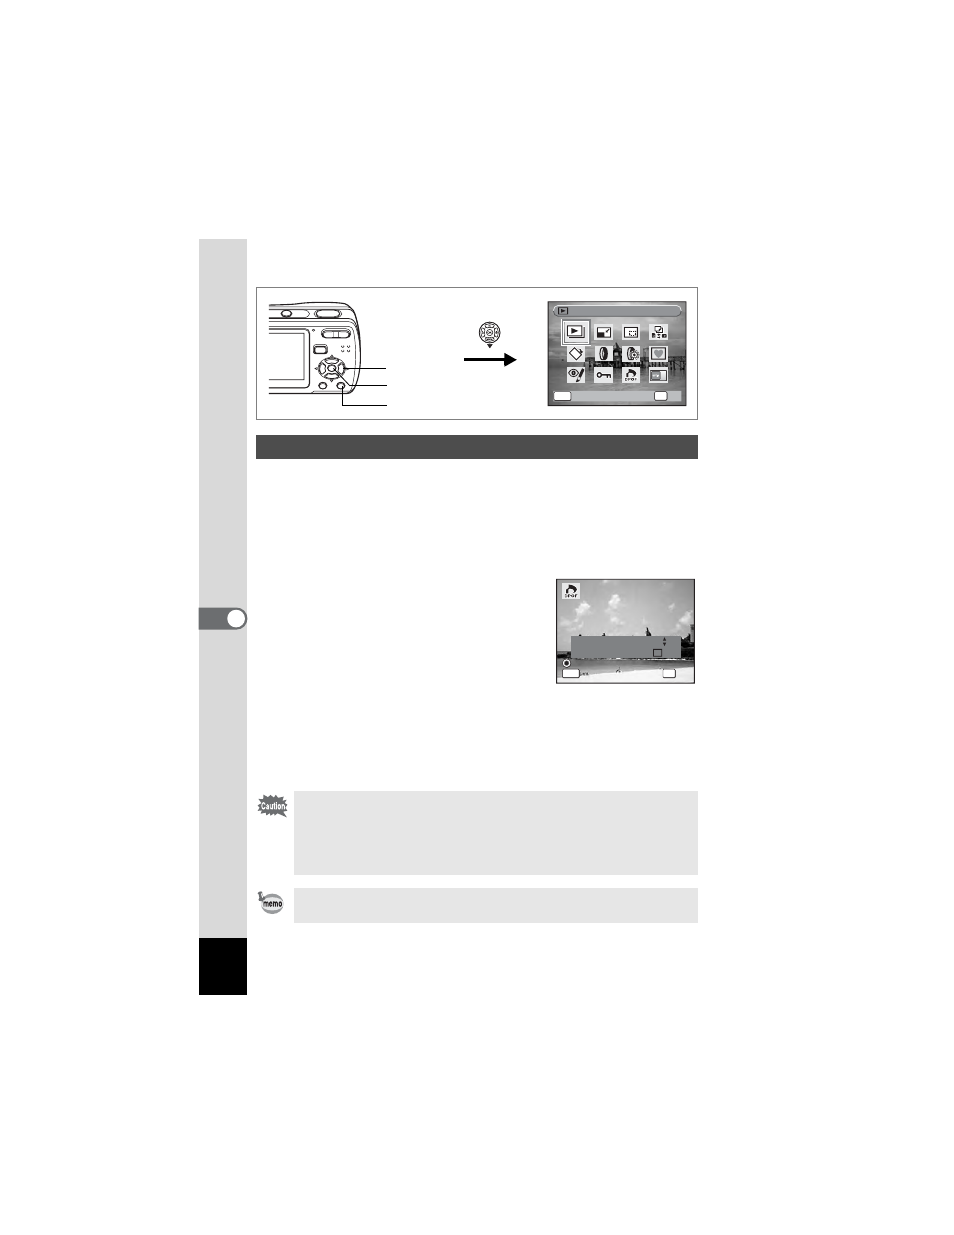
4
Choose the number of copies and
whether to insert the date or not.
Refer to Steps 6 and 7 in “Printing Single
Images” (p.111) for details of how to make
the settings.
5
Press the 4 button.
The DPOF settings for all the images are saved and the camera
returns to the DPOF setting screen.
Printing All Images
• The number of copies specified in the DPOF settings applies to all
the images. Before printing, check that the number is correct.
• If the pictures already have the date imprinted on them (p.78), do
not set Date O (On) in DPOF settings. Otherwise, the date could
be imprinted twice on your printed pictures.
Settings for single images are canceled when settings are made for
all images.
MENU
S l i d e s h o w
S l i d e s h o w
O K
O K
OK
C a n c e l
C a n c e l
1, 2, 4
1, 3, 5
4
D P O F s e t t i n g f o r
a l l i m a g e s
D P O F s e t t i n g f o r
a l l i m a g e s
MENU
C o p i e s
D a t e
0 0
D a t e
D a t e
C a n c e l
C a n c e l
OK
O K
O K