Erase – Lanier LD075 User Manual
Page 64
Copying
56
2
Note
❒ You can move the scanned posi-
tion up to 30 mm (in 1mm steps)
upward, downward, to left and to
right.
1.
Top: 0 – 30 mm, 0" – 1.2"
2.
Right: 0 – 30 mm, 0" – 1.2"
3.
Bottom: 0 – 30 mm, 0" – 1.2"
4.
Left: 0 – 30 mm, 0" – 1.2"
AAAA
Press the [Edit/Stamp] key.
BBBB
Press the [Edit Image] key.
CCCC
Press the [Scan Position] key.
DDDD
Set the scanned position for the
face of the original. Press the [
↑↑↑↑]
or [
↓↓↓↓] key to set the top or bottom
position. Press the [
←
←
←
←] or [→
→
→
→] key
to set the left or right position.
Note
❒ If you have incorrectly set the
position, readjust with the [
↑↑↑↑],
[
↓↓↓↓], [←
←
←
←] or [→
→
→
→] key.
❒ If you don't need to set the
scanned position of the back of
the original, go to step
F.
EEEE
Set the scanned position for the
back of the original. Press the [
↑↑↑↑]
or [
↓↓↓↓] key to set the top or bottom
position. Press the [
←
←
←
←] or [→
→
→
→] key
to set the left or right position.
Then press the [OK] key.
Note
❒ The scanned position for the
back set here is valid when you
copy 2-sided originals.
FFFF
Press the [OK] key.
GGGG
Press the [OK] key.
HHHH
Place your originals, and then
press the
{{{{Start}}}} key.
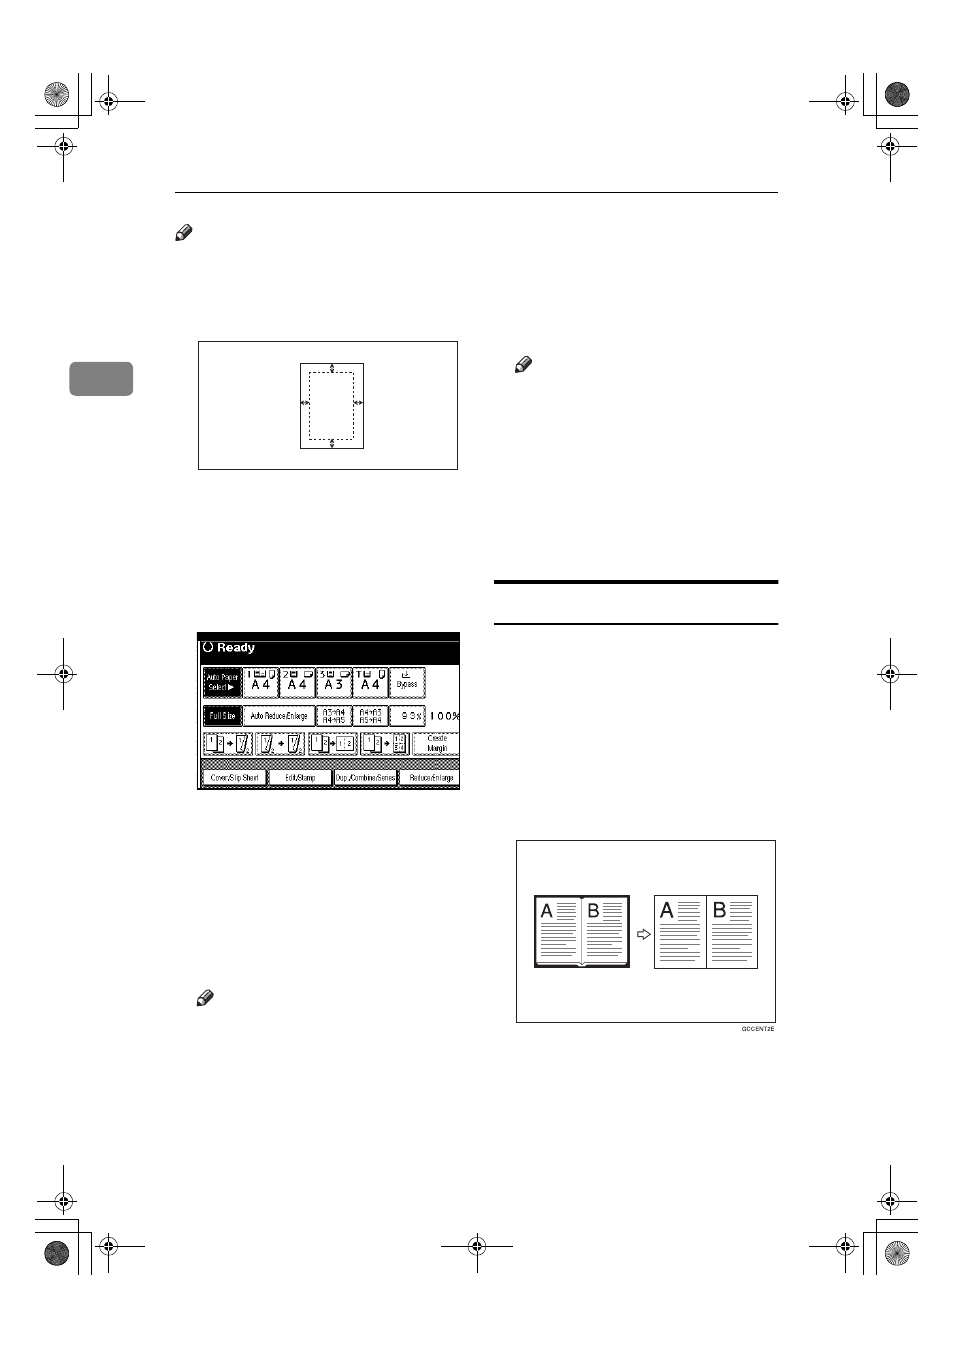
Erase
This func tion erase s the c enter
and/or all four sides of the original
image. This function also erases the
inside or outside of a specified area.
This function has the following three
types:
❖
❖
❖
❖ Border
This mode erases edge margin of
the original image.
1
2
3
4
MartiniC1_GBcopy4_FM.book Page 56 Tuesday, April 23, 2002 6:23 PM