Date and time setting, Selecting the imprinting format – Konica Minolta MAXXUM 3 User Manual
Page 18
18
DATE AND TIME SETTING
- FOR OWNERS OF THE QUARTZ-DATE MODEL
GETTING STARTED
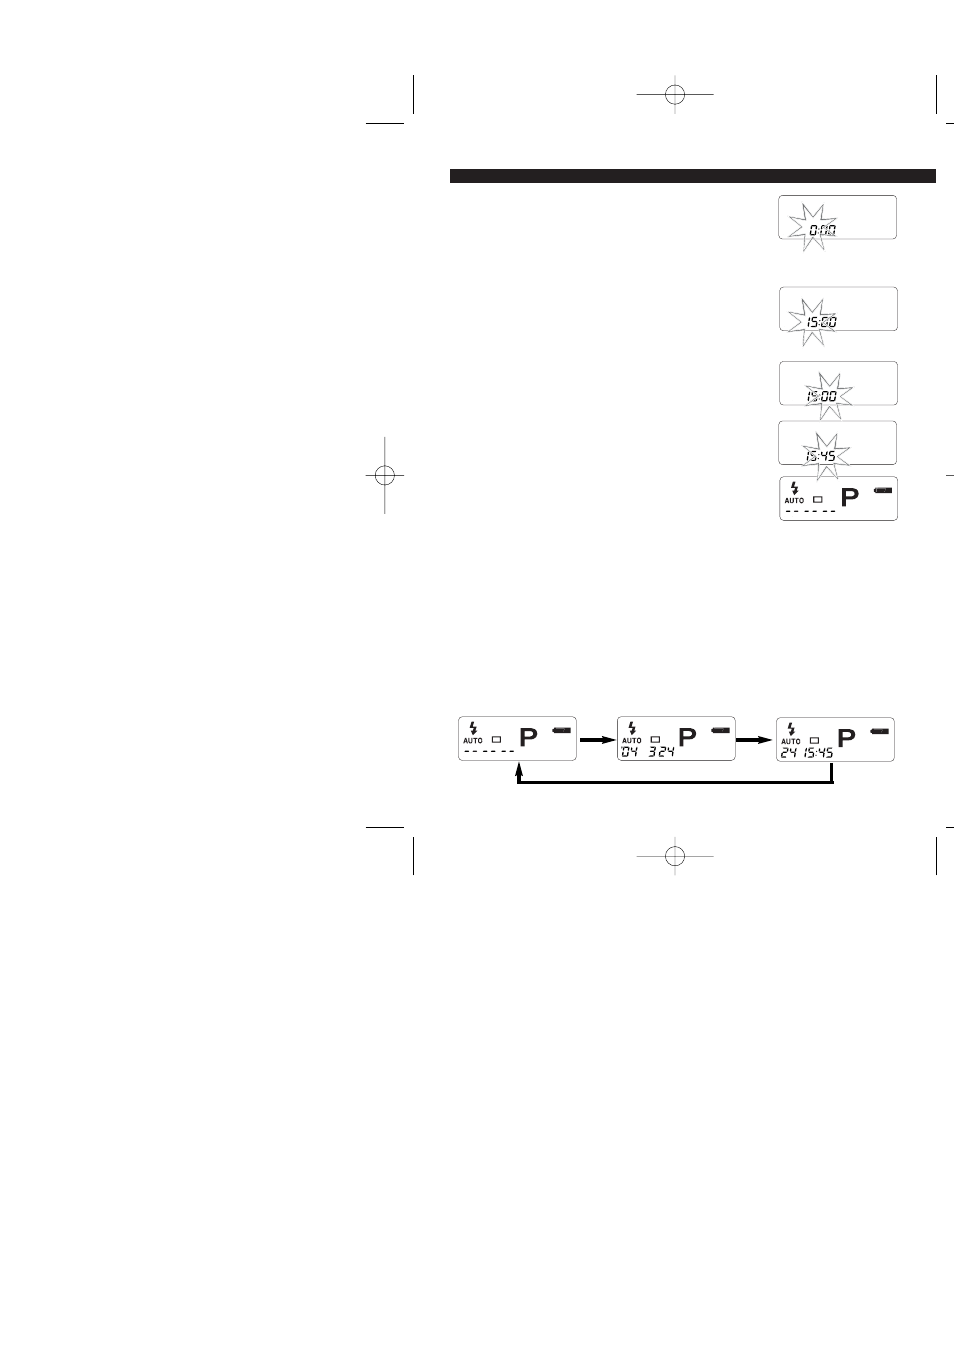
9. Press the adjust button to change the hour
value.
• The data back has a 24-hour clock 3pm is 15.
.
10. Press the select button to select the
minute.
• The minute register will blink. The initial setting is 00.
11. Press the adjust button to change the
minute value.
12. Press the select button to set the clock and
calendar.
• The data panel will stop blinking and return to the
initial display.
• Pressing the shutter-release button partway down or pressing the date button
will also set the clock and calendar.
• To synchronize the camera to another clock, set the minute register to the
upcoming time and press the adjust button when the other clock reaches that
time.
Selecting the Imprinting Format
Press the date button to choose the date imprinting format.
• The display changes as follows:
8. Press the select button to select the hour.
• The display will be changed from date to time.
• The hour register will blink. The initial setting is 0.
• Confirm the date when adjusting the clock to a
different time zone or near midnight.
No imprinting
Year/ Month/ Day
Day/ Hour/ Minute
2165_E.qxd 03.2.10 2:06 PM Page 18