Program timer recording – Sanyo SRT-4040DC User Manual
Page 29
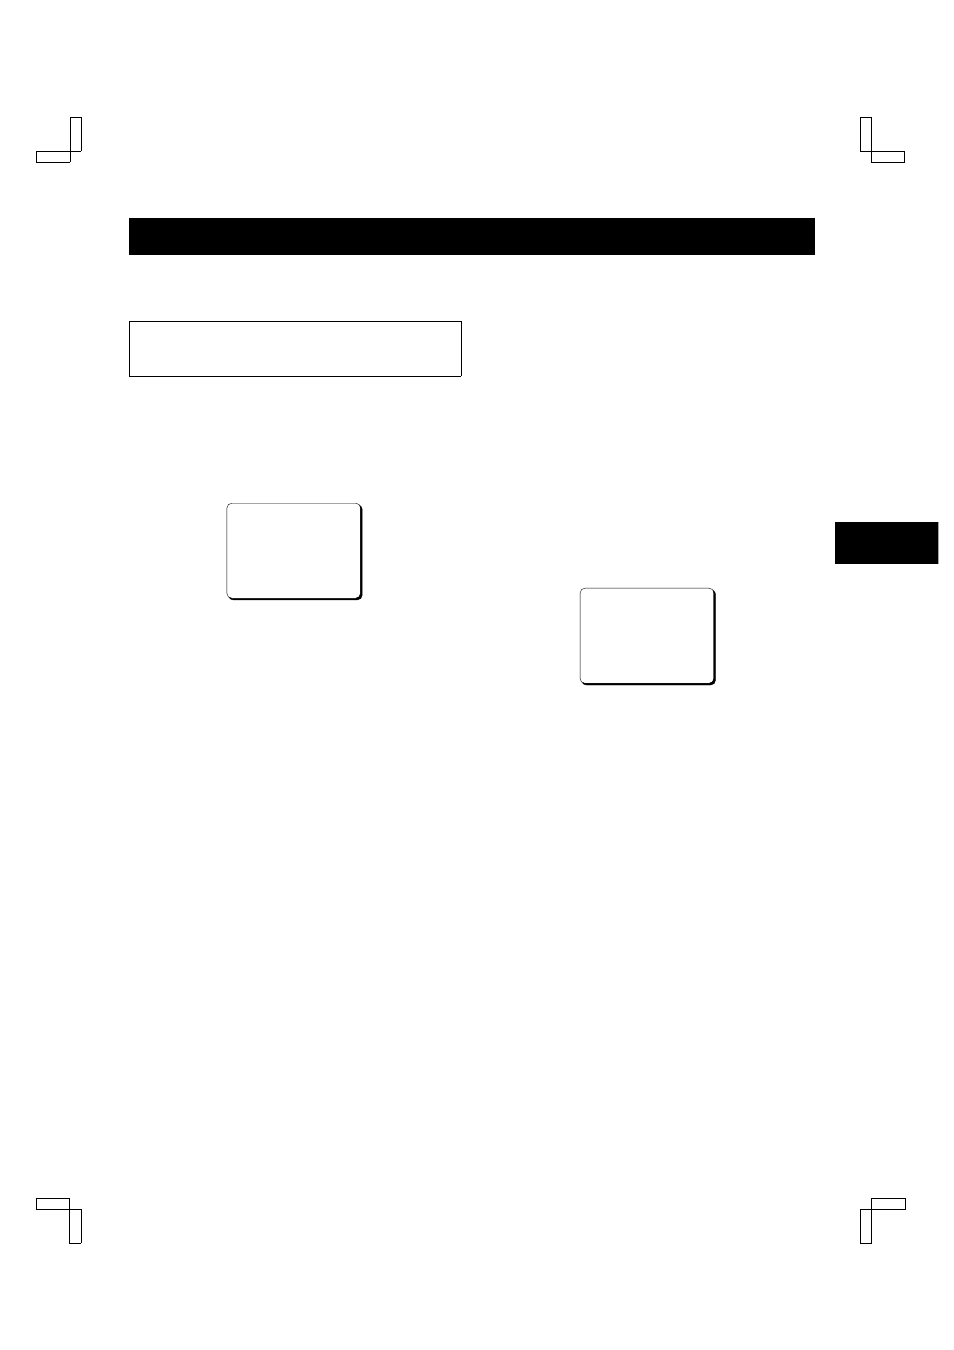
PROGRAM TIMER RECORDING
There are three program timer recording methods, daily
recording, weekly recording or recording on certain days
of the week.
Example 1:
To record on every Saturday from 9:00
AM to 5:00 PM (17:00), in 24-hour
mode (recording speed).
œ
Follow the Before starting steps, under “NORMAL
RECORDING”.
1
Press the MENU button to display the MAIN MENU.
2
Press the
l
(or
j
) button to select the “7.TIMER
SET” line, then press the ENTER button.
œ
The (TIMER SET) menu appears.
WEEK@@START@@STOP@@SPD
SUN@@@--:--@--:--@@---@N
MON@@@--:--@--:--@@---@N
TUE@@@--:--@--:--@@---@N
WED@@@--:--@--:--@@---@N
THU@@@--:--@--:--@@---@N
FRI@@@--:--@--:--@@---@N
SAT@@@--:--@--:--@@---@N
DAILY@--:--@--:--@@---@N
EXT@@@*****@*****@@---@N
3
Press the
l
(or
j
) button until the “SAT” (Saturday)
line is highlighted, then press the ENTER button.
4
Press the
l
(or
j
) button to change the weekday,
then press the ENTER button.
ø
If no change, press the ENTER button.
ø
The recording start hour position starts flashing.
NOTE:
œ
All of the lines other than the bottom line can be
set to “SUN”, “MON”, “TUE”, “WED”, “THU”,
“FRI”, “SAT”, “DAILY”, “MO-SA” (Monday to
Saturday) or “MO-FR” (Monday to Friday).
5
Press the
l
(or
j
) button to set the recording start
hour (ex: 09), then press the ENTER button.
ø
The recording start minutes position starts
flashing.
6
Press the
l
(or
j
) button to set the recording start
minutes (ex: 00), then press the ENTER button.
ø
The recording stop hour position starts flashing.
7
Press the
l
(or
j
) button to set the recording stop
hour (ex: 17), then press the ENTER button.
ø
The recording stop minutes position starts
flashing.
8
Press the
l
(or
j
) button to set the recording stop
minutes (ex: 00), then press the ENTER button.
ø
The “SPD” (recording speed) position will start
flashing.
NOTE:
œ
If the set stop time is earlier than or the same time
as the set start time, the VCR will consider the
stop time to be the following day, and “T” will be
displayed next to the recording stop time.
9
Press the
l
(or
j
) button to select the recording
speed mode (ex: 24), then press the ENTER button.
ø
“N” will start flashing.
F
Press the
l
(or
j
) button to select the desired
program timer recording mode (Y), then press the
ENTER button.
Y. . . . . . . . . . Recording will take place
N. . . . . . . . . . Recording will not take place
WEEK@@START@@STOP@@SPD
SUN@@@--:--@--:--@@---@N
MON@@@--:--@--:--@@---@N
TUE@@@--:--@--:--@@---@N
WED@@@--:--@--:--@@---@N
THU@@@--:--@--:--@@---@N
FRI@@@--:--@--:--@@---@N
SAT@@@09:00@17:00@@@24@Y
DAILY@--:--@--:--@@---@N
EXT@@@*****@*****@@---@N
œ
Repeat steps
3
to
F
to program timer recordings
for other days of the week.
œ
If a wrong setting has been entered, press the
CLEAR button to move to the setting to be
changed, then press the
l
(or
j
) button to enter
the correct setting.
G
Press the MENU EXIT button.
H
Press the TIMER button.
ø
The timer recording indicator “
n
” will light on
the digital display. The VCR is now in timer
recording stand-by mode.
NOTE:
œ
To modify, cancel or stop timer recording, press the
TIMER button to cancel the timer recording mode.
NB4QR/NA (SRT-4040 GB) Tue. Sept., 10/2002
28
English