Operating jvc’s audio/video components – JVC RX-1024VBK User Manual
Page 61
58
IMPORTANT:
To operate JVC’s audio components using this remote control:
•
You need to connect JVC audio components through the COMPU LINK-3
(SYNCHRO) jacks (see page 48) in addition to the connections using cables
with RCA pin plugs (see page 8) or using digital cables (see page 11).
•
Aim the remote control directly at the remote sensor on the receiver.
Tuner
After pressing FM or AM (with the remote control mode
selector set to “AUDIO/TV/VCR”), you can perform the
following operations:
FM:
Selects an FM broadcast.
AM:
Selects an AM broadcast.
1 — 10, +10:
Selects a preset channel number directly.
For channel number 5, press 5. For
channel number 15, press +10, then 5.
For channel number 20, press +10, then
10.
TUNING UP/TUNING DOWN:
Tunes into stations.
FM MODE/MUTE: Changes the FM reception mode.
Sound control section (Amplifier)
You can always perform the following operations (with the
remote control mode selector set to “AUDIO/TV/VCR”):
SURROUND MODE: Changes the DSP modes.
After pressing SOUND (with the remote control mode selector
set to “AUDIO/TV/VCR”), you can perform the following
operations:
SEA MODE:
Changes the SEA modes.
SUBWOOFER +/–:
Adjusts the subwoofer output level.
CNTR +/–:
Adjusts the center speaker output
level.
REAR•L +/–:
Adjusts the left rear speaker output
level.
REAR•R +/–:
Adjusts the right rear speaker output level.
EFFECT:
Selects the effect level.
TEST:
Turns on or off the test tone output.
CNTR TONE:
Selects the center tone.
CD player
After pressing CD (with the remote control mode selector set to “AUDIO/TV/VCR”),
you can perform the following operations on a CD player:
PLAY:
Starts playing.
4
4
4
4
4:
Returns to the beginning of the current (or previous) track.
¢
¢
¢
¢
¢:
Skips to the beginning of the next track.
STOP:
Stops playing.
PAUSE:
Pauses playing. To release it, press PLAY.
1 — 10, +10: Selects a track number directly.
For track number 5, press 5. For track number 15, press +10, then 5. For
track number 20, press +10, then 10. For track number 30, press +10,
+10, then 10.
Notes:
• If you use the buttons on the
front panel or the menu
function to choose a source,
the remote control will not
operate that source. To
operate a source with the
remote control, the source
must be selected using
buttons on the remote control.
• Check to see if its remote
control mode selector is set to
the correct position. To
operate audio system, TVs,
and VCRs, set it to “AUDIO/
TV/VCR.”
• Refer also to the manuals
supplied with your
components.
Note:
After adjusting sounds, press
the corresponding source
selecting button or DISC to
operate your target source by
using 10 keys; otherwise, 10
keys cannot be used for
operating your target source.
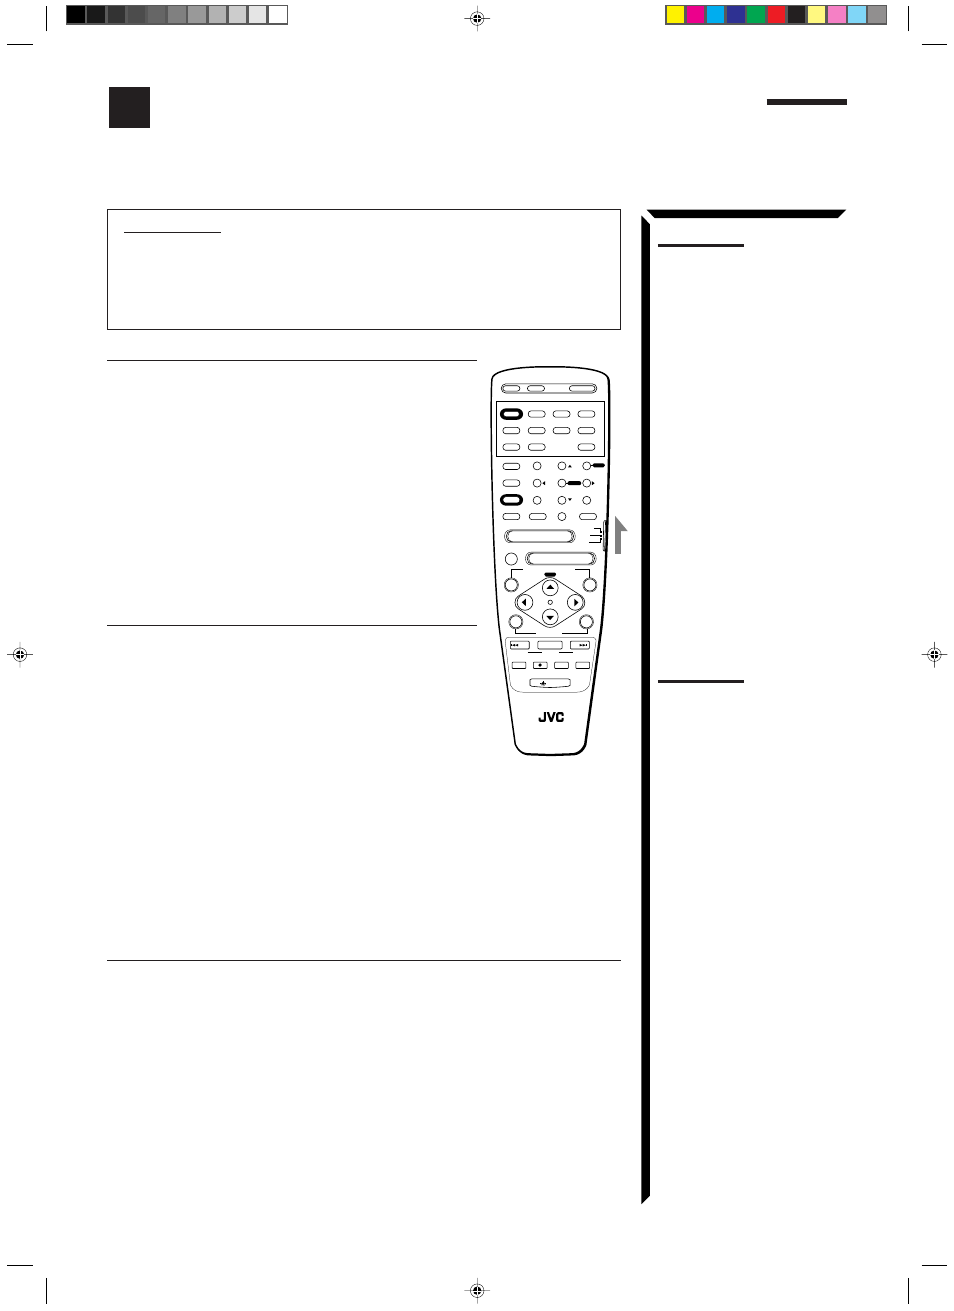
Operating JVC’s Audio/Video Components
You can operate JVC’s audio and video components with this receiver’s remote control, since control
signals for JVC components are preset in the remote control.
TV/CATV/
DBS
VCR 1
POWER
VCR 1
VCR 2
VIDEO
CD
TAPE/MD
PHONO
TV/DBS
AM
MODE
SURROUND
CNTR TONE
CNTR
–
+
DIGITAL/
ANALOG
INPUT
CHANNEL
–
+
VOLUME
–
+
DISC
MUTE
+10
100+
10
FM
1
SLEEP
POWER
POWER
AUDIO
2
3
TEST
REAR · L
AUDIO/
TV/VCR
CATV
DBS
REAR · R
–
+
4
5
6
EFFECT
SEA MODE
RETURN
FM MODE/
MUTE
–
+
SUBWOOFER
–
+
8
0
9
ENTER
MENU
MENU
SET
EXIT
VCR1
/REW
PLAY
TAPE
ON SCREEN CONTROL
CONTROL
LIGHT
FF/
DOWN
TUNING
UP
TV/VIDEO
REC
STOP
PAUSE
RM-SR1024U REMOTE CONTROL
SOUND
DVD
7
/P
EN56_70.RX-1024V[J]/1.PM5
98.5.12, 0:44 PM
58