Advanced operations (cont.), Av2 select setting, Av1 select setting – JVC HM-DR10000EK User Manual
Page 50
50
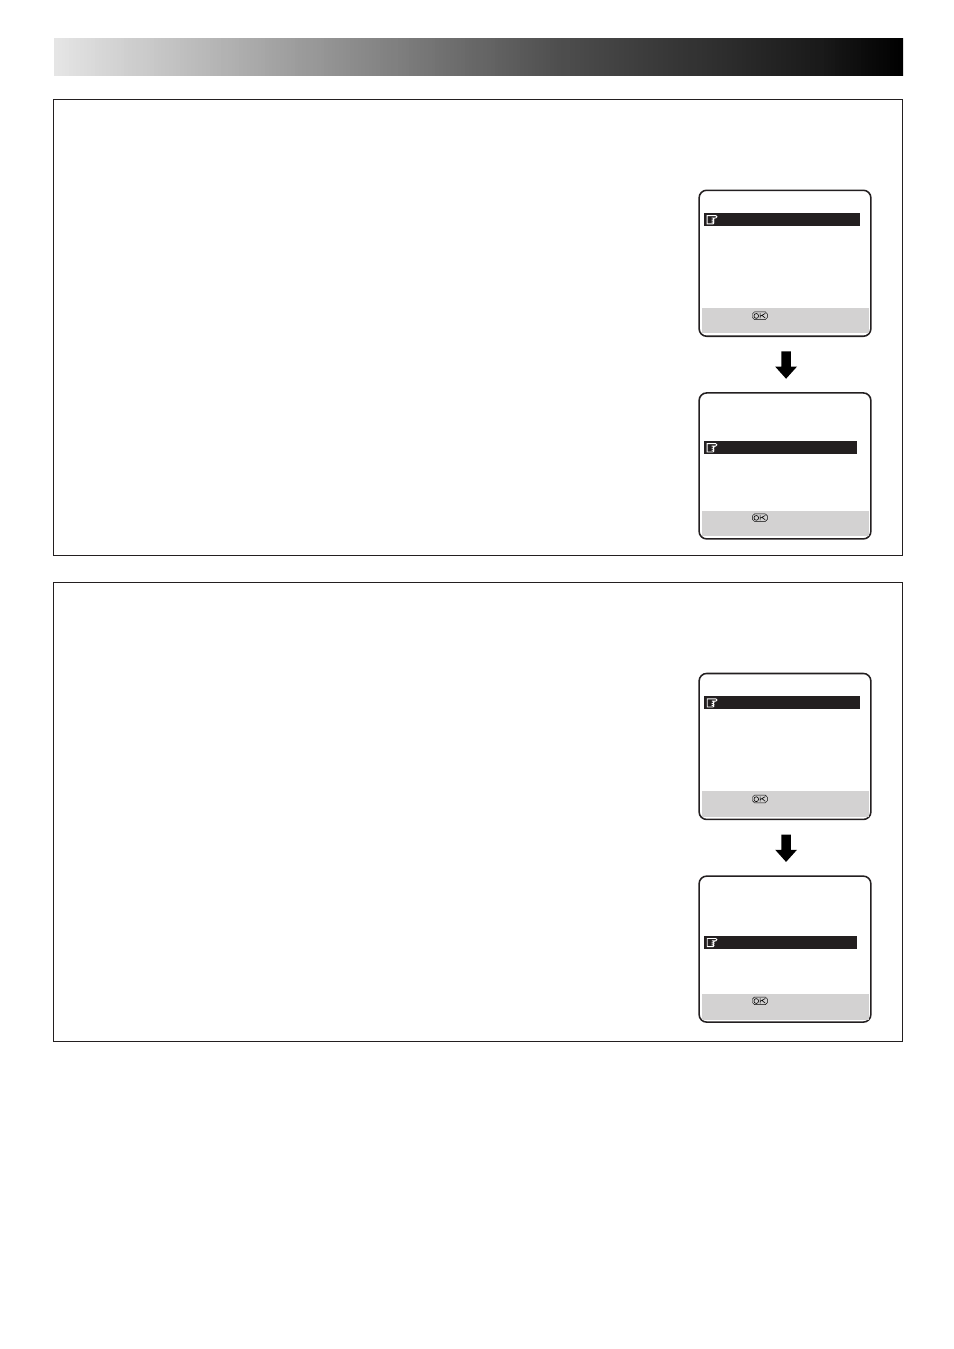
MODE SET
B. E. S. T.
ON
PICTURE CONTROL
AUTO
AUTO TIMER
OFF
O. S. D.
ON
DIRECT REC
ON
AUTO SP
=LP TIMER OFF
DIGITAL 3R
ON
NEXT PAGE
[
5∞] =
[MENU] : EXIT
AV2 SELECT Setting
Set "AV2 SELECT" to the appropriate mode depending on the type of unit connected to the
rear panel AV2 IN/DECODER connector of this recorder.
1
Press MENU to access the Main Menu screen.
2
Press
%fi to move the highlight bar (pointer) to "MODE SET", then press OK or
#
.
3
Press
%fi to move the highlight bar (pointer) to "AV2 SELECT".
4
Press OK or
#
to select "AV2", "DECODER" or "SAT".
a–AV2
: To use this recorder as the recording deck with the player connected to the
AV2 IN/DECODER connector, or to use the satellite tuner connected to the
AV2 IN/DECODER connector.
b–DECODER : To use a decoder connected to the AV2 IN/DECODER connector.
c–SAT
: To view a satellite programme with the TV set while the recorder is in Timer
mode, in Stop mode, recording or turned off. (
੬
pg. 40)
5
Press MENU to return to normal screen.
● If you have a satellite receiver or a decoder connected to the AV2 IN/DECODER connector,
be sure to set "AV2 SELECT" back to appropriate mode after editing.
● If you're not connecting a satellite receiver or a decoder to the AV2 IN/DECODER connector,
leave "AV2 SELECT" set to "AV2".
● The default setting is "AV2"; if the recorder's memory backup has expired due to a power cut
or because the AC was removed from the recorder, "AV2" will be automatically selected when
the power is restored to the recorder. If you are using a satellite receiver or a decoder, be sure
to set "AV2 SELECT" back to appropriate mode.
● If the AV1 OUT switch on the rear panel is set to Y/C, it is impossible to set "AV2 SELECT" to
"DECODER".
PREVIOUS PAGE
POWER SAVE
OFF
S-VHS
AUTO
AV1 SELECT
VIDEO
AV2 SELECT
AV2
DV SOUND
SOUND1
AUDIO REC
NICAM
[
5∞] =
[MENU] : EXIT
MODE SET
B. E. S. T.
ON
PICTURE CONTROL
AUTO
AUTO TIMER
OFF
O. S. D.
ON
DIRECT REC
ON
AUTO SP
=LP TIMER OFF
DIGITAL 3R
ON
NEXT PAGE
[
5∞] =
[MENU] : EXIT
AV1 SELECT Setting
Set "AV1 SELECT" to the appropriate mode depending on the type of unit connected to the
rear panel AV1 IN/OUT connector of this recorder.
1
Press MENU to access the Main Menu screen.
2
Press
%fi to move the highlight bar (pointer) to "MODE SET", then press OK or
#
.
3
Press
%fi to move the highlight bar (pointer) to "AV1 SELECT".
4
Press OK or
#
to select "VIDEO" or "S-VIDEO".
a–VIDEO
: If a connected device's output is compatible only with regular video signals,
set "AV1 SELECT" to "VIDEO".
b–S-VIDEO
: If a connected device's output is compatible with Y/C signals, set "AV1
SELECT" to "S-VIDEO". This setting will let you take advantage of higher-
quality S-VHS pictures.
5
Press MENU to return to normal screen.
● If "AV2 SELECT" is set to "DECODER", it is impossible to set "AV1 SELECT" to "S-VIDEO".
PREVIOUS PAGE
POWER SAVE
OFF
S-VHS
AUTO
AV1 SELECT
VIDEO
AV2 SELECT
AV2
DV SOUND
SOUND1
AUDIO REC
NICAM
[
5∞] =
[MENU] : EXIT
ADVANCED OPERATIONS (cont.)