JVC Everio GZ-MG255U User Manual
Page 39
39
ENGLISH
To Print by Selecting a Still Image
After performing steps
1-2 (
੬ pg. 38)
3
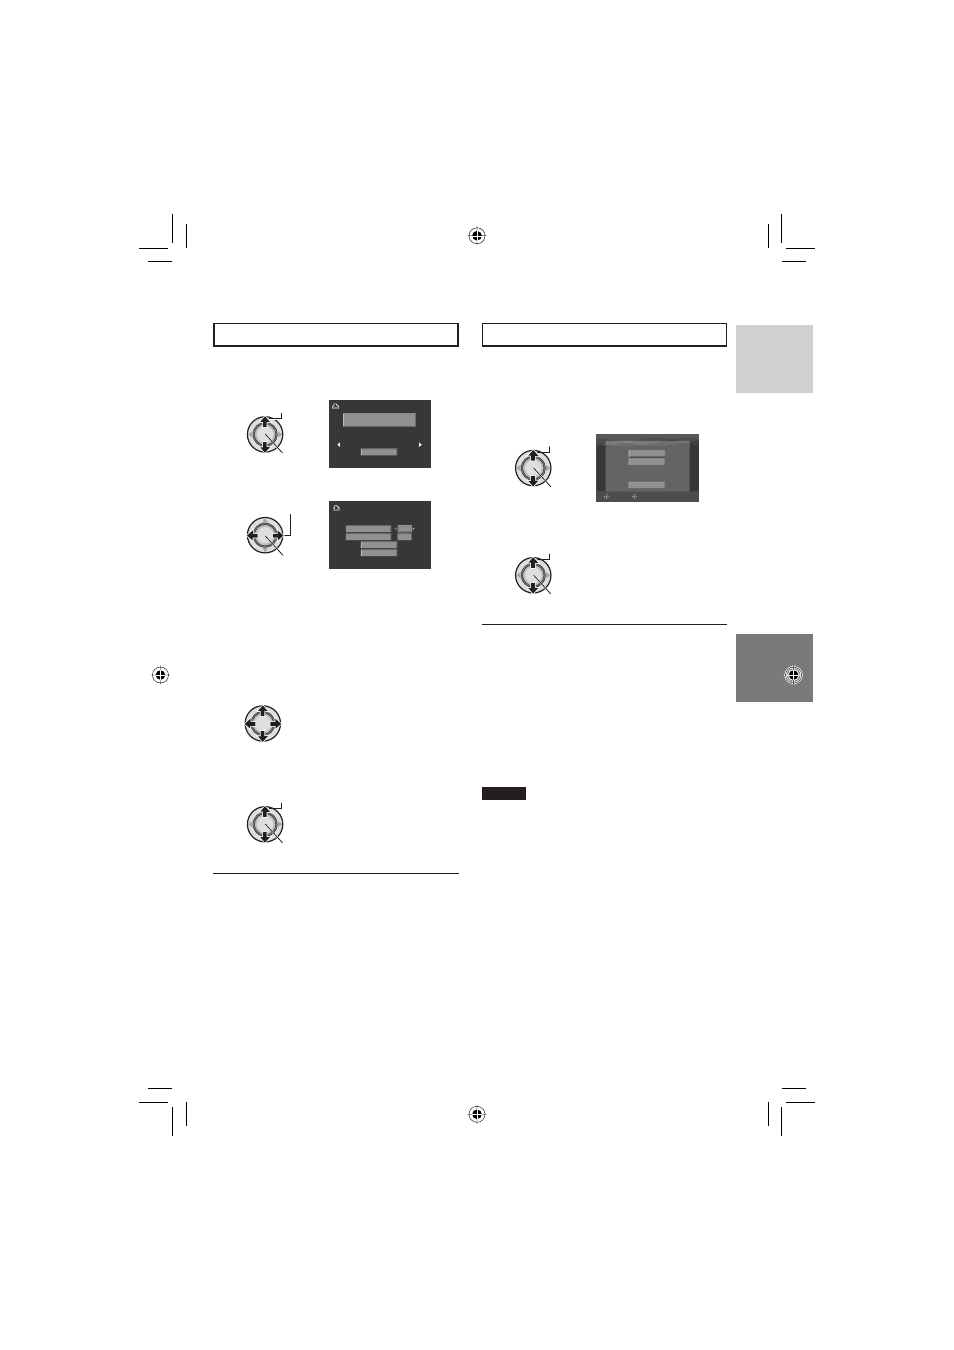
Select [SELECTED PRINT].
Select
Set
PRINT THIS IMAGE
SET
4
Select the desired Image.
Select
Set
NUMBER OF PRINTS
DATE
1
OFF
CANCEL
5
Move the set lever to / to select
menus and / to select settings.
•
[NUMBER OF PRINTS]:
The number of prints can be set from 1
to 99.
•
[DATE]:
Set whether to print the date and time.
6
Select [PRINT].
Select
Set
8 To stop printing after printing starts
1) Press down the set lever.
2) Move the set lever to / to select
[EXECUTE], then press down.
To Print Using the DPOF Settings
If the printer is compatible with DPOF, you
can use the DPOF settings. (
੬ pg. 37)
After performing steps
1-2 (
੬ pg. 38)
3
Select [DPOF PRINT].
Select
Set
DPOF PRINT
CANCEL
CHECK SETTINGS
SELECT
SET
4
Select [PRINT].
Select
Set
8 To stop printing after printing starts
1) Press down the set lever.
2) Move the set lever to / to select
[EXECUTE], then press down.
8 To confi rm the DPOF setting
In step
4, move the set lever to / to
select [CHECK SETTINGS], then press
down. To return to the previous screen,
press FUNCTION.
NOTES
•
If the printer is not recognised, disconnect
the USB cable, then reconnect it.
•
You cannot return to the previous screen
while operating Direct print. If you want to
redo the operation, remove the USB cable,
switch off the camera’s power, and start the
operation again from the beginning.