Serial ata hard disk drive, Diskette drive, Serial – IBM THINKCENTER 8189 User Manual
Page 61: Hard, Disk, Drive, Cd/rw, Dvd/cd/rw, Combo, Diskette
1.
Locate
an
available
PATA
IDE
connector
on
the
three-connector
signal
cable
attached
to
either
the
PATA
primary
IDE
or
PATA
secondary
IDE
connector
on
the
system
board.
See
2.
Connect
one
end
of
the
signal
cable
to
the
drive
and
the
other
to
an
available
PATA
IDE
connector
on
the
system
board.
3.
Connect
a
power
connector
to
the
drive.
4.
Go
to
Serial
ATA
hard
disk
drive
A
serial
hard
disk
drive
can
be
connected
to
either
the
SATA
1
IDE
or
SATA
2
IDE
connector.
1.
Locate
the
signal
cable
for
the
new
drive.
2.
Locate
an
available
SATA
IDE
connector
on
the
system
board.
See
3.
Connect
one
end
of
the
signal
cable
to
the
drive
and
the
other
to
an
available
SATA
IDE
connector
on
the
system
board.
4.
Connect
a
power
connector
to
the
drive.
5.
Go
to
CD
drive,
DVD
drive,
CD/RW
drive,
or
DVD/CD/RW
combo
drive
1.
Locate
the
three-connector
signal
cable
that
comes
with
the
computer
or
with
the
new
drive.
2.
Locate
the
PATA
primary
and
secondary
IDE
connectors
on
the
system
board.
See
3.
Connect
one
end
of
the
signal
cable
to
the
drive
and
the
other
to
the
appropriate
PATA
IDE
connector
on
the
system
board.
To
reduce
electronic
noise,
use
the
connectors
at
the
end
of
the
cable
only.
4.
Connect
the
power
connector
to
the
drive.
5.
If
you
have
a
CD-ROM
audio
cable,
connect
it
to
the
drive
and
to
the
system
board.
See
6.
Go
to
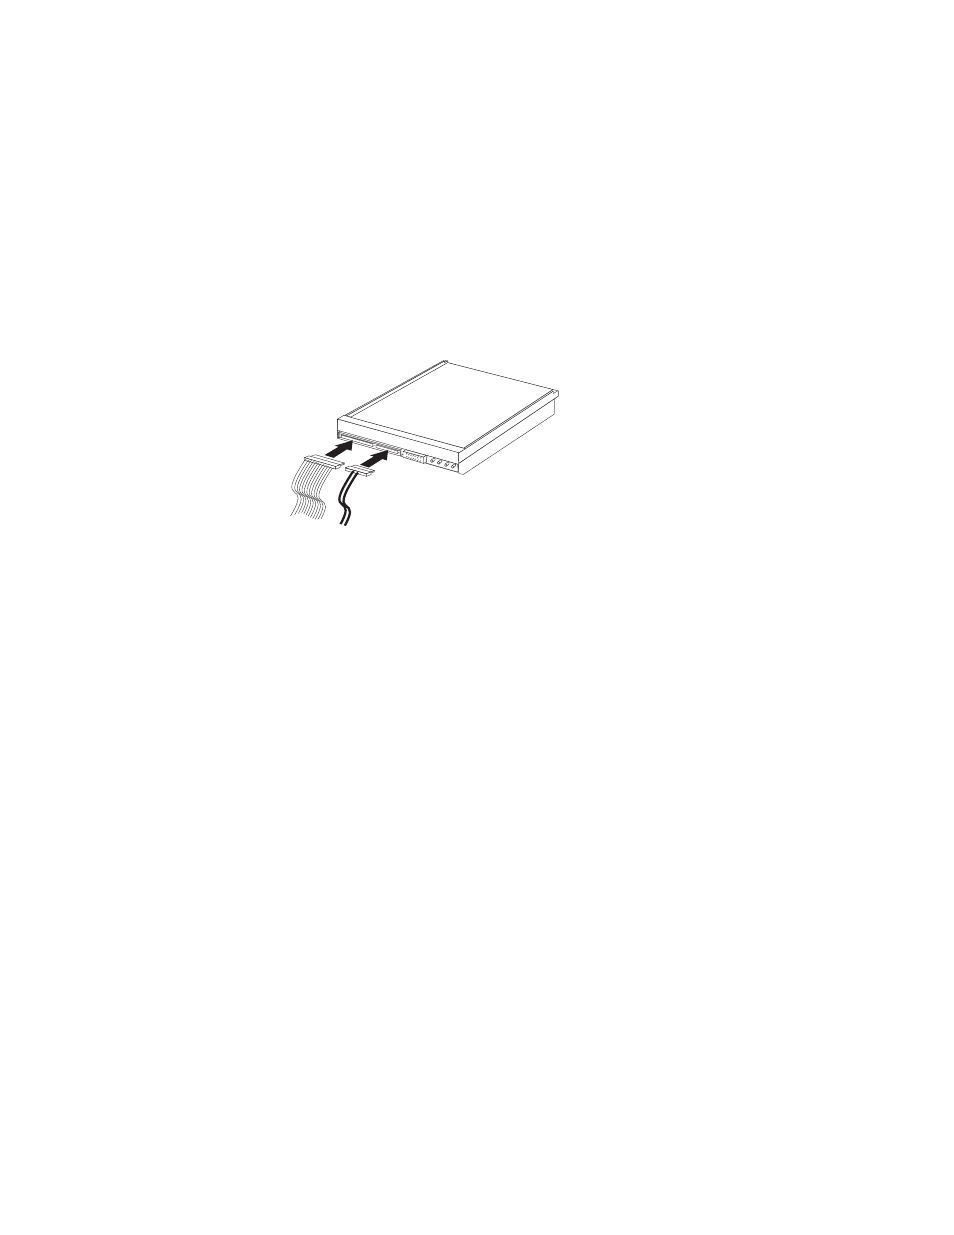
Diskette
drive
1.
Locate
the
diskette
drive
connector
on
the
system
board.
See
2.
Connect
one
end
of
the
signal
cable
to
the
drive
and
the
other
to
the
diskette
drive
connector
on
the
system
board.
Chapter
6.
Replacing
FRUs
55