Motion CL900 FWS-001 User Manual
Page 40
34
Chapter 2
Using your CL900
Using the cameras with Motion QuickNav
Taking photos and saving them in a folder
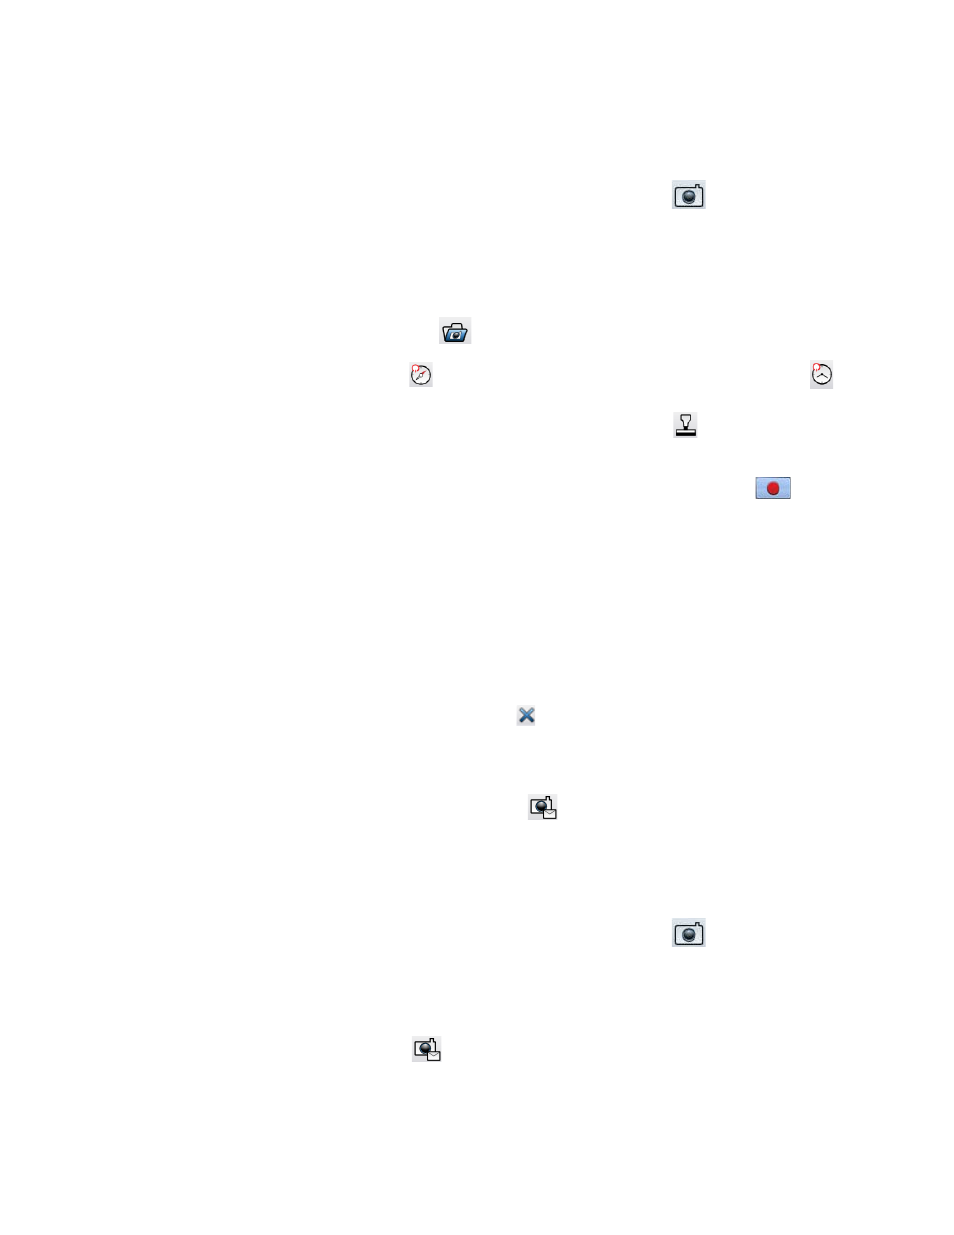
To take photos using Motion QuickNav and save them in a folder
1. Open the
then tap the camera icon
to open the
viewfinder.
If you see yourself in the viewfinder, Motion QuickNav is set to use the web camera.
Switch to the rear documentation camera as described in “Switching cameras” on
page 37.
2. Make sure the folder icon
is selected under the Actions menu.
3. Tap the geotag icon
to add geographical information or the time stamp icon
to add date and time information to the photo’s metadata information. If you want the
information to appear on the photo itself, tap the stamp icon
. For details, see
“Stamping photos with geographical locations and time” on page 33.
4. Frame the subject of your photo in the viewfinder and tap the shutter icon
to take
the photo.
5. As you continue to take photos, they appear in the temporary folder located on the left
of the viewfinder.
6. Select a photo from the left to annotate it or make any other edits. For more information,
see “Editing photos” on page 36.
7. By default, the photos are saved automatically in a folder called New Pictures under the
Documents\Camera folder. To go to or change the folder location, see “Locating Motion
QuickNav output” on page 39.
8. When you’re done, tap the close icon
to close the viewfinder.
Taking photos and attaching them to an email message
To email photos, you select the email icon
from the Action menu, take one or more
photos then, when you close the viewfinder, a new email message appears with the photos
attached.
To attach photos to an email message
1. Open the
then tap the camera icon
to open the
viewfinder.
If you see yourself in the viewfinder, Motion QuickNav is set to use the web camera.
Switch to the documentation camera as described in “Switching cameras” on page 37.
2. Select the email icon
from the Action menu.